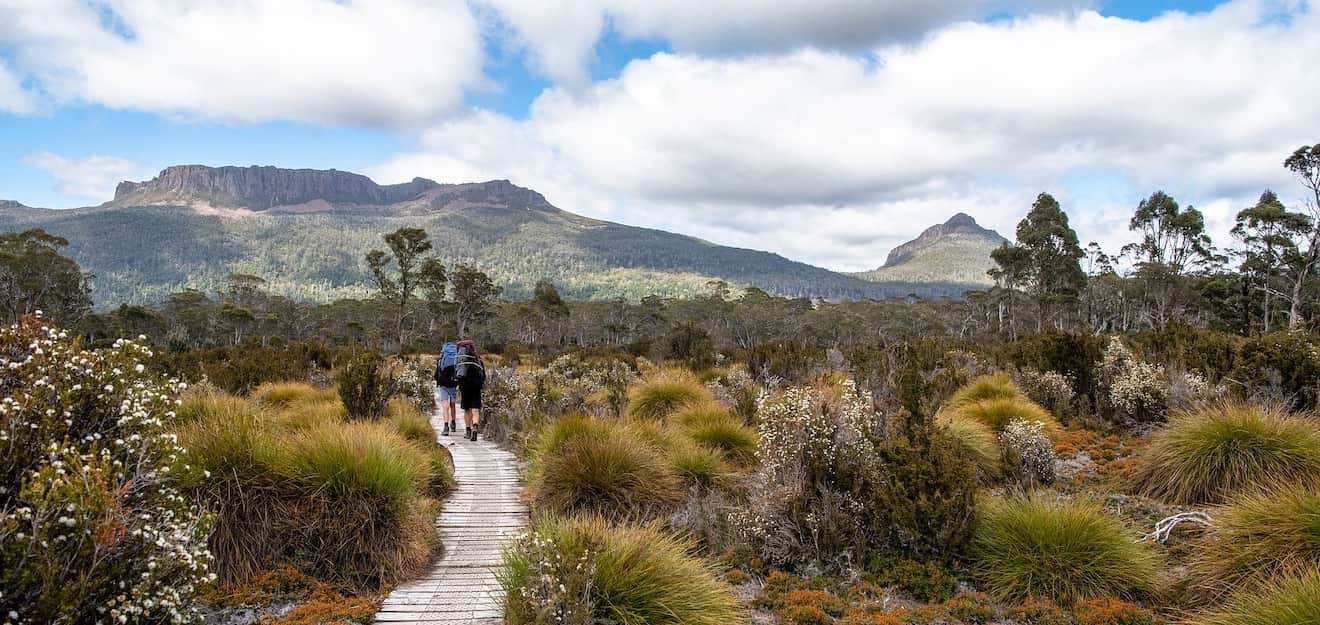
If you’re reading this, you’ve probably heard of the world famous Overland Track. Found in the Tasmanian wilderness world heritage site of Cradle Mountain, Lake St Clair National Park, this incredible hike takes you through alpine plains, lush forests, rocky mountain peaks and even a pine forest moor! Stay the night in a bush hut or two and take some of the awe inspiring side trips available along the track such as Barn Bluff or Cradle Mountain itself.
Being an experienced hiker myself, the Overland Track was actually a lot easier than I originally expected. Both the trail and huts are much nicer than what I’ve previously experienced whilst hiking in Australia, and there’s just something about spending time in an area of the world only accessible by foot, that can’t be beaten. My only regret is that I couldn’t stay longer!
Whether you’re an expert hiker or just starting out, there are always certain things you need to know before you go and I’m going to attempt to answer all the questions you may have in this post. In this blog I’ve collected all the important information such as difficulty, costs, accessibility, gear, tours and more in one handy place to make the ideal guide for easy planning, of your own Overland Track, Tasmania trip.
Let’s get planning!
Contents
- 1. What is the Overland Track?
- 2. Why Should I Do the Overland Track?
- 3. How Long Does it Take to Walk the Overland Track?
- 4. How Difficult is the Overland Track?
- 5. When Should I Do the Overland Track?
- 6. How to Plan the Overland Track on Your Own
- 7. Side Trips on the Overland Track
- 8. How to Get To and From the Overland Track
- 9. Can I Do a Guided Tour of the Overland Track?
- 10. How Much Does it Cost to Walk the Overland Track?
- 11. What Should I Pack for the Overland Track?
- 12. Safety on the Overland Track
- BONUS TIPS
- Conclusion
1. What is the Overland Track?
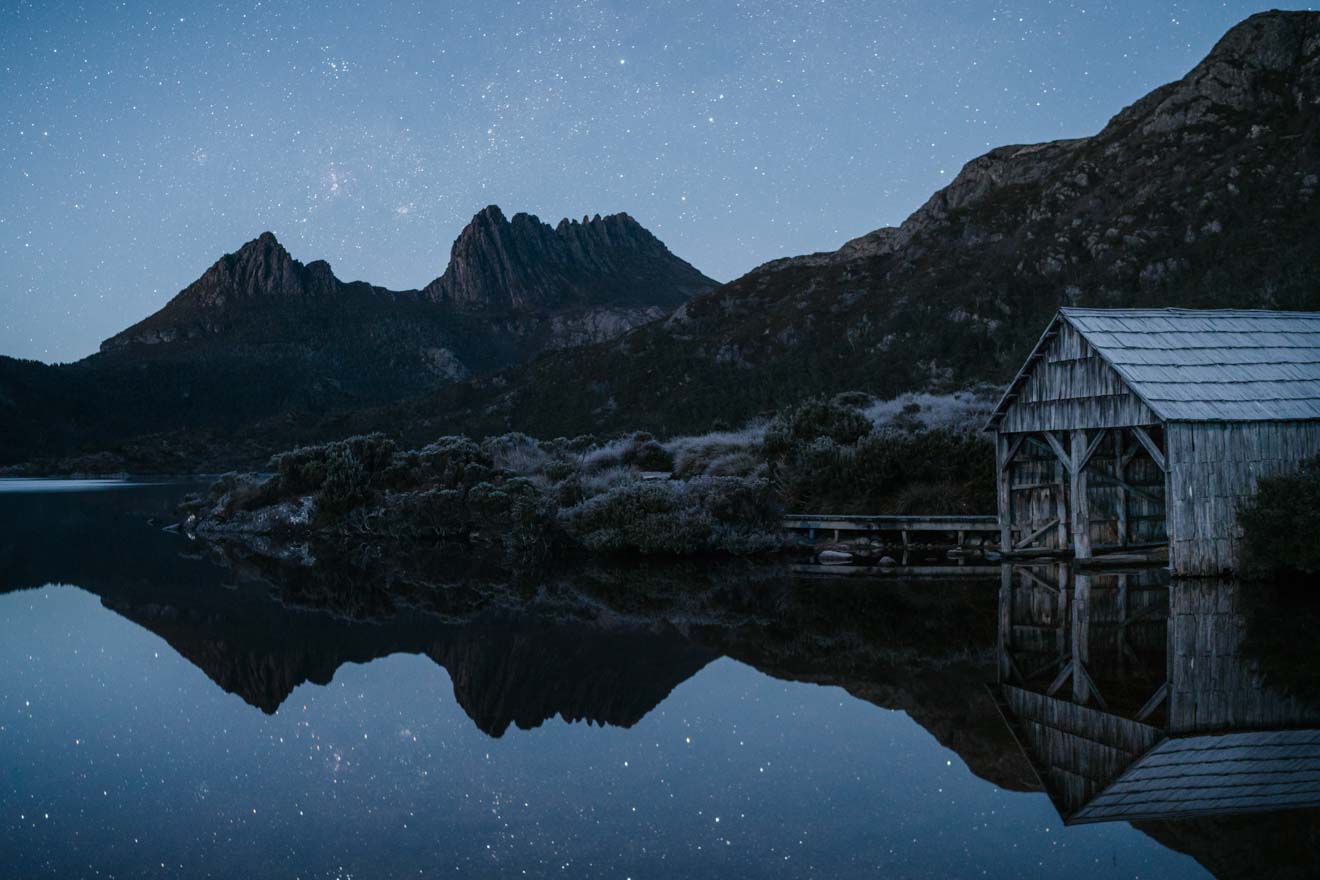
The Overland Track is known as one of Australia’s best hikes and over 9,000 people take it every year! Located in Cradle Mountain, Lake St Clair National Park, Tasmania, the trek is a one way, 65km trail, covering the entire length of the national park and is normally walked over 6 days.
Although those are the official lengths and times, there are many exciting day trips along the way and once you have the appropriate permits, you are allowed to spend as many days in Cradle Mountain as you like!
The parks staff have worked hard to make sure this path is the most accessible it can be. You will definitely appreciate their hard work when you are strolling the purpose built boardwalks and being sheltered from the elements in the wilderness huts you’ll find along the track.
The Overland Track takes you by ancient glacial lakes, temperate rainforests and incredible peaks such as that of the famous Cradle Mountain as well as Tasmania’s highest peak, Mount Ossa. It truly allows you to fully explore the beautiful nature and remoteness of Cradle Mountain.
2. Why Should I Do the Overland Track?
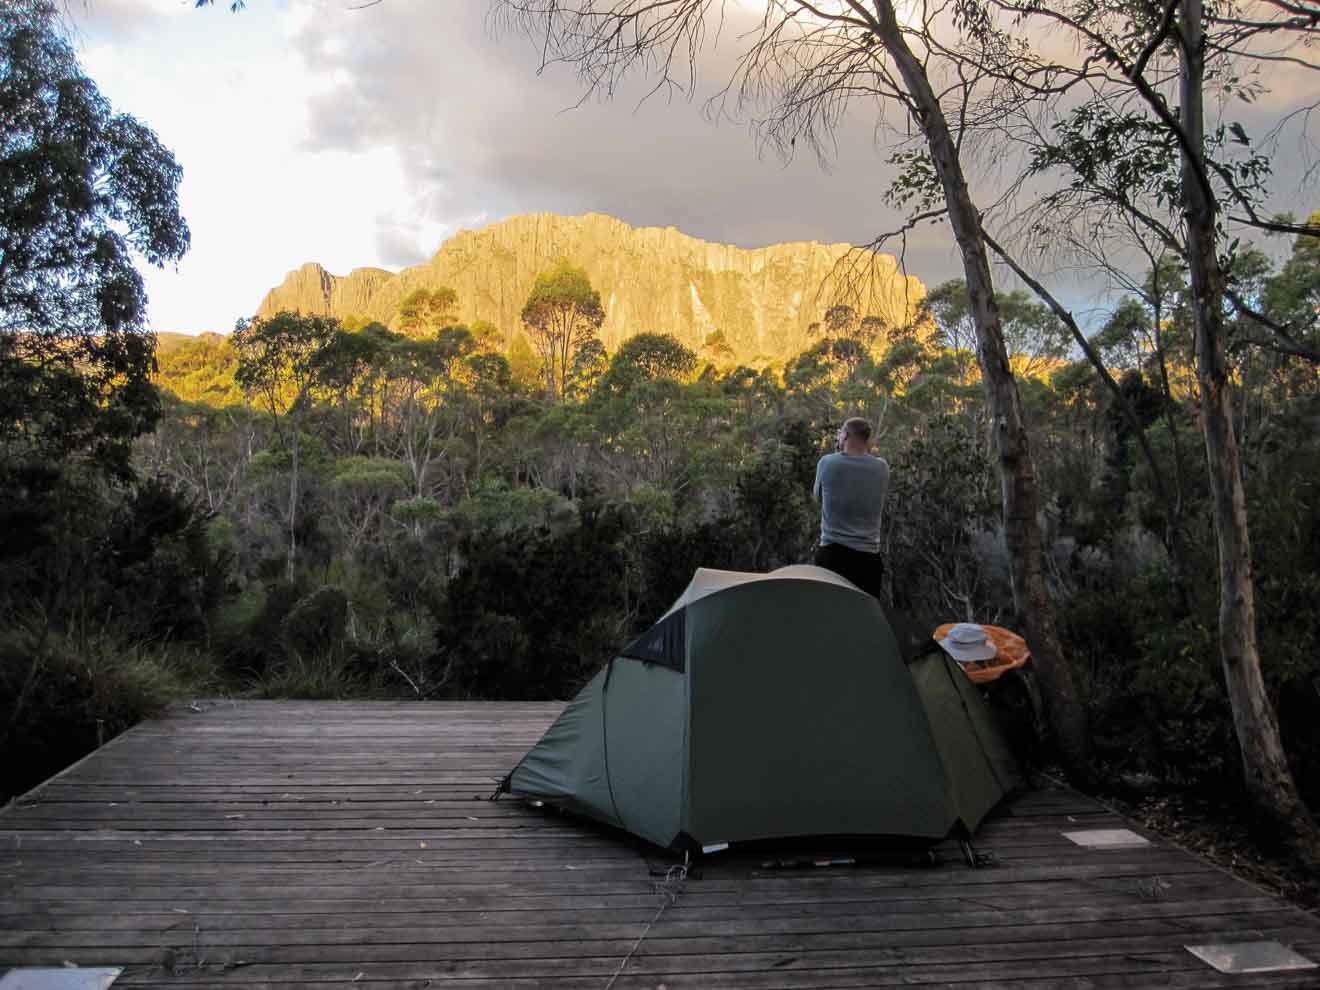
There’s no better way to explore the pristine environment of the Cradle Mountain world heritage area than by getting up close and personal with nature on foot. Its wilderness is home to many of Tasmania’s endemic species including both native Australian vegetation and animals.
You’ll see adorable pademelons (similar to small wallabies), possums and wombats along the overland track but keep your eye out for the more elusive echidnas and tassie devils who also live in the park.
For the bird lovers among you, this is the perfect place to find up to 11 species endemic to Tasmania with the area being recognised as an IBA (Important Bird Area)!
For me, it really doesn’t matter how or where I walk as long as there is beautiful scenery to be enjoyed along the way. The Overland Track has this in bucket loads and with such a variety, there is almost always something new around every corner!
Other than the breathtaking views and incredible nature, the boardwalks and well-maintained paths make the track accessible to people of all abilities making it a great first multi day hike, as well as providing plenty of extra adventure for those who are experienced in the outdoors.
There’s a reason Lonely Planet even calls the Overland Track one of the best treks in the world!
3. How Long Does it Take to Walk the Overland Track?
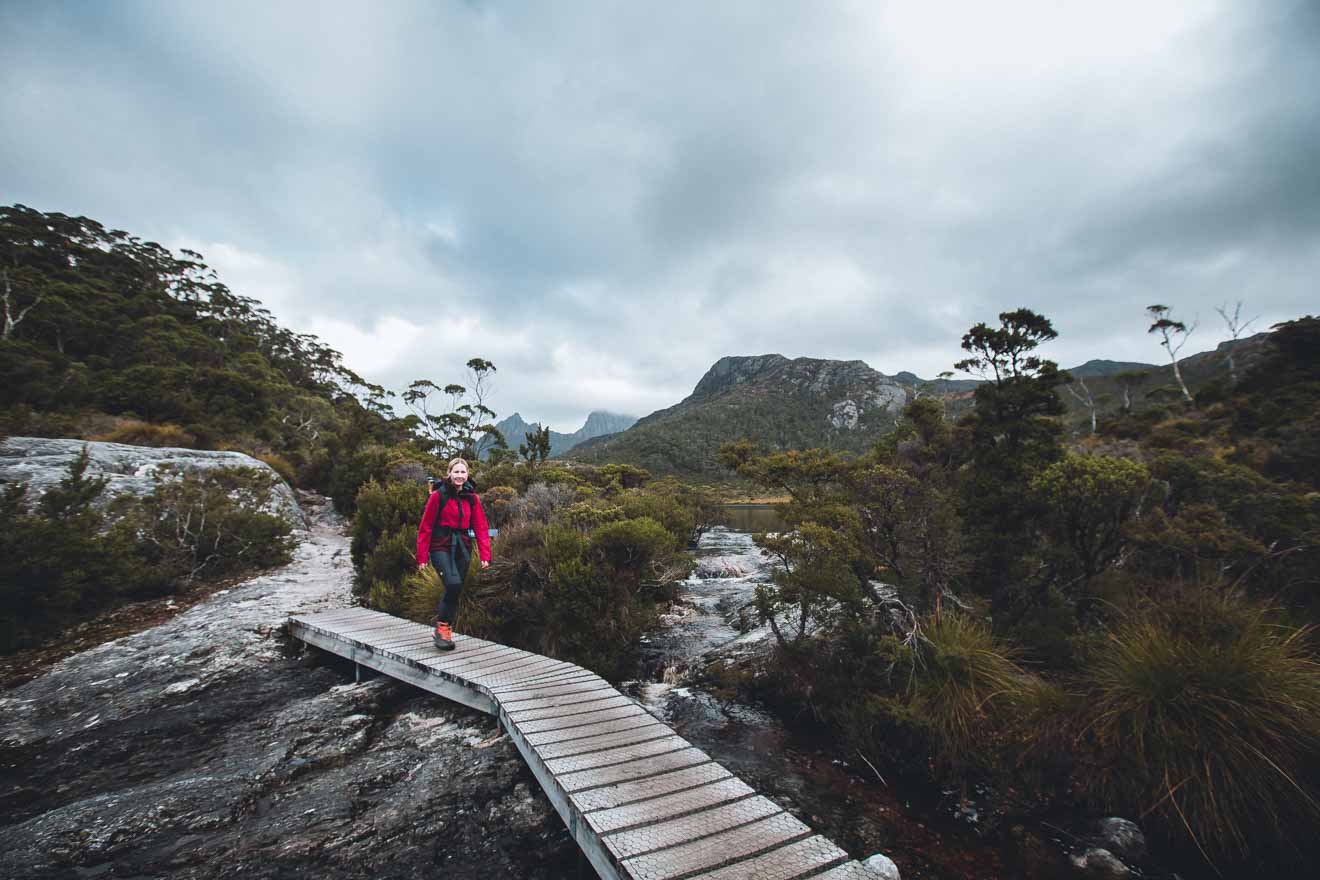
6 days! The Overland Track is officially 65km long from Cradle Mountain to Lake St Clair and most people traverse the park in 6 days.
However, the Overland Track can be done in as little as 7 hours and 25 mins (the record) if you are a fast walker with determination or can be extended a further 17km for another day of hiking.
Being an avid hiker and massive adventure lover, I always recommend spending as much time as possible in the mountains and so I recommend packing enough food and time for an extra day than planned. This allows you time to spend an extra day at camp if you discover you want a rest day or need to wait out the weather to enjoy the gorgeous views.
Subscribe here to get up to 35% off your accommodation for your next trip!
4. How Difficult is the Overland Track?
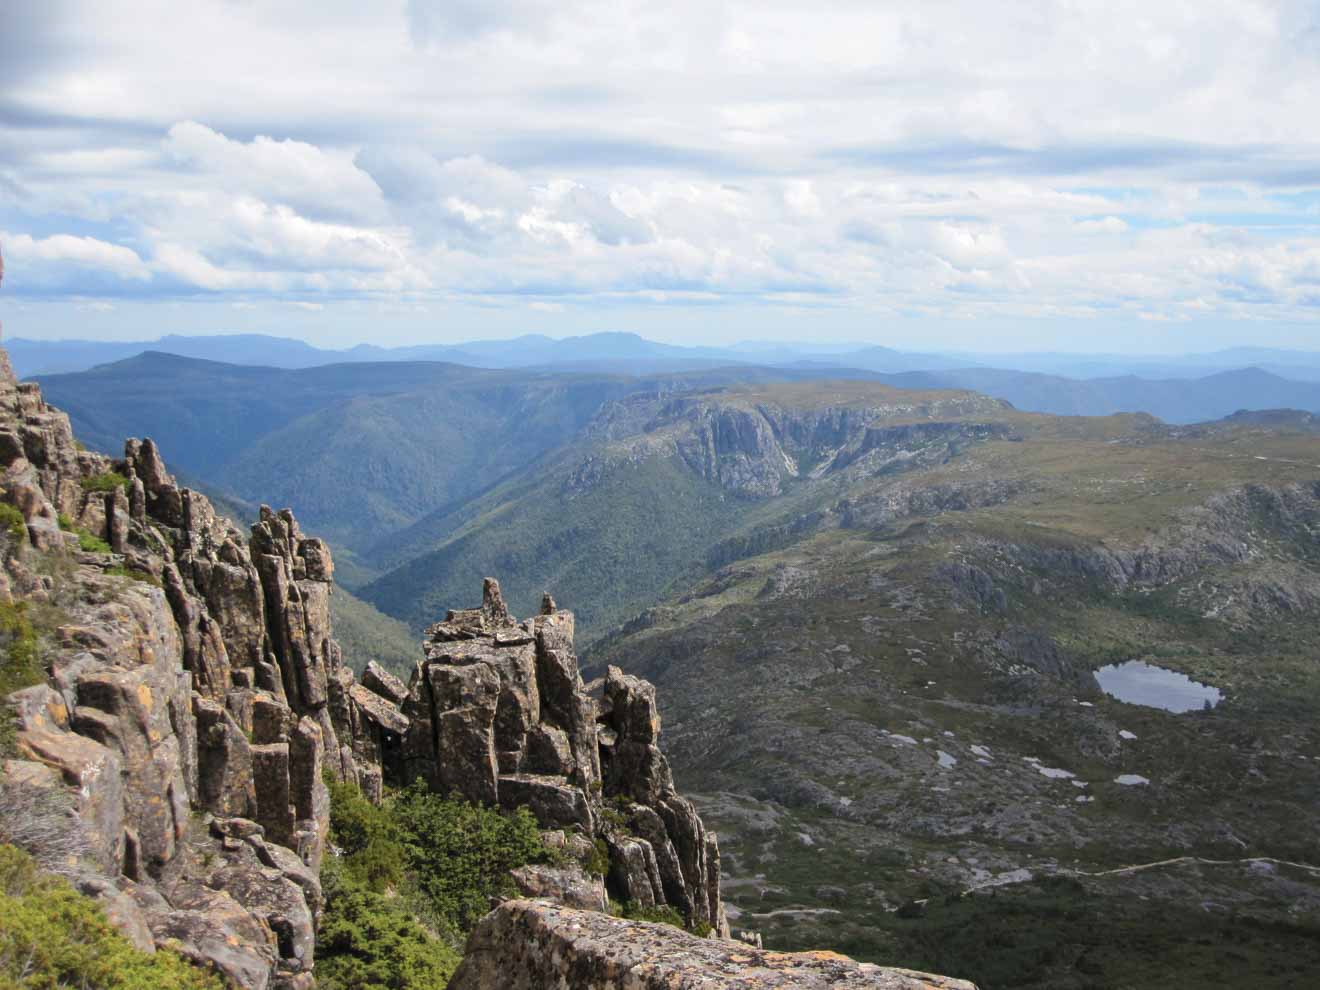
Although 6 days of hiking may sound intimidating to some of you who may not have done an overnight walk before, the Overland Track isn’t necessarily that difficult. This is thanks to the excellent infrastructure and the trail upkeep maintained by park rangers.
Being only 530 vertical metres between the highest and lowest points of the trek, although there will be plenty of ups and downs over the hike, most of the changes aren’t too dramatic and can be achieved by someone of good fitness.
Do remember that you will have to carry your own pack which should weigh between 9-18kg max depending on the weight of your gear and food. This, along with the unpredictable wild weather are probably the only difficult parts of hiking the Overland Track as a beginner. Don’t worry about it too much, being prepared with good quality gear and a comfortable backpack makes a huge difference and you will quickly get used to the weight after the first couple of days. I will talk about this in more detail later on.
FUN FACT: My first ever multi day hike (whilst carrying a full pack) was 7 days in Torres Del Paine in Chilean Patagonia. I went alone and carried 14kg, the heavier end for a trek like this. The first day was hot and hard and I remember thinking I might not make it the whole way. After a good night’s rest, the second day seemed almost effortless (even though I was hiking in 90km winds) and I’ve never stopped trekking since then!
5. When Should I Do the Overland Track?
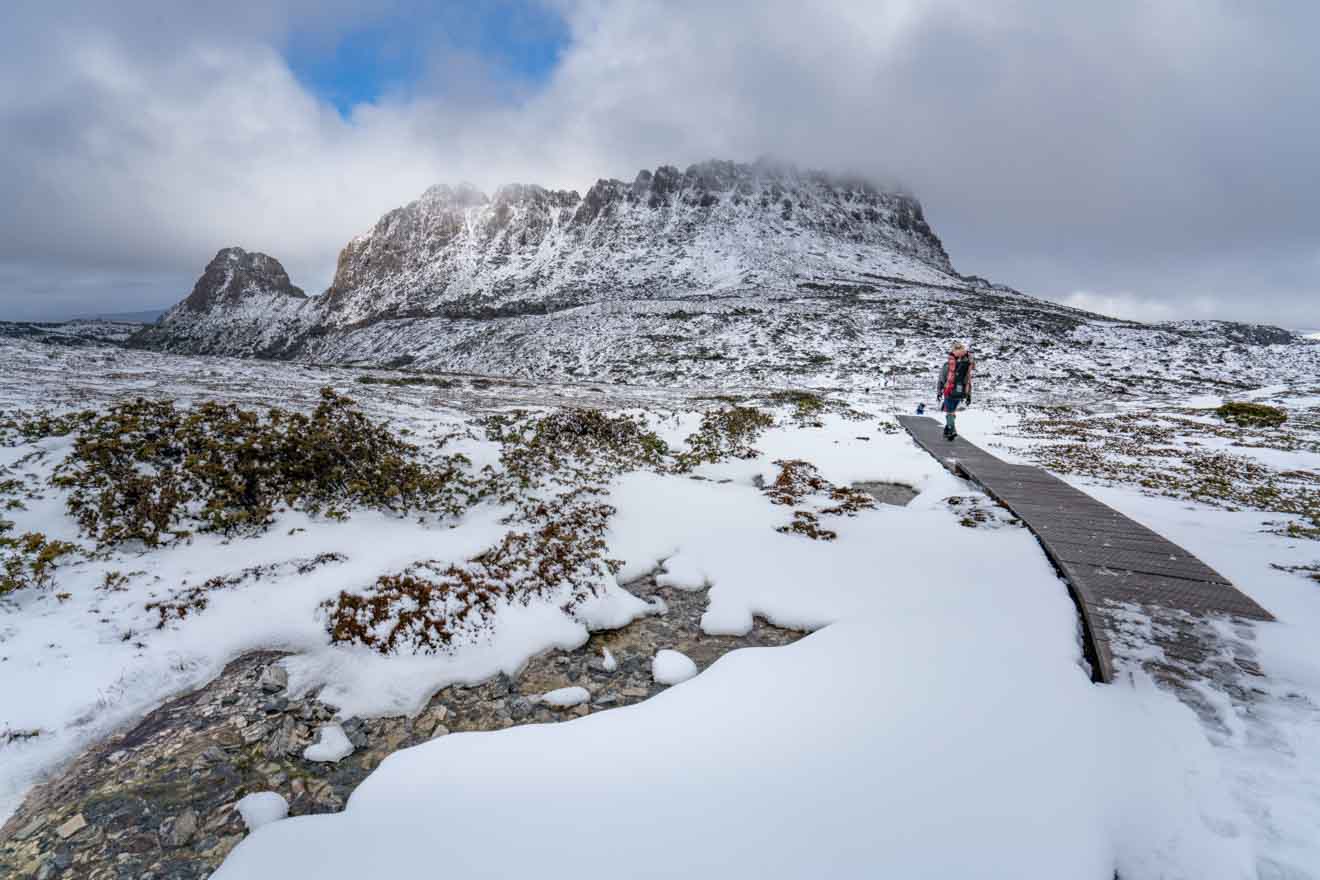
Although it is possible to walk the Overland Track all year round, it is best to hike in the dryer, longer days of summer. February is generally the top pick!
NOTE: Don’t be lulled into a false sense of security by this, snow and wild conditions are still possible even in the summer season and thus winter hiking should be left to the experienced.
Being the best time to do it, summer is also the busiest period. To combat this, it is necessary to purchase an Overland Track Permit if you want to hike between October-June. These are limited to 34 departures each day. In the colder, off-season, there is much less demand meaning you will encounter even fewer people on the trail and permits are not required so there is no need to book anything.
Overland Track booking for October to July treks opens on July 1st at 9 am. Permits cost $200 per person and reservations can be made here. If you plan on hiking in peak season, I recommend you purchase your pass as soon as booking opens in July as they quickly sell out every year.
NOTE: Due to current government restrictions, numbers will be limited to 12 walkers per day in the summer of 2020.
ATTENTION: Although it’s usually necessary to purchase your Overland Track Pass for summer well in advance, I suspect this year may be a great time for those of us who aren’t great at planning ahead to snag a last-minute pass if restrictions are eased. Scroll down to my #10 tip for all the details about prices for hiking the Overland Track in either season.
6. How to Plan the Overland Track on Your Own
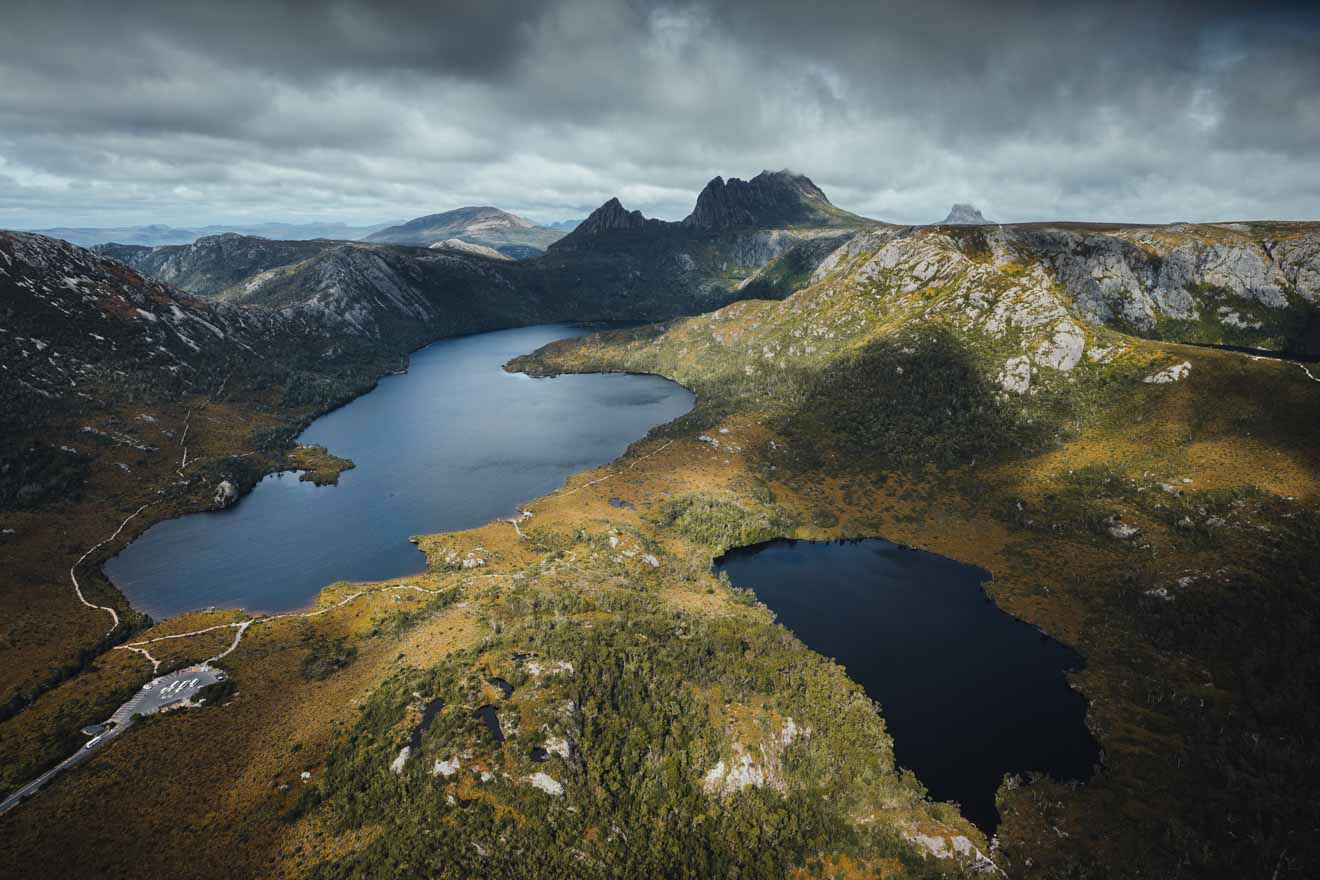
Doing the Overland Track on your own is easily doable, even for a beginner hiker with a little bit of planning. The great thing about the Overland track is that it is so well followed that it’s nearly impossible to get lost!
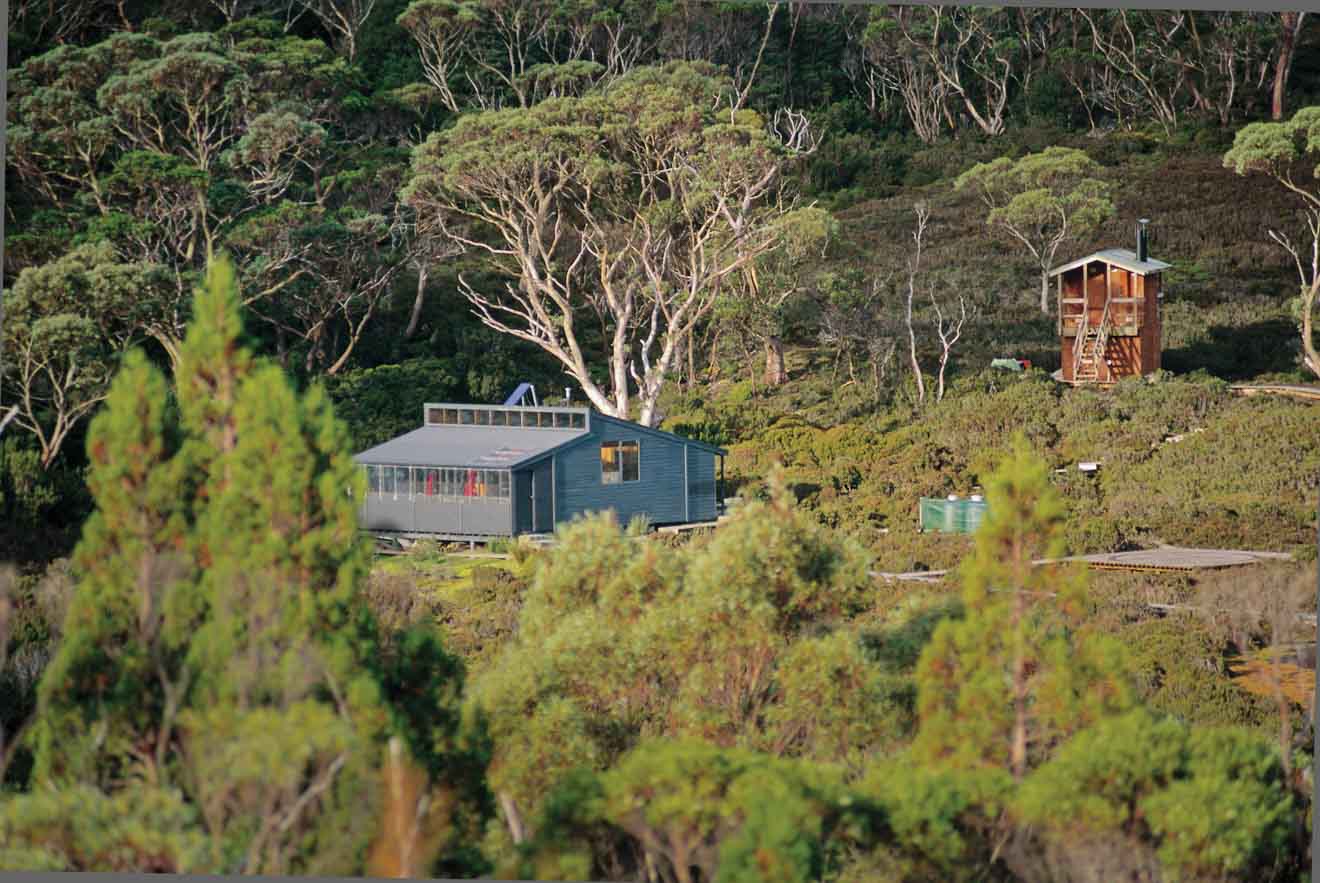
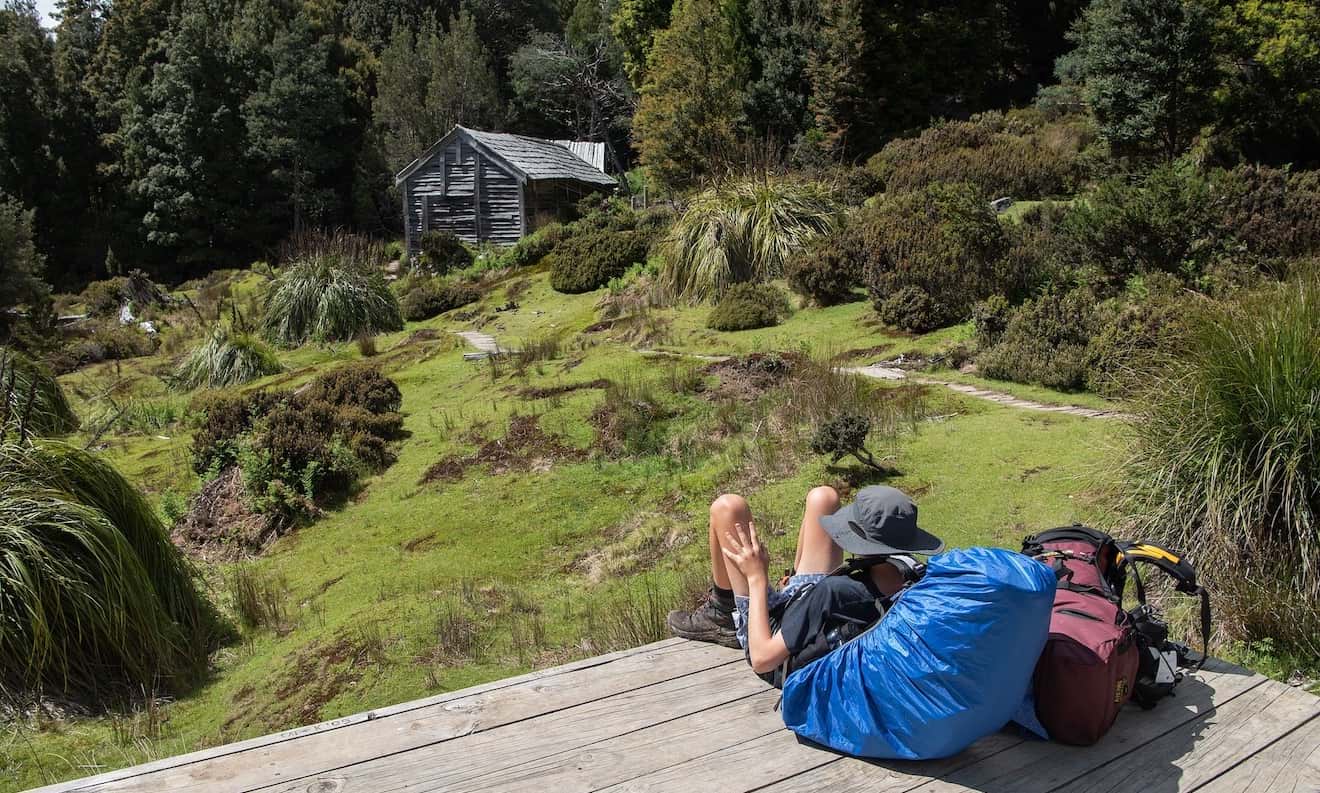
Alongside that, there are free public huts, strategically located throughout the trail available to stay the night or simply shelter along the way. In step 2 below I will talk about them in more detail but for a quick visual, check out this map to see the hut locations. Main huts have composting toilets and rainwater tanks for everyone’s use.
That being said, these huts are small and cannot be booked. Meaning there is not enough room to accommodate all the hikers who walk each day and carrying (as well as being prepared to sleep in) a tent is mandatory.
Around each of the huts (except Lake Windermere) you will find purposely built, wooden tent platforms. Again, these are first come, first serve although between the hut and tent sites, there is generally enough room for everyone on the trek. If you arrive at your planned stop and cannot find a space, consider continuing onto the next location. If this isn’t possible, you are allowed to pitch your tent anywhere you find a reasonable spot for the night.
NOTE: Due to current government restrictions, it is currently forbidden to sleep in the huts and all hikers must camp outside. They are still open and can be used in the case of an emergency.
Here are the steps I recommend to take to plan your perfect Overland track:
Step 1: Read Info on the official website
Your first step in planning your walk on the Overland Track should be to read all the information available on the Tasmanian National Parks Website. The up to date information found here is the most valuable source you will find and incredibly helpful in understanding the hike’s logistics.
Step 2: Decide on the direction of your track
Decide on the direction of travel as well as where you will spend each night of the hike.
From October-June when the Overland Track has restricted access, you must hike North to South (Cradle Mountain to Lake St Clair). This is also where you will pick up your Overland Track Pass at the Overland Track Information centre.
I recommend choosing this direction no matter what time of year you hike as you will encounter the hardest section within the first day. This makes it much easier to judge weather conditions and delay if need be. Also, it’s much easier to go up the steepest part as opposed to descending it as you would if you hiked in the opposite direction.
From the Overland Track Information Centre, during booking season, you will take a free shuttle bus to the start of the track at Ronny Creek. In peak season these shuttles run every 15mins in a loop stopping at the Interpretation Centre, Snake Hill, Ronny Creek and Dove lake (refer to this map for stop locations).
Although there are hotels close to the beginning and end of the trek. Whilst walking the Overland Track, you’re on your own. You have two options for accommodation – camping or sleeping in simple communal huts.
There are 7 main huts along the trail for you to choose from. Remember that they are first come first serve and you are allowed to stay multiple nights if you wish.
TIP: If you want to get a sleeping spot inside, leave super early in order to be one of the first arrivals at the hut each day!
Below is a list of the main huts available, plus distances between them. Like I previously mentioned, most people plan at least 6 days to complete the hike so feel free to pick the locations that suit you, or decide as you hike! (Waterfall Valley Hut is currently undergoing renovations which should be finished this summer however, the Scott-Kilvert Hut can be used in replacement.)
- Ronny Creek (starting point) – Waterfall Valley Hut (17.7 km)
- Waterfall Valley Hut – Lake Windermere Hut (no tent sites) (7.6 km)
- Lake Windermere Hut – Pelion Hut (14 km)
- Pelion Hut – Kia Ora Hut (7.9 km)
- Kia Ora Hut – Bert Nichols Hut (8.6 km)
- Bert Nichols Hut – Narcissus Hut (Popular endpoint for Ferry across Lake St Clair) (9.4 km)
- Narcissus Hut – Echo Point Hut (6.7 km)
- Echo Point Hut – Cynthia Bay, Lake St Clair (End Point) (10.9 km)
Step 3: Book your pass

If hiking between October-June, you will need to purchase two permits. The Overland Track Pass and a National Parks Pass. If hiking in any other month of the year, you only need to purchase a National Parks Pass.
a) Overland Track Pass:
If hiking between October 1st and May 31st, hiking numbers are limited by the requirement of having an Overland Track Pass. These often sell out a short time after sales open on July 1st at 9 am, so it’s best to try and be one of the first people to book on the day.
If booking for others in your group, you will require everyone’s full names and ages, any concession card information if applicable, and a credit card to pay for them.
You will pick up your physical Overland Track Pass at the visitor centre upon arrival. Don’t forget you will need to present your tax receipt from the purchase, valid concession cards (if applicable) and a filled-in walker safety checklist.
COST: Adults $200, Children under 17/Concession $160
NOTE: There will be a 50% discount to these prices for treks between October 1st and December 31st 2020.
b) National Parks Pass:
As the walk takes place within Cradle Mountain, Lake St Clair National Park, a valid Tasmanian Parks pass is required.
These are unlimited and can actually be purchased on-site so you won’t need to be in such a rush to get one, however, it’s helpful to be prepared and have everything purchased before you go for a stress free trip.
Even if you’re planning on running the trail in one day, you will need to purchase a National Park Pass. Daily passes for Cradle Mountain only are $16.50 for adults or $8.25 for children under 17 years old.
For any visits over 24 hours including the Overland Track, you will need to purchase a holiday pass for $30 per person. This allows you up to 2 months entry to all of Tasmania’s national parks.
NOTE: I have a great post about top national parks in Tasmania and about Freycinet National Park in particular if you want to check them out!
COST: 24 hours-Cradle Mountain only, adults $16.50, children (<17) $8.25.
Visits over 1 day, $30 per person (all ages).
7. Side Trips on the Overland Track
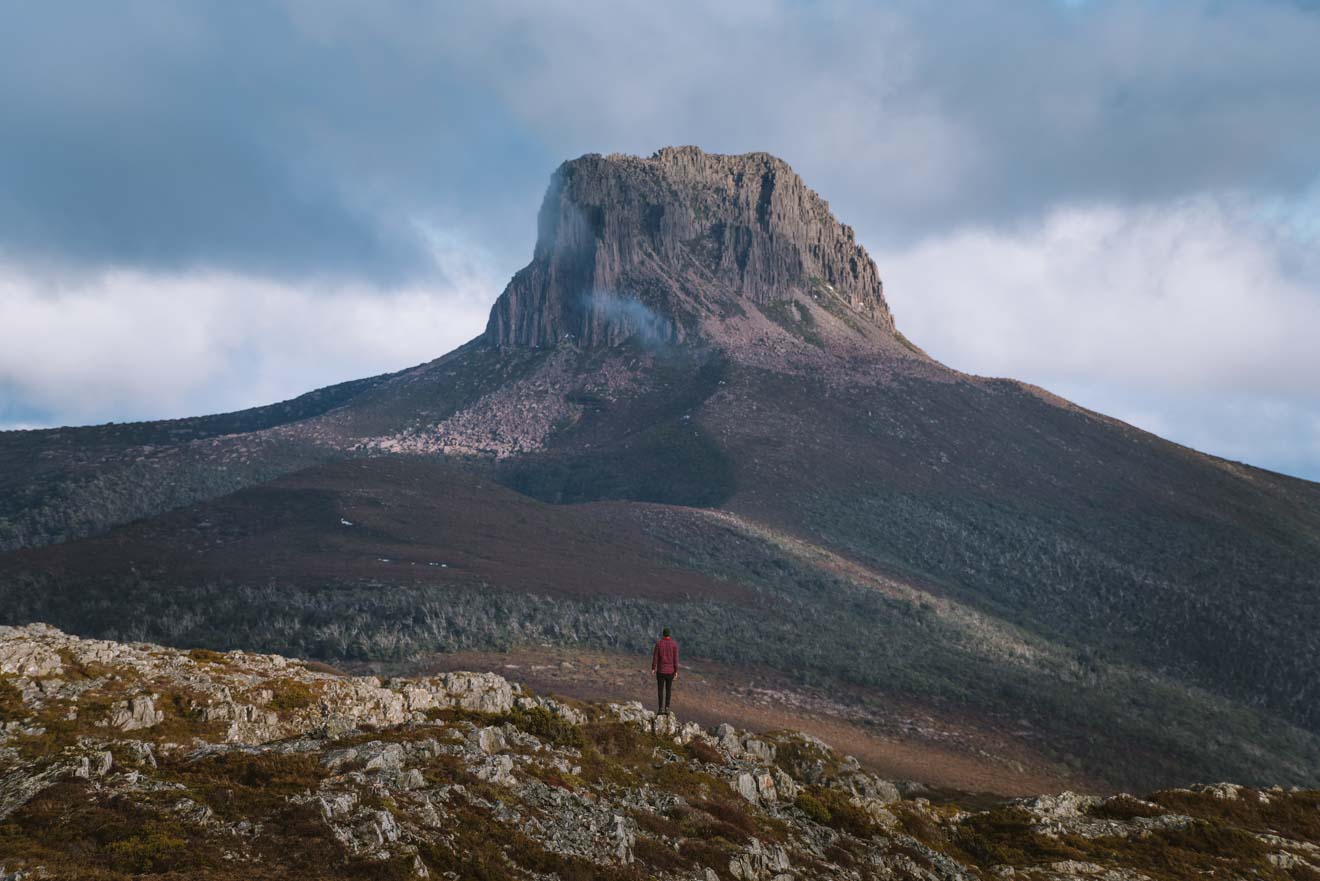
No matter how much time you have, I highly recommend squeezing in these top 2 side trips, even if it means you have to spend an extra night in a hut.
1) Barn Bluff – Starting 9km from Ronny Creek, this 7km return side trip to Barn Bluff will give you a great view over the terrain you will walk in the first couple of days. Barn Bluff looks like a barn from certain angles, giving it its name.
Most people do the Barn Bluff side trip on their first day by first dropping off their large packs at camp before returning to climb the steep boulders of Barn Bluff without the extra weight.
2) Mount Ossa – Climb the highest mountain in Tasmania on this 5.2km return side trip. Stay an extra night at Pelion Hut and take the track which splits off after 1.6km at Pelion Gap.
8. How to Get To and From the Overland Track

If coming from out of state, your first step would be to get to Tasmania. The quickest option is to fly to Launceston however if you’re bringing your own car or want to go the adventurous route, catch the Spirit of Tasmania to Devonport.
From here it is a 1.5 hr drive from Devonport or 2.5 hr drive from Launceston to the northern park entrance. If you choose to drive and leave your car at the trailhead, after arriving in Sheffield from either starting point, take the C136 and C132 to the park entrance.
If you don’t have your own car, renting one is a great option should you wish to continue your adventure after the trail and check off a few more of Tasmania’s best things to do. Check out my other post for a full road trip itinerary in Tasmania.
If you choose to leave the car at home, these companies offer shuttles to and from Cradle Mountain from Launceston starting from $75 per person, one way:
- Overland Track Transport
- McDermotts Coaches
- Cradle Mountain Coaches
- Outdoor Recreational Transport
- Wilderness Expeditions Pty Ltd
- Tasmanian Wilderness Experiences
- Island Adventure Shuttles
As mentioned before, after collecting your permit at the entrance, you will be transported on a free shuttle to Ronny Creek.
Ferry to Cynthia Bay, the End of The Overland Track (Lake St Clair)
As the official Overland Track ends at Narcissus hut, the northern end of Lake St Clair, many people choose to take the ferry across to finish their adventure in Cynthia Bay.
This is a private company that runs services from either end of the lake, taking 30 mins.
Boats depart Narcissus at 9:45am, 1:15pm, and 3pm. Pick up is also available at Echo Point or Cynthia Bay.
Bookings are essential and can be made by calling 62891137 or emailing [email protected].
COST: Adults $50, Children (Under 12) $25.
Returning Back to the City
If you came with one of the transfer companies mentioned above, organise your return to either Launceston or Hobart before you head off, and remember to take their phone number with you in case you finish early or get delayed.
If you left your car at the Cradle Mountain car park, one option is to turn your walk into a loop and return via the eastern side of Dove Lake (some backtracking is required).
Alternatively, book with one of the shuttle companies listed above for a transfer from Lake St Clair to Cradle Mountain to pick up your car.
9. Can I Do a Guided Tour of the Overland Track?
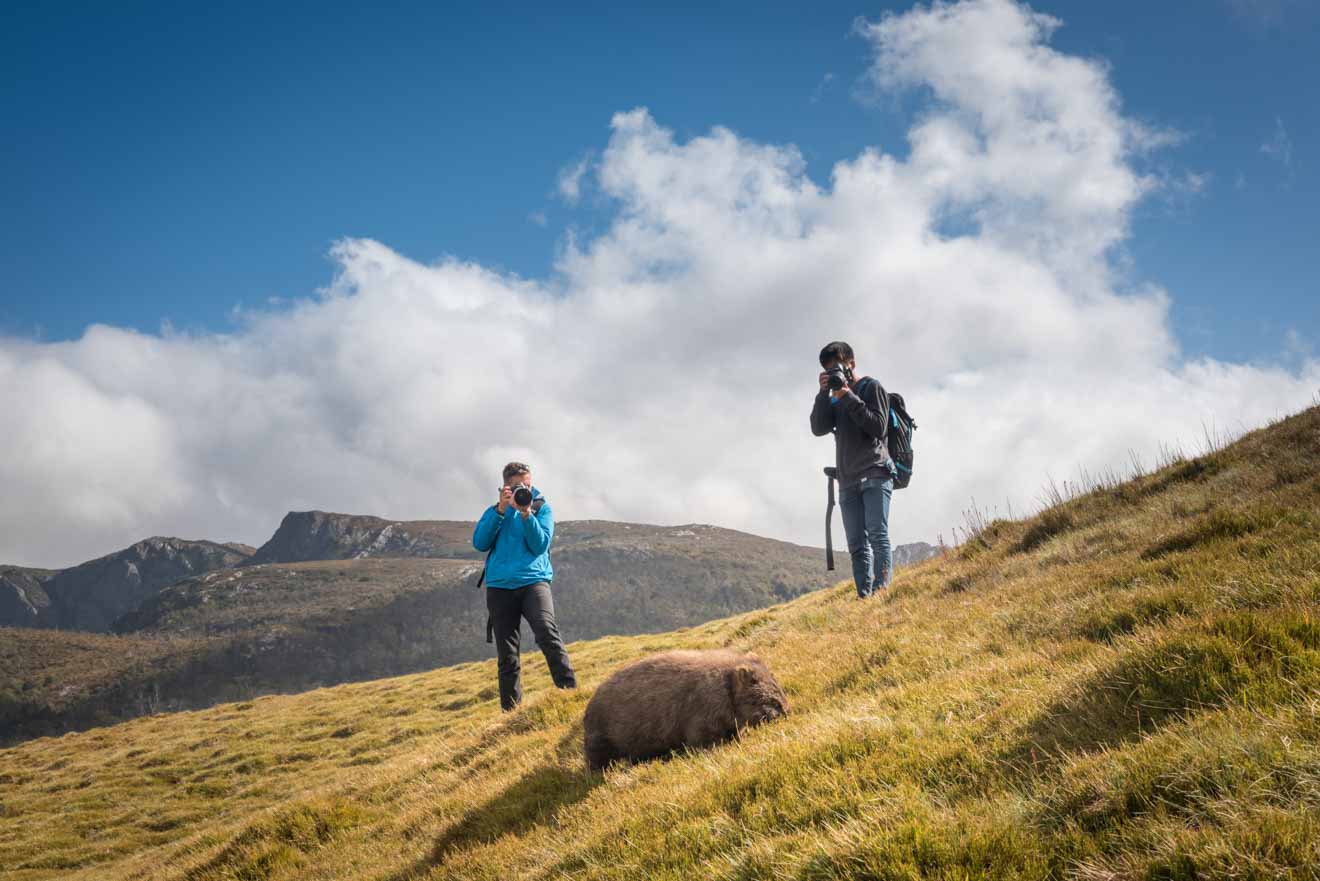
Yes! There are few different companies who offer guided hikes for groups on the Overland Track however I recommend checking out this 6-day Overland Track Tour. If you want to head out on the hike but don’t know anyone of equal enthusiasm, joining a tour is the perfect way to make friends along the way!
Starting from Launceston, you will be transferred to the start of the walk at Ronny Creek in Cradle Valley to start your journey!
For the next 6 days, you will carry your own pack and set up your own tent to keep the hike as authentic as possible. Don’t worry if you need help setting it up the first day, your guide will give you some pointers!
The biggest benefit to doing any tour is that you don’t have to worry about the bookings and logistics of the adventure. Food, transport and planning is all done for you! As well as this, you’re also able to borrow all the main equipment meaning this is a great option for anyone who doesn’t already own the big ticket items like a tent.
The thing that makes this particular tour unique is that you’ve got two guides who will accompany you on your tour, walking with you at the front and back of the group to ensure your safety and that you get the most out of your trekking days. They will also be in charge of making sure the camp is set up each night and cooking.
COST: $1,480 Fully inclusive of all costs
10. How Much Does it Cost to Walk the Overland Track?
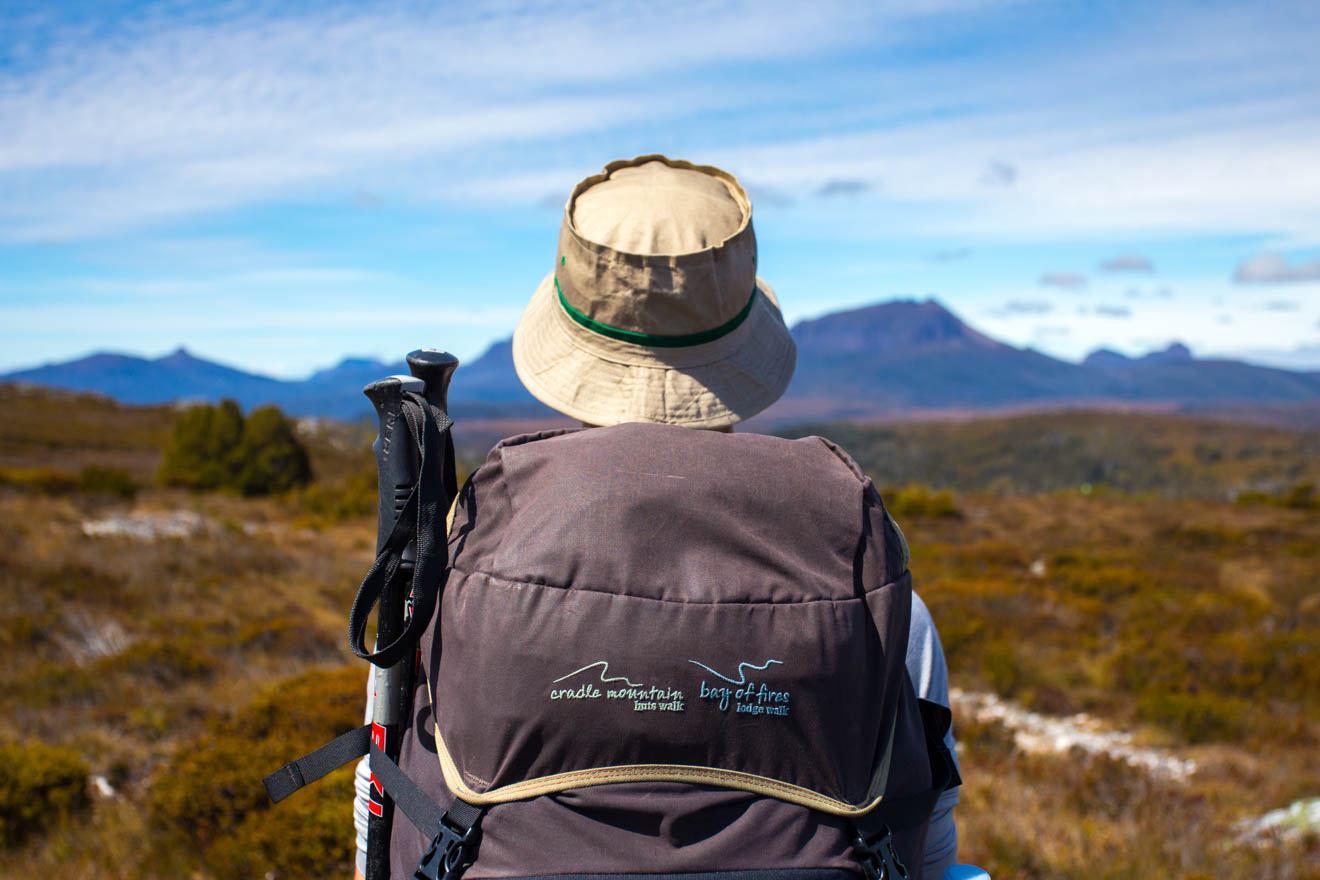
The main difference in cost of walking the Overland Track is the permit that is only required in summer. Another thing to take into consideration when hiking in summer is that accomodation and transport before and after your hike may have higher prices.
Here is the approximate costs for a 6 day trek with transport from Launceston in both low and high season. Notice that the food cost is quite high as this is assuming you purchase freeze dried hikers meals to save weight. This price can be significantly reduced if you plan to make your own food.
Summer (October-May)
- Overland Track Pass: $200
- National Park Pass: $30
- Lake St Clair Ferry (Optional): $50
- Return Transport to Launceston (Optional): $150
- Food-Freeze dried hiking meals, 6 days (Variable): ~$200
= $630 per adult for the 6 day walk.
Winter (June-October)
- National Park Pass: $30
- Lake St Clair Ferry (Optional): $50
- Return Transport to Launceston (Optional): $150
- Food-Freeze dried hiking meals, 6 days (variable): ~$200
= $430 per adult for the 6 day walk.
11. What Should I Pack for the Overland Track?
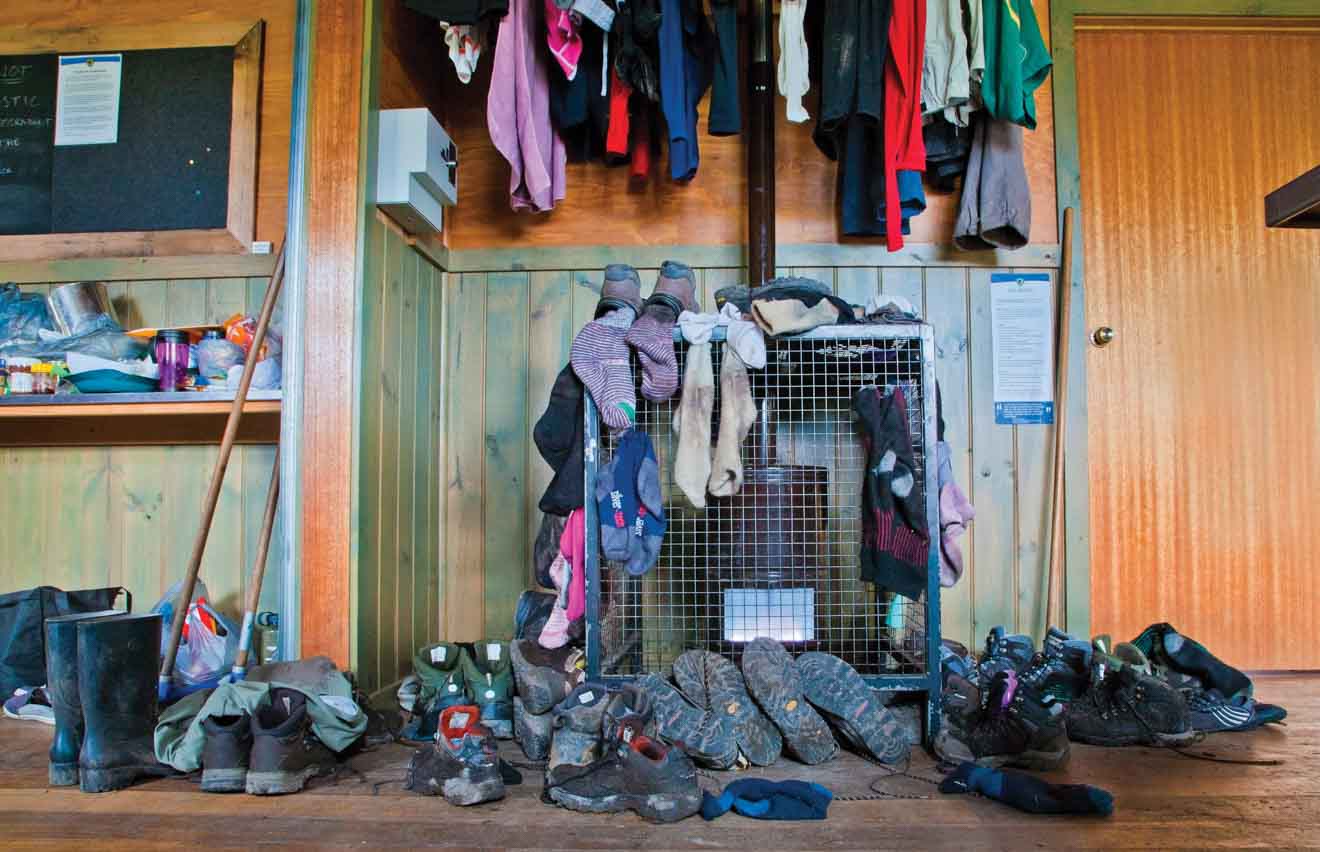
Tasmania parks has provided a really handy walker packing list which is really great to insure you don’t overpack, nor forget to bring something. Here are my suggestions for good quality essential gear to pack.
12. Safety on the Overland Track
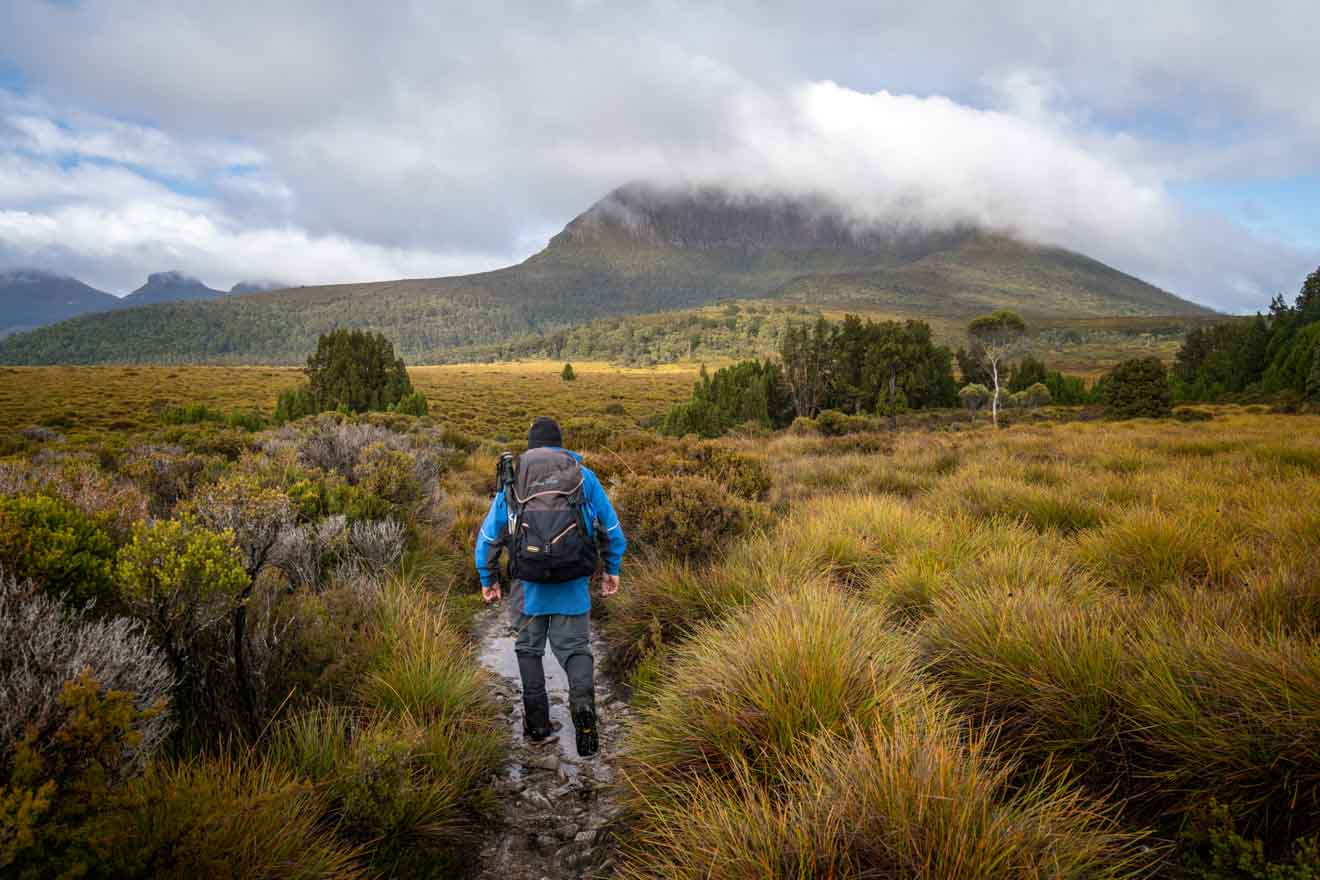
Although usually pretty safe, hiking anywhere comes with risks and the unpredictable weather found on the Overland Track can unfortunately lead to some serious situations.
If you are prepared, the outcome is going to be much better. Read the parks and wildlife service guide to planning for the Overland Track and always make appropriate arrangements just in case.
Here are 4 simple things you can do in preparation to make your hike more safe.
- Check the weather before you go. In the case of blizzards or heavy storms, consider delaying your start by one day. Call the parks and wildlife service on 1300 135 513 to seek advice if unsure.
- Write down a detailed plan of your walk and leave it with a reliable friend. Include your start and end dates and possible window of extension if you are being flexible. If you’re staying at the same hotel before and after the trip, it’s a good idea to also leave these plans and dates with the reception, they should be able to react quickly if you do not arrive within your designated window.
- Sign ALL the log books located at the visitor centres on either end of the park, as well as in each of the huts along the Overland Track. If you go missing or in the case of a bushfire, rangers will be able to check these books to help narrow the search area and locate you for evacuation.
- Take a Personal Locator Beacon. These can be activated in a life threatening situation to alert authorities of an emergency. They can be hired from Service Tasmania shops in Launceston or other major towns throughout Tasmania as well as a limited number being available to borrow at the both of the Cradle Mountain, Lake St Clair Visitor centres.
| 🚶🏽♂️ Distance: | 65km one way |
| 📅 How many days: | 6 |
| 🧗♀️ Difficulty level: | Medium |
| 🎤 Guided Tour: | 6 day Overland Track Photo Tour |
BONUS TIPS
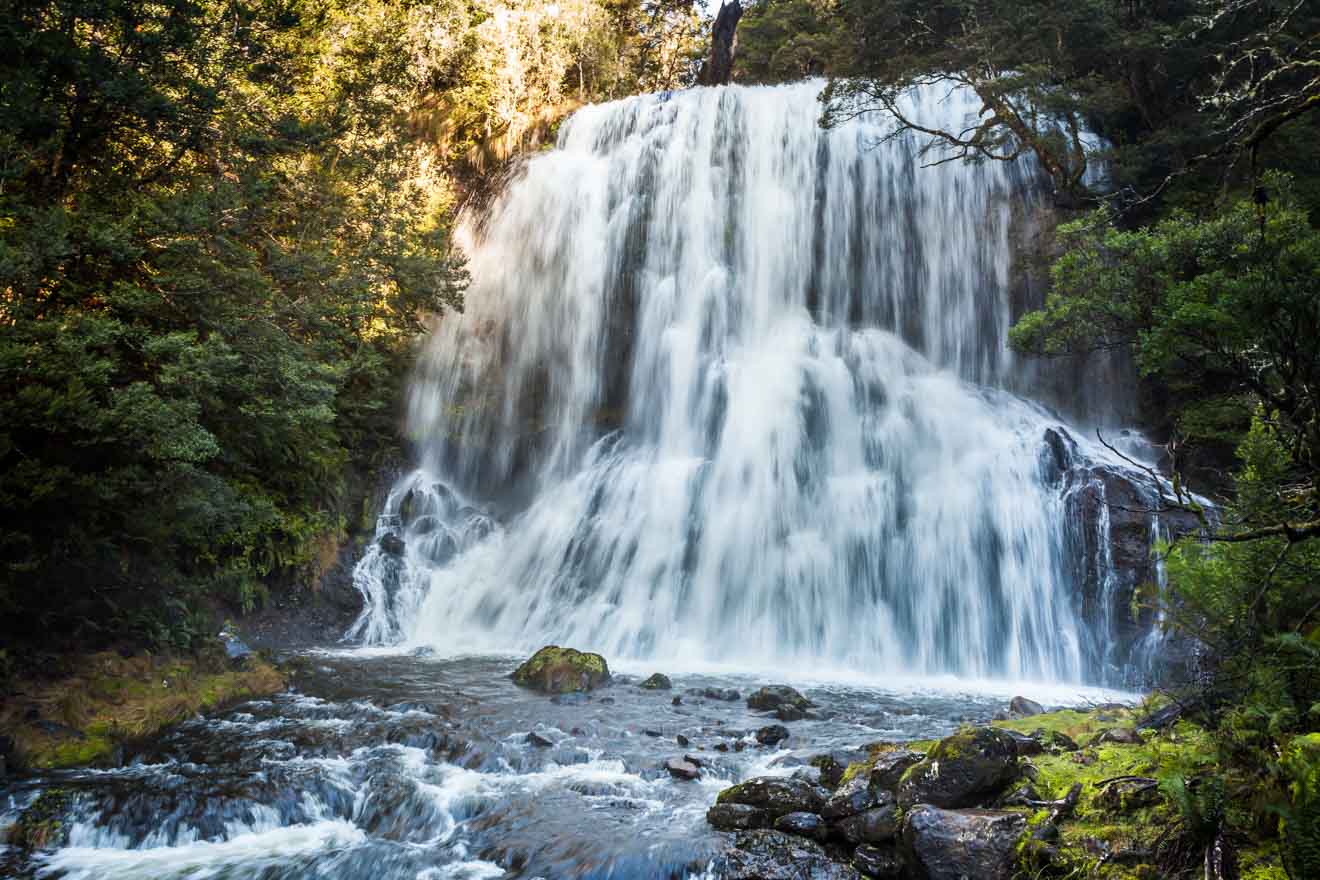
Now that you’ve read through all the specific details and logistics of the hike itself. Here are 3 bonus tips that aren’t commonly spoken about but are really handy to know about before you go!
- Currawong Birds
These scary looking, large black birds are very good at breaking into unattended backpacks and tents in search of food. (Yes, they can open zips). Make sure you’re not robbed by the pesky locals by either bringing (and carrying out) a bunch of zip ties to secure your bag, or a bag cover to hide the access points.
It’s also advised avoid keeping food in your tent and instead, hang it up inside the huts.
- Leeches
Leeches are common in many parts of Tasmania, particularly in its national parks due to the damp terrain. Wear long pants and sleeved tops as much as possible as well as gaiters, to prevent having these slimy suckers latch onto your skin.
- Water
The benefit to the rainy climate is the abundance of water throughout the park. Water is available from a natural river around nearly every corner of the Overland Track, as well as being available from rainwater tanks at each of the huts.
NOTE: All water including from rainwater tanks should be boiled or filtered before consumption. I personally use a life straw on all my hikes as it doesn’t require waiting, you can drink straight from the sauce and the water is filtered as you drink through the purifying straw!
Conclusion
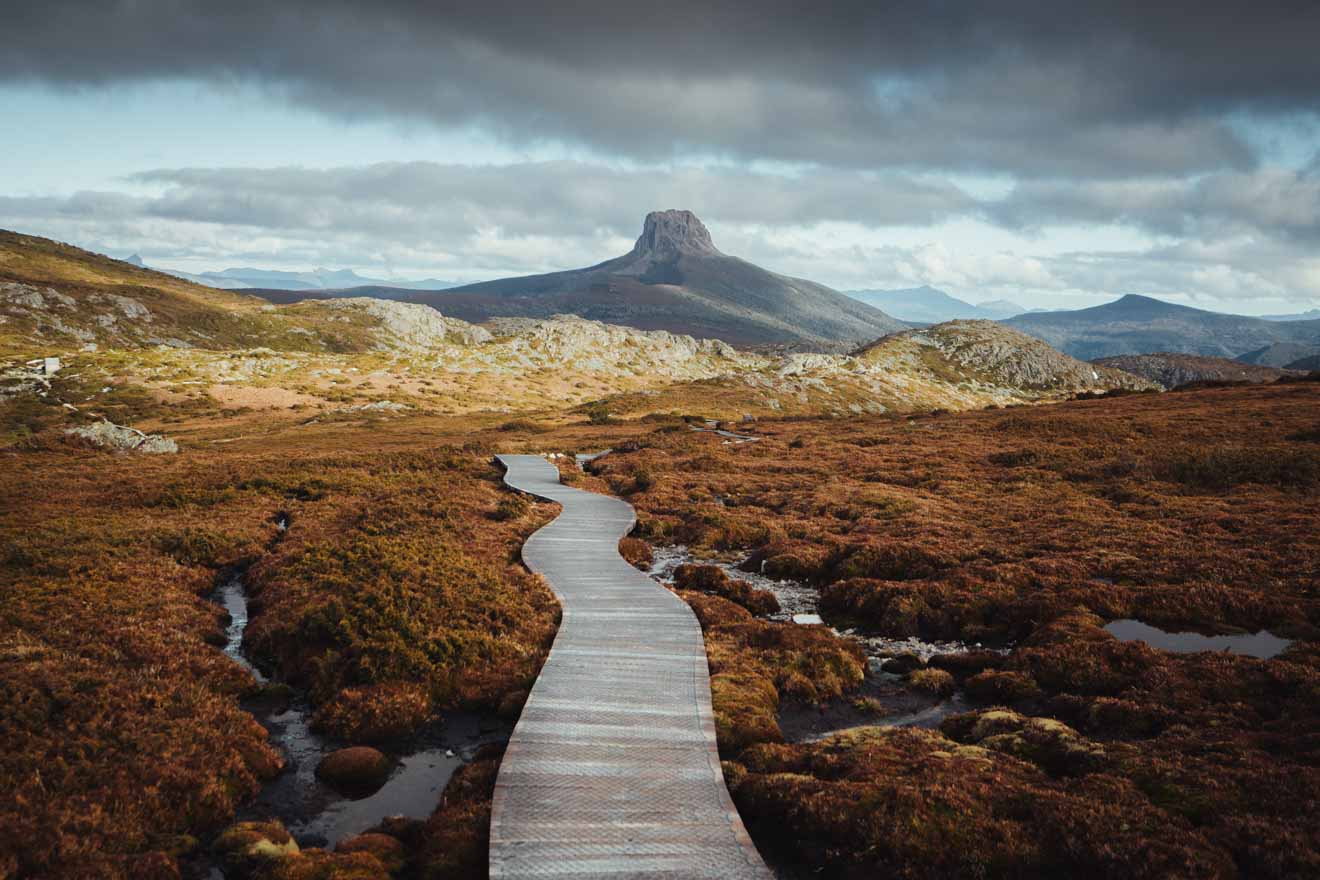
Now you’ve read the 12 things you need to know, you’re ready to choose some side trips and hit the Overland Track in Tasmania! Don’t forget to check out our other post for more things to do in Cradle Mountain.
I can’t wait to see your alpine adventures on the track in the comments. Please let me know which was your favourite hut once you’ve completed the trek or ask away with any questions you have today! 🙂
Happy Overland tracking!
Kate Fletcher
Pin it for later!
Pin it for later!

 Kate Fletcher




This site is protected by reCAPTCHA and the Google Privacy Policy and Terms of Service apply.