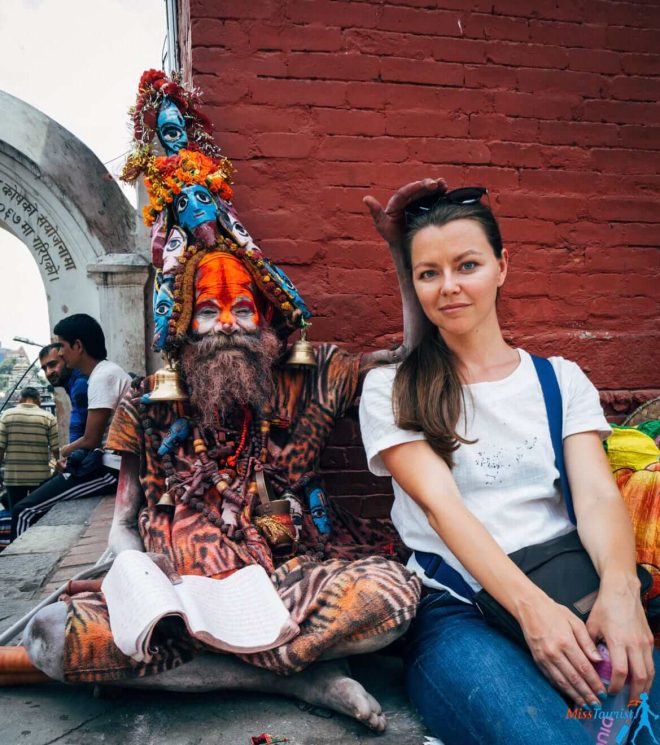
 Yulia Saf
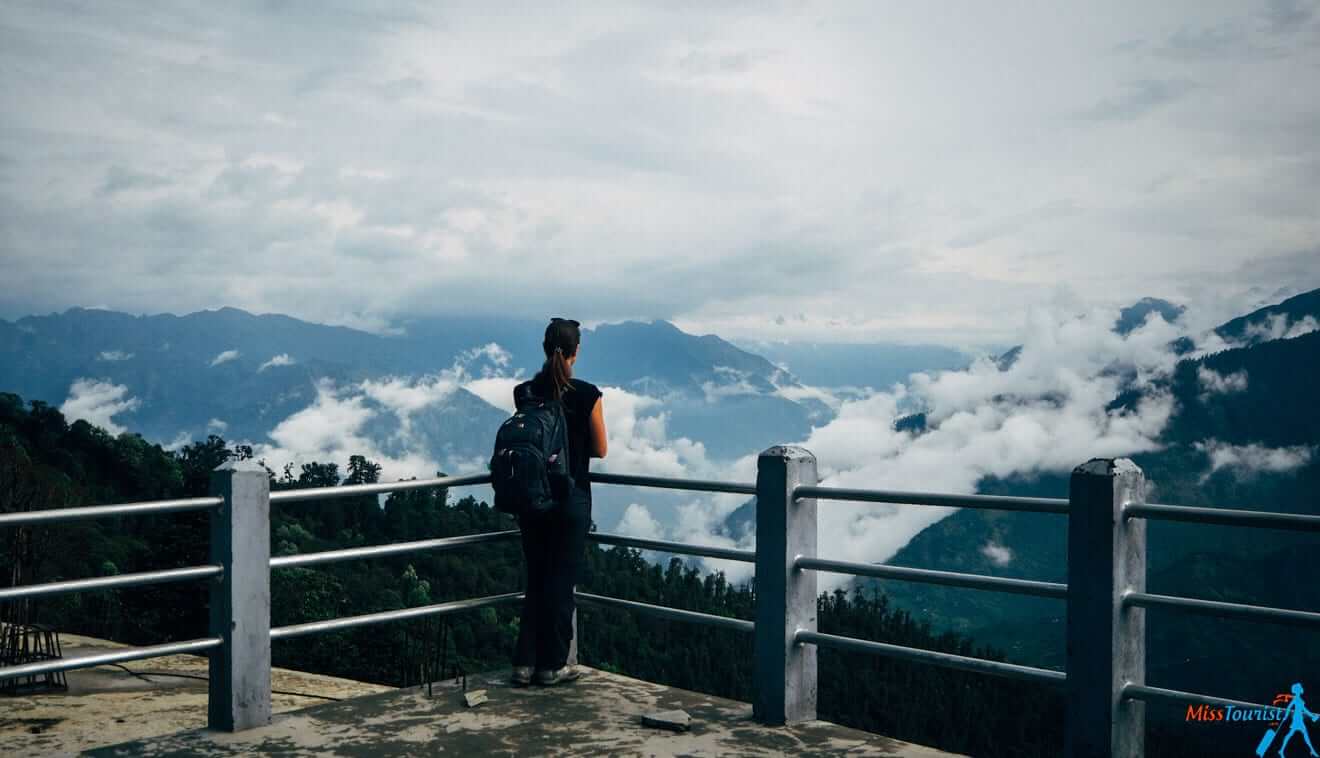
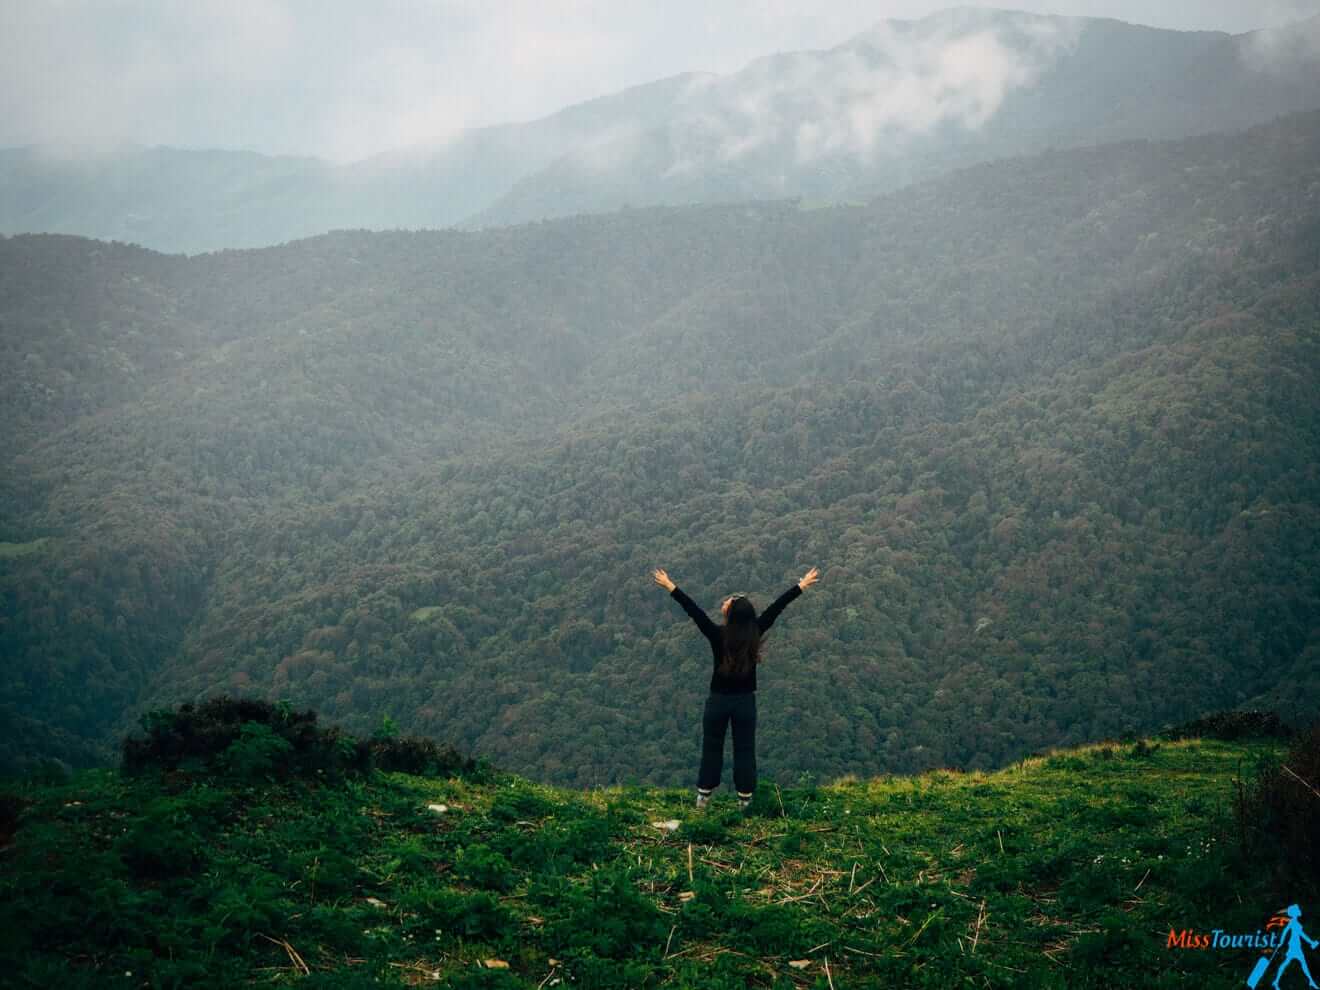
Nepal was always something mysterious and inviting for me. I was charmed looking at the pictures of the mountains and always wanted to go trekking there.
There are so many thing you should know about the trek, some of them are not necessarily shared, so I decided to write down my experience.
I did the Ghorepani Poon Hill trek, but my tips are pretty much applicable for any trekking in Nepal actually.
Contents
- 6 things you should know about trekking in Nepal:
- 1. Don’t go in the rainy season
- 2. Moderate level might not seem so moderate
- 3. There are actually hot showers and some kind of internet
- 4. You can do the trek without a guide if you wish to
- 5. You do not need to carry your own bag; hire porters
- 6. You can rent your hiking gear in Pokhara (or at the Annapurna Eco Village)
- Poon Hill trek day-by-day description
- Other things you should know about the Poon Hill trek
- Other things you should know about Nepal
- Conclusion
6 things you should know about trekking in Nepal:
1. Don’t go in the rainy season
The main disadvantage of trekking during the rainy season (except being wet) is that you will not see the views. If the sky is not clear, the mountains will be covered by the clouds, and you won’t see what you came here for.
We have seen a bit of a Fishtail mountain (also known as Machapuchare) and a bit of the Poon Hill itself, but by the time I came back with my camera back from the room, it was already hidden by the clouds.
Not only that, but the trek can be muddy and full of leeches. Transport delays are common during the rainy season too. Convinced? So when is the rain season?
May to August is the monsoon season. While you can be lucky with the weather, the chances are high that time it will rain a lot. I visited in the end of May, and we were not lucky, but you might be!
October to December is the best season to visit the hilly regions, because the weather is clear and cool.
2. Moderate level might not seem so moderate
The level of difficulty depends on the trek, but I would take the description of the tour with a grain of salt.
Even if it says easy-moderate level of hike, I would still recommend preparing for the hike beforehand and being fit. The Himalayas are not a walk in the park, no matter what the description says.
Well, don’t get me wrong, it is a wilderness survival trek either, but just be a bit prepared before the trek, ok?
The trek was not challenging for me (though it was certainly tiring), I have done some trekking before (like Torres Del Paine or Colca Canyon in Peru).
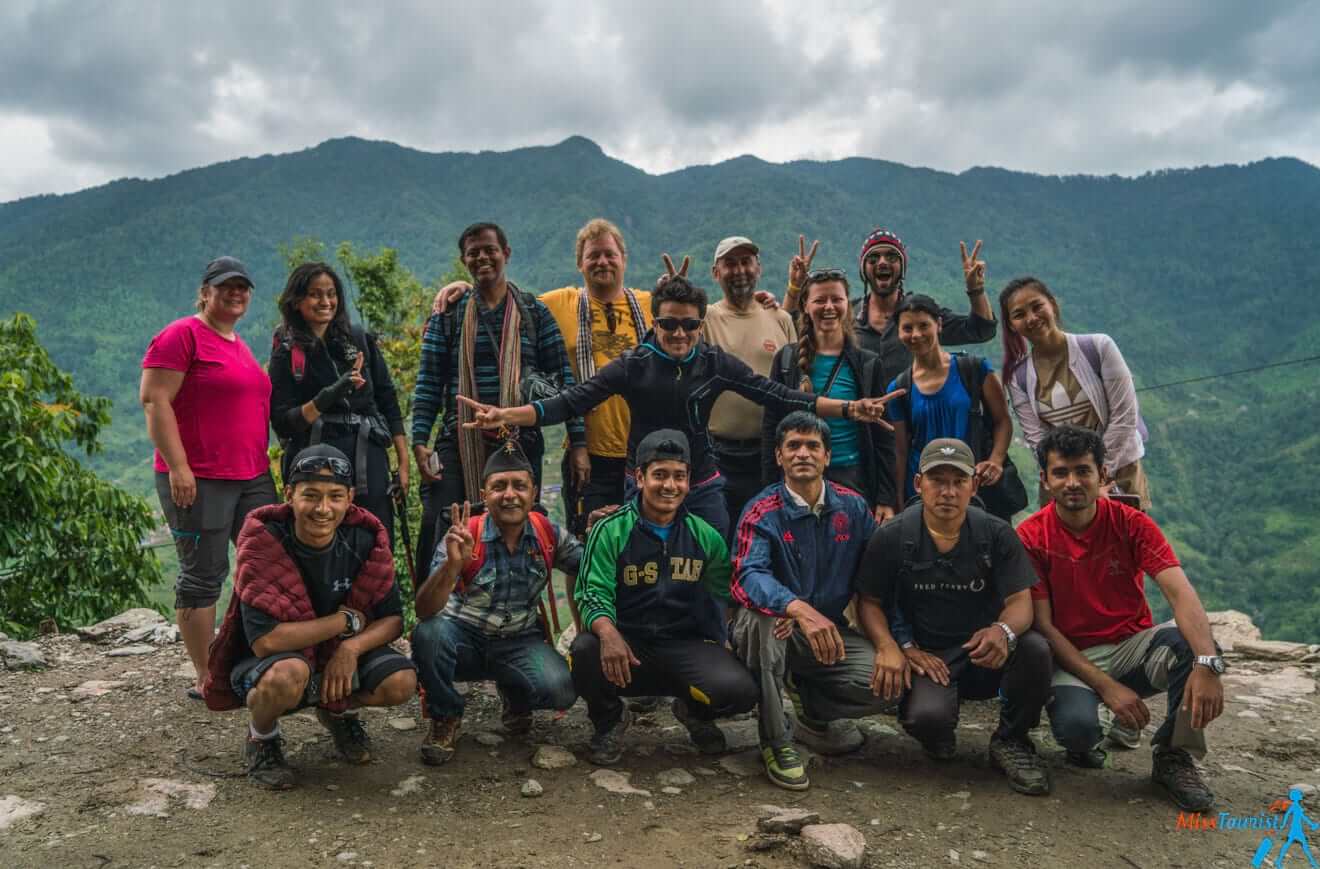
But at some point, when we had to climb 3600 steps or trek for 7-8 hours, I wasn’t sure some friends in the team would make it. They did, though!
3. There are actually hot showers and some kind of internet
Yes, all the guest houses where we stayed had a hot shower facility for an extra payment (usually 1$), and even sockets to charge your devices.
Most of them have internet too (for an extra payment, you got it), but most of the time it did not work for us because of the bad weather conditions, see why above. The mobile connection worked from time to time; more info on that below.
4. You can do the trek without a guide if you wish to
I personally loved having a guide and not checking the map every 20 minutes, but it is debatable if you really need one.
The cost of the guide is about 25 USD per day. Even if it was certainly nicer and I loved our guide, IMHO, it is not necessary to have one if you are on a budget.
There is an app for your mobile called HoneyGuide that will make your navigation of the trail easy, and it works offline. The app will show you which trees grow in the area where you walk, and the names of birds and animals. It also has the list of lodges in the area and even lists if there are European-style toilets in the lodge. Download it on your Android or iPhone; it is free for the Poon Hill trek.
If you go by yourself, without any help, you might need to ask around a lot, as there are not many signs… Going independent requires a bit more preparation in advance, that is it.
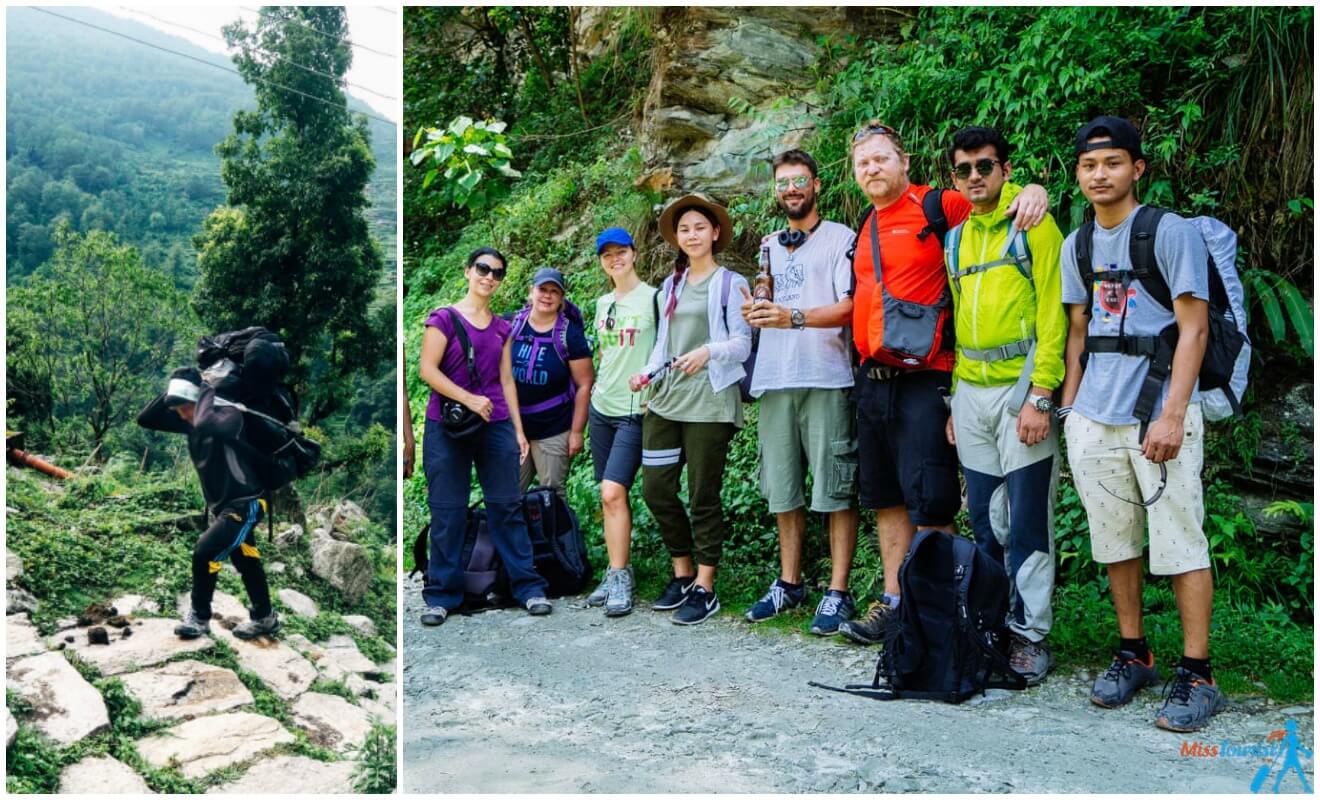
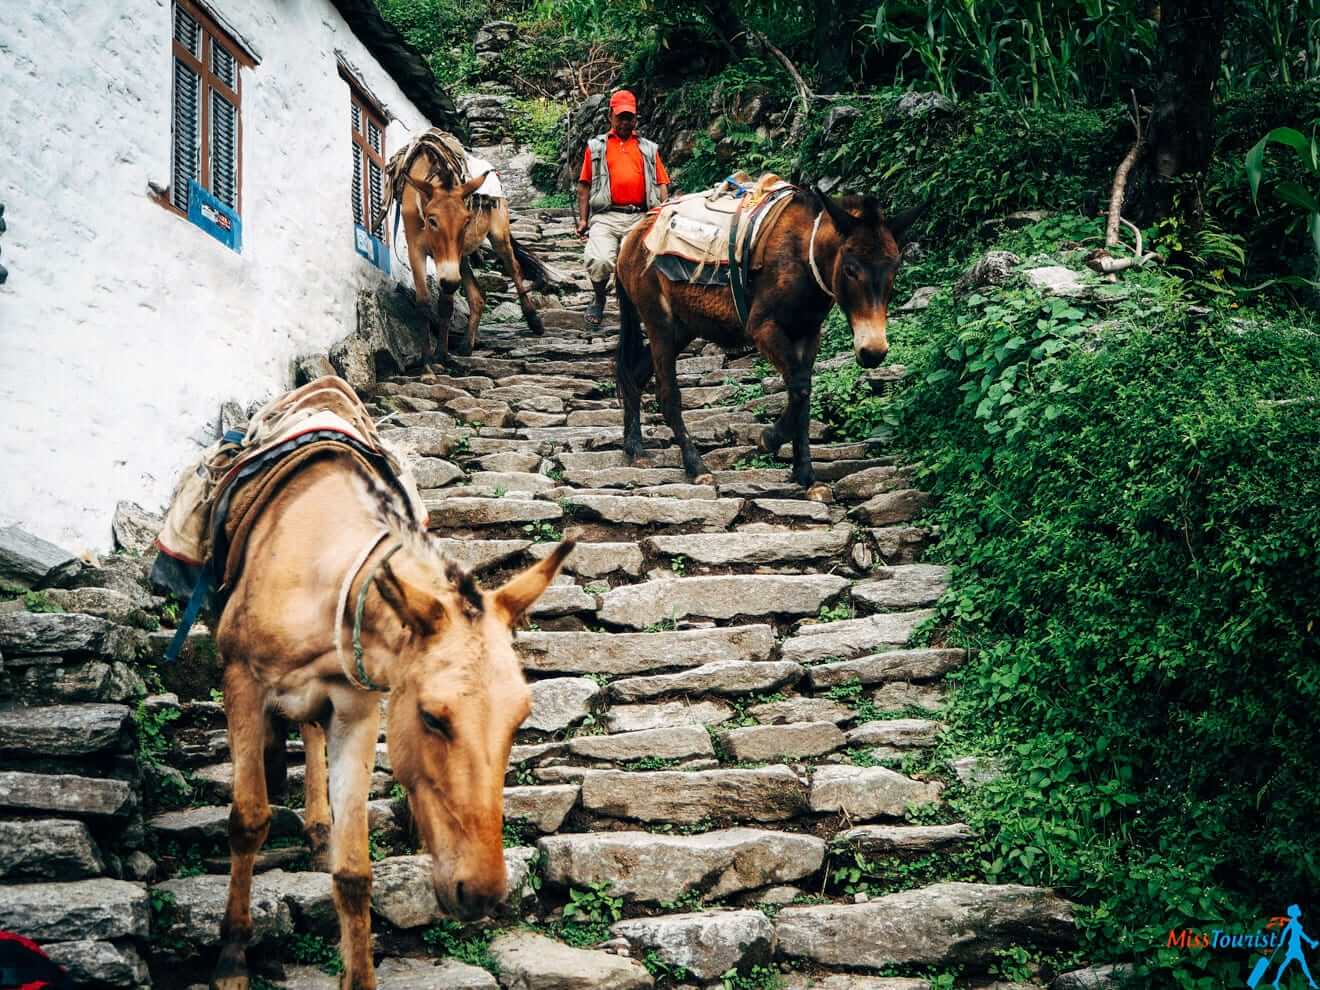
5. You do not need to carry your own bag; hire porters
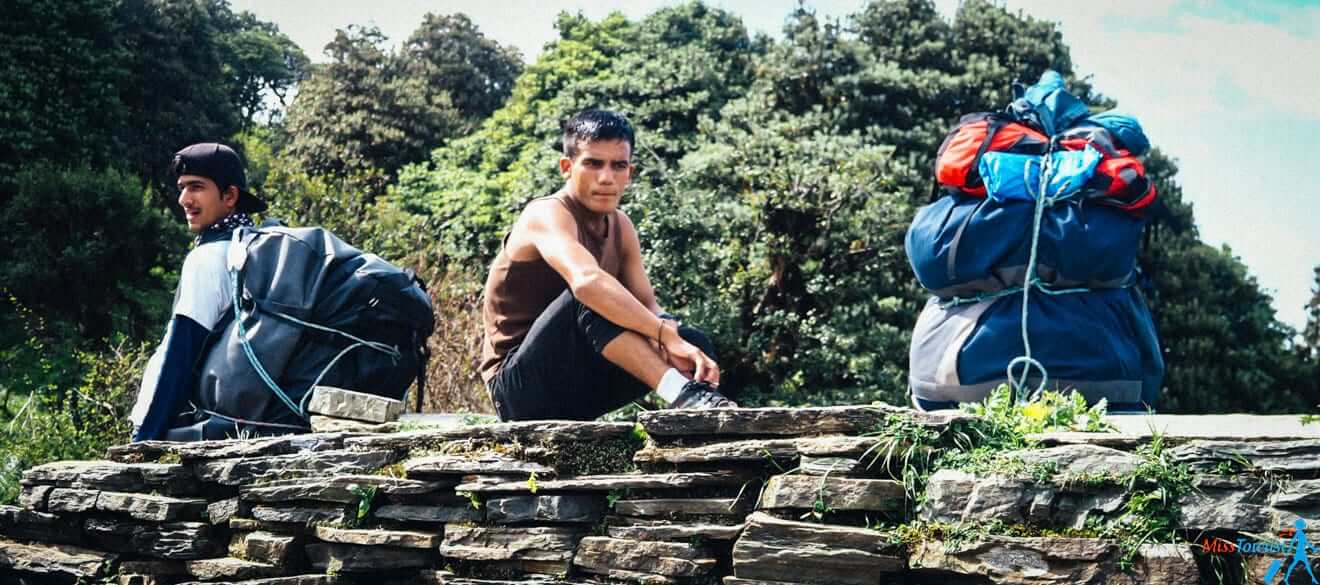
This was such a relief!
Unless you are a super strong bodybuilder, I recommend not going cheap on this one and hiring a porter. It will save you so much energy (which you will need, trust me!) and you will be able to actually enjoy the trek, not arriving at the tea houses with a horrible back pain.
Porters will carry up to 10 kg of weight for you, which is more than enough for a 4-5 day trek, even 10 days trek. Your daypack should only contain what you need during the day. I carried my sunblock, a water bottle, some snacks, and a camera.
Your stuff will be put in a special duffel bag at the beginning of the day, and you will get it back in the evening when you arrive at the new tea house.
The bag is waterproof, but I would not put any breakable items such as a laptop, camera lenses, or so on.
You can find out prices and more info in the pricing section.
6. You can rent your hiking gear in Pokhara (or at the Annapurna Eco Village)

Renting hiking equipment is a good option if you do not want to bring the gear all the way from your country. Or, if hiking the Himalayas was a really last-minute decision! No problem at all, you can buy pretty much everything in Pokhara. Do not forget to bargain!
P.S. Get a passport-sized picture of yourself; Nepalese will ask for it everywhere. You will need them for your hiking permit and for the SIM card.
Poon Hill trek day-by-day description
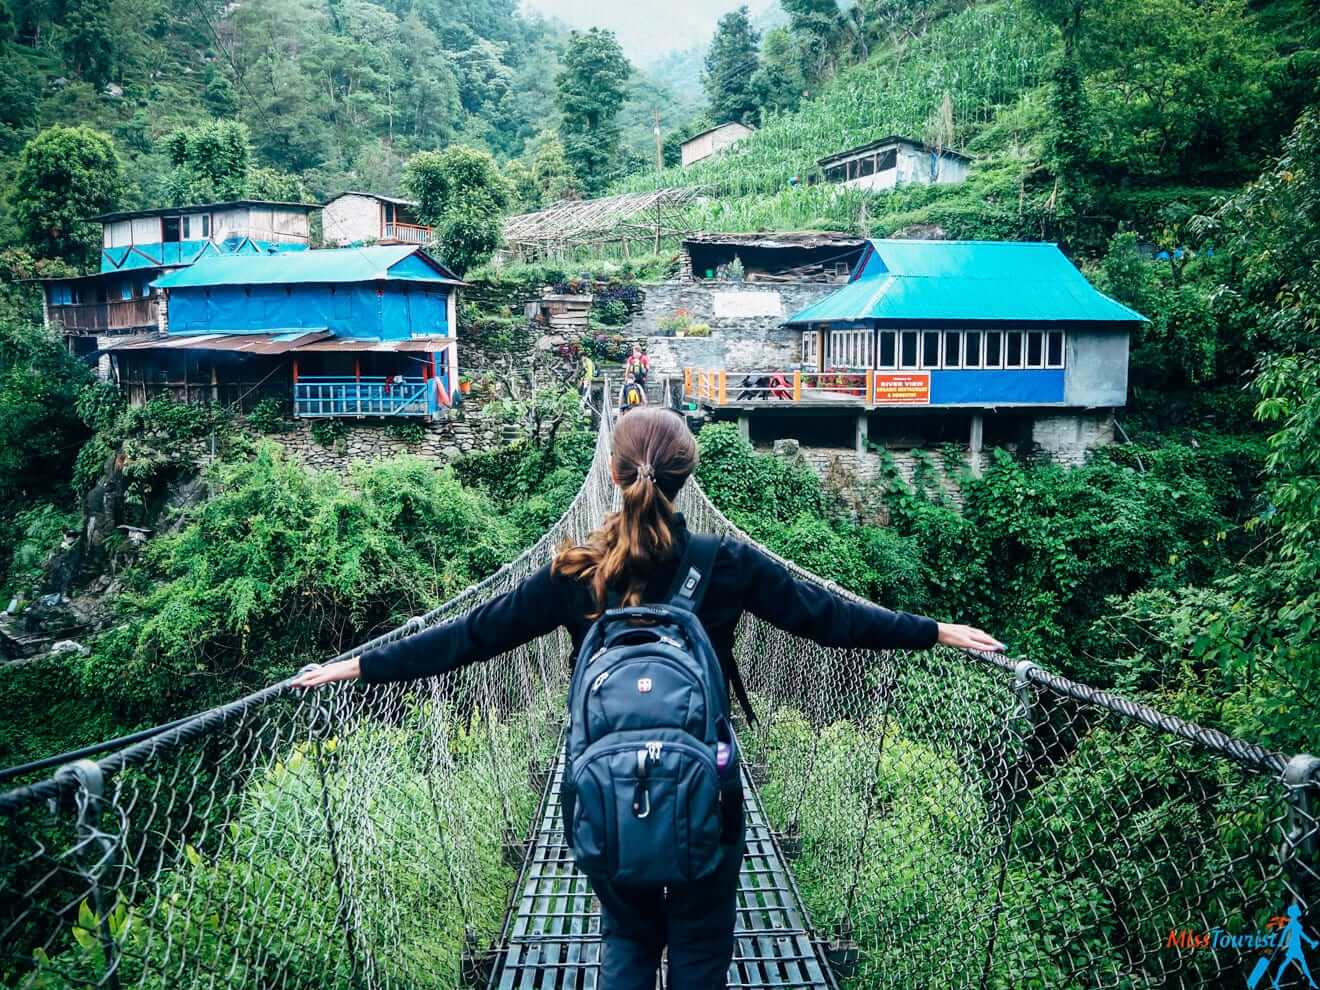
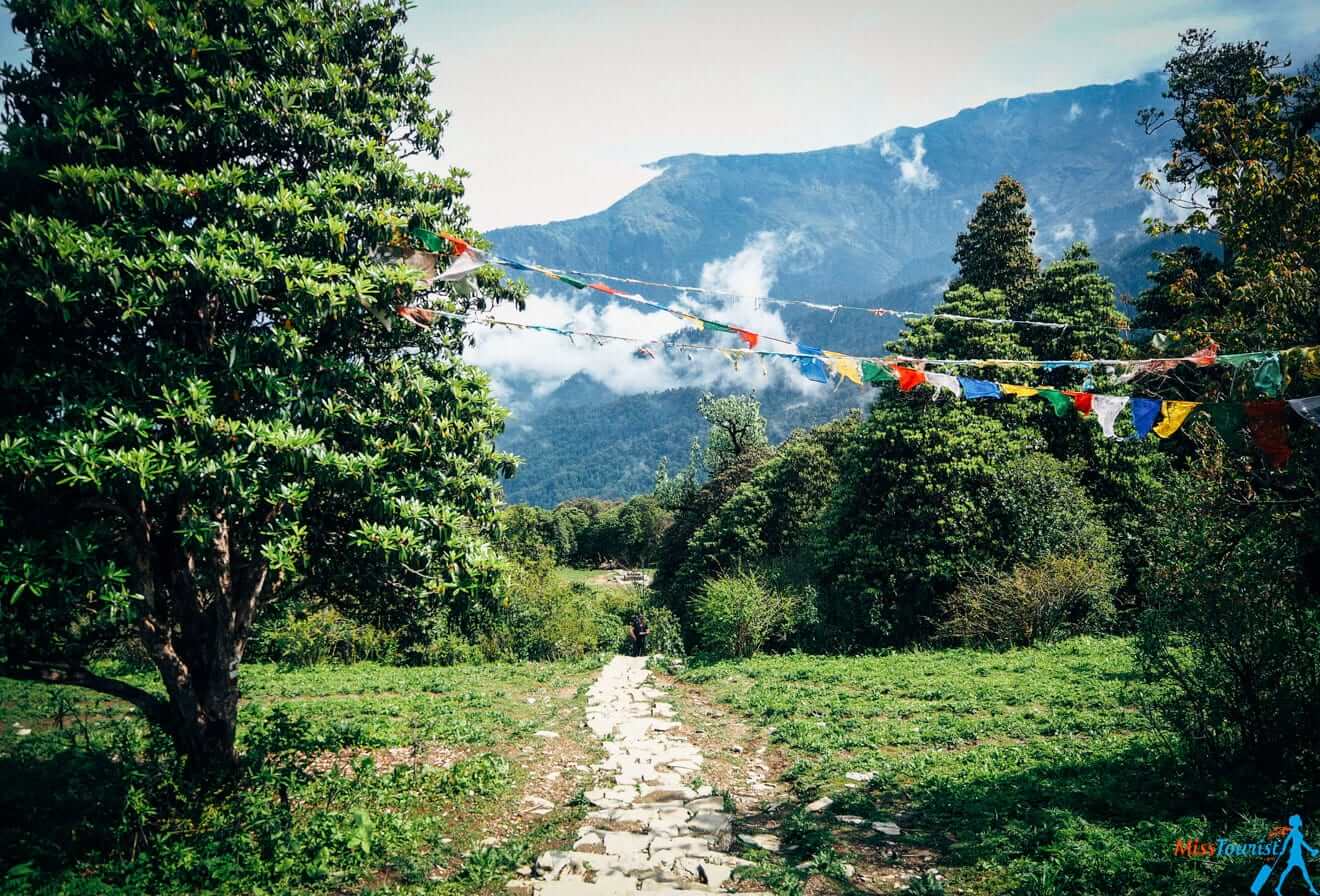
The Poon Hill trek is a relatively easy 4-5-day trek of the Annapurna Circuit Mountain Range located in Nepal. The Poon Hill trek climbs to 3210 meters on the foothills of Annapurna. The trail route goes through mountain villages, misty forests, suspension bridges, and it gets really beautiful!
Despite the fact that we could not see much of the view, I enjoyed it a lot!
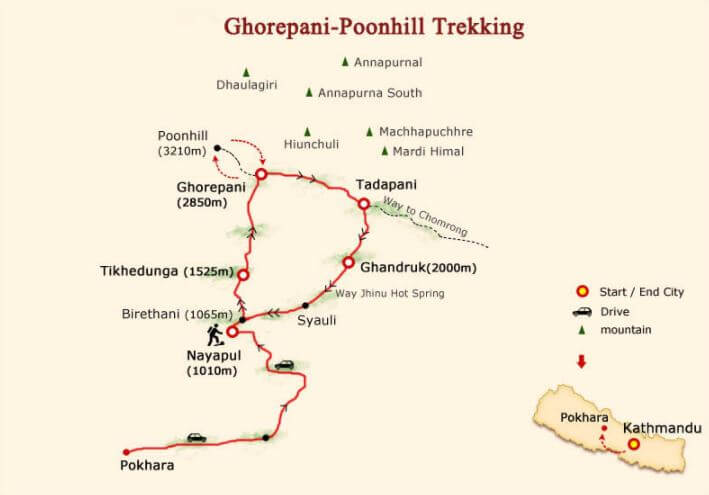
Here is how it was day by day:
Day 1 – an enjoyable walk through the villages
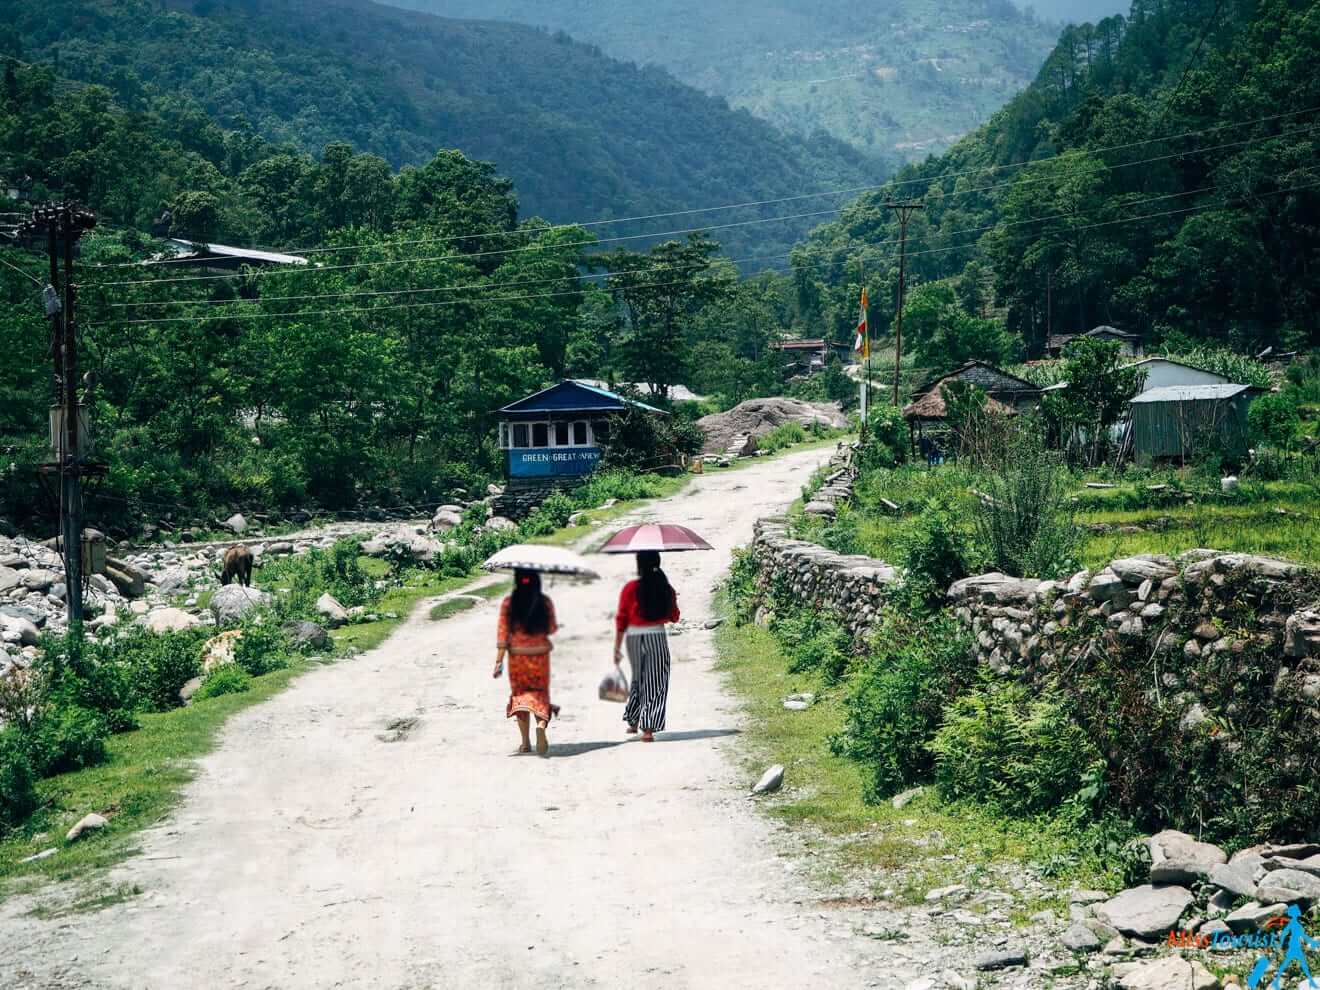
The first day is relatively easy, just to get you prepared for the next days.
It starts from a village called Naya Pul, where you can buy the last supplies if you have forgotten something – snacks, sun block, hiking poles, etc.
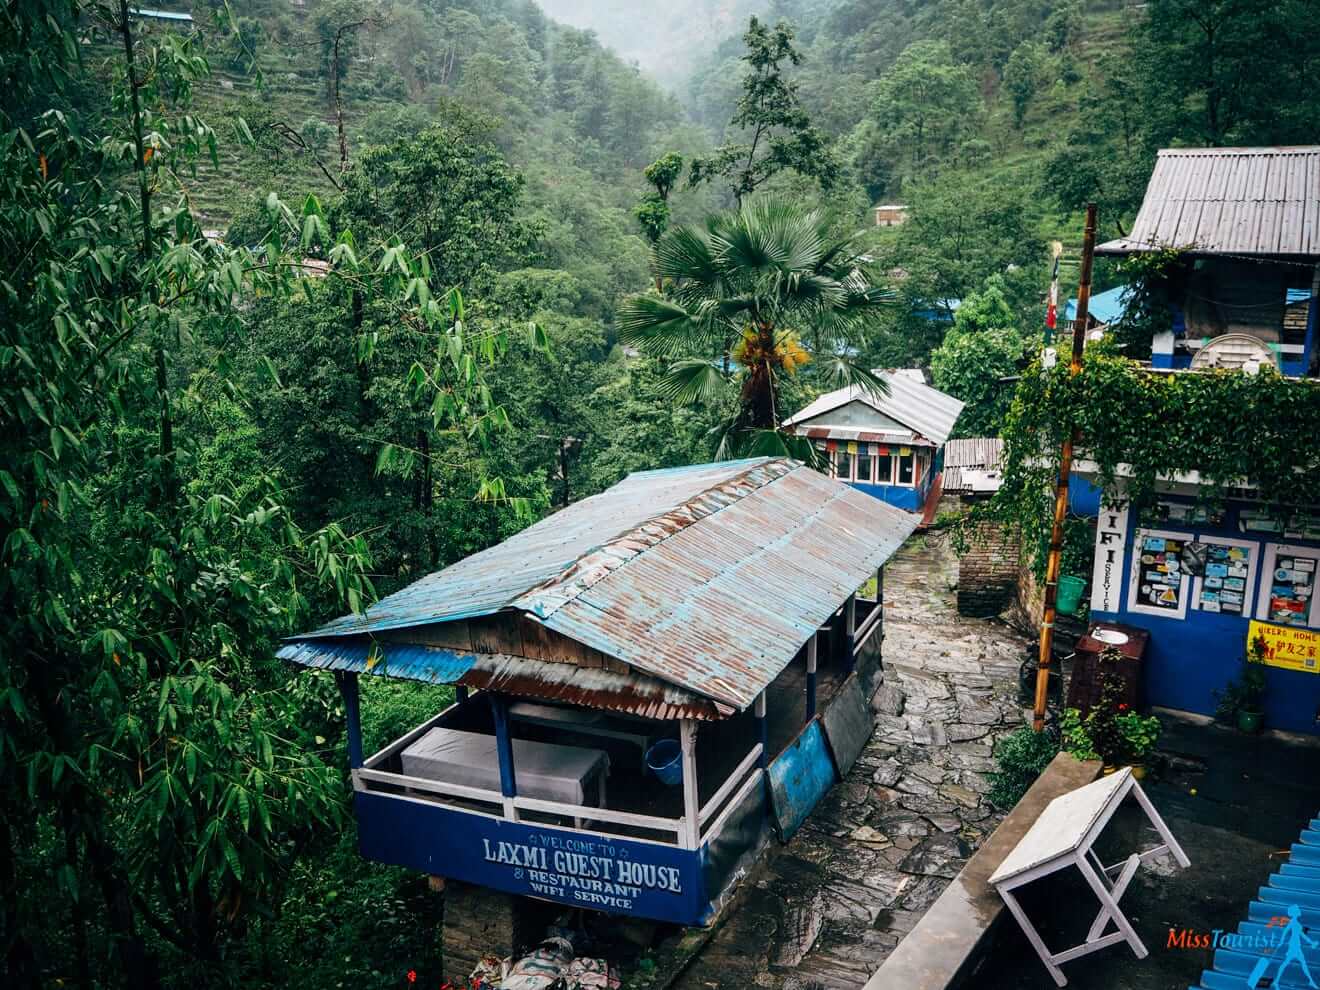
Then you will begin a beautiful 2,5 hours walk through little villages, rivers, and suspension bridges. There will be almost no uphill until you reach your lunch place. (I will talk more about the food below, but keep in mind that they take their time to cook).
Afterwards, it is about 1,5 hours of little uphill until you reach your overnight tea house.
There is occasional electricity, but there was none when we were there, as it was heavily raining (Nepal rural areas are heavily dependent on weather conditions).
Length: 13 kilometers
Hours of walking: 4
Elevation reached: 1540 m
Overnight teahouse: Laxmi Guest House in Tikhedhunga
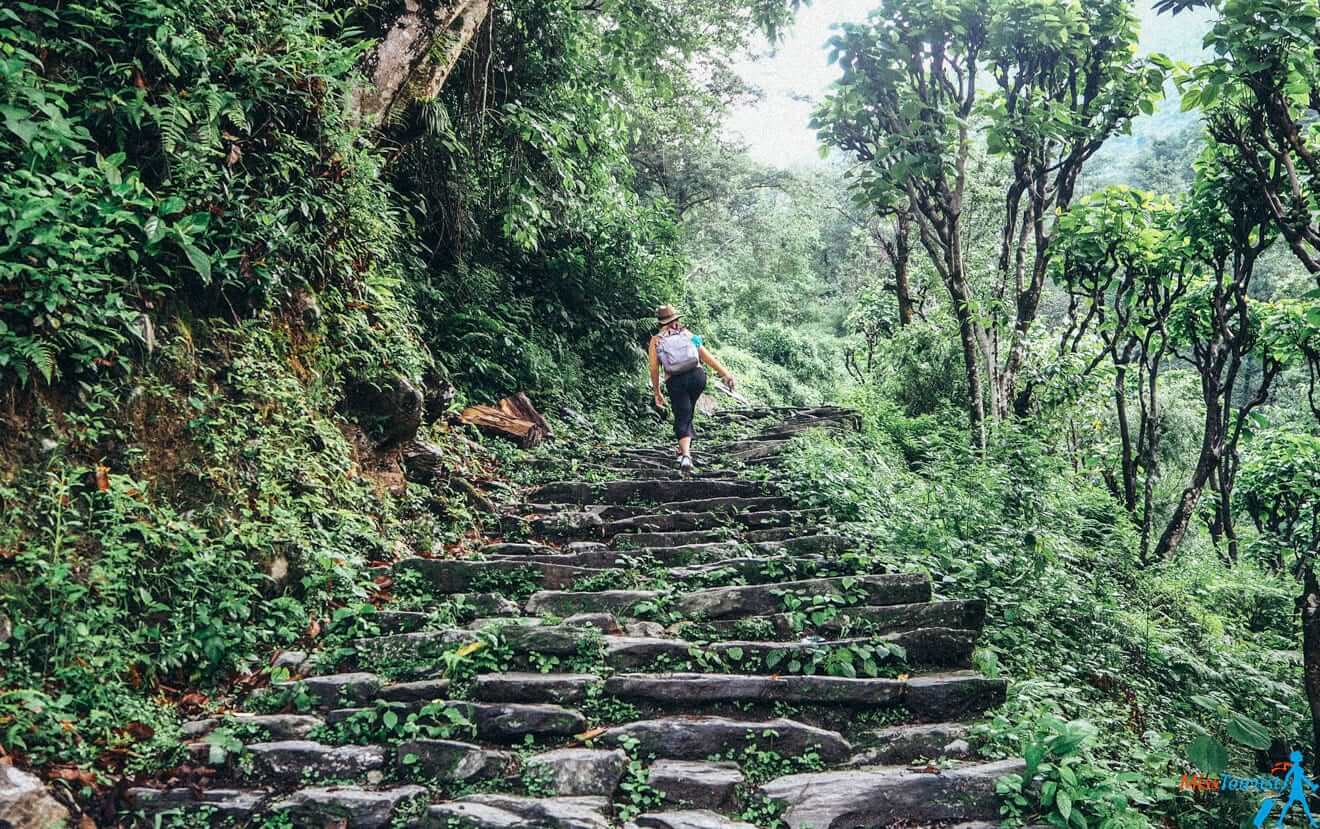
Day 2 – Stairway to heaven – climb 3 600 steps
Today you will wake up at 5 30 a.m., ready? It is still dark, so your torchlight will come in handy!
This is considered to be the most challenging day of the trek due to the number of stairs you will have to climb.
If you did something similar before, it is not that hard (for example, the Adams Peak in Sri Lanka was way more challenging). But in order not to wear off your knees, I highly recommend using hiking poles. Your knees will thank you later!
The ascent will take you about 1,5 hours, and that is approximately 3 600 steps. The stairs are not steep, so it is not as bad as it sounds, trust me!
When you reach the tea house in Ulleri to take a break, you will be rewarded by some fantastic views of Machhapuchhre (Fishtail Mountain) and Annapurna!
Then, you will climb 700 more steps through forests of oak and rhododendron to reach the lunch place and chill there. Afterwards, there will be just 1 hour more to Ghorepani village. Not that bad, right?
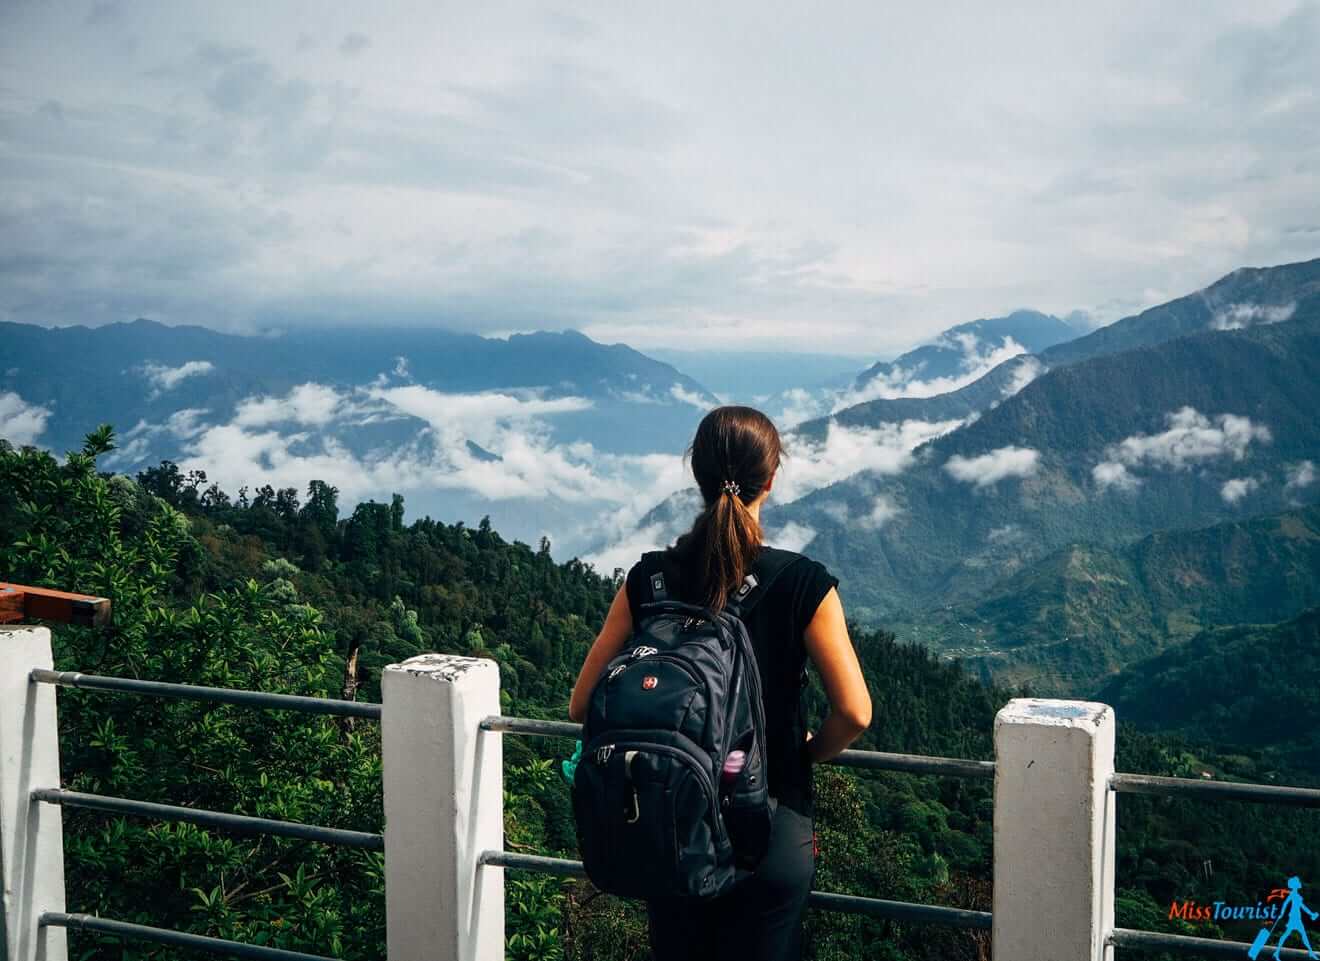
We stayed in a very nice hotel (I would not even call it a tea house) with shared showers and good Wi-Fi.
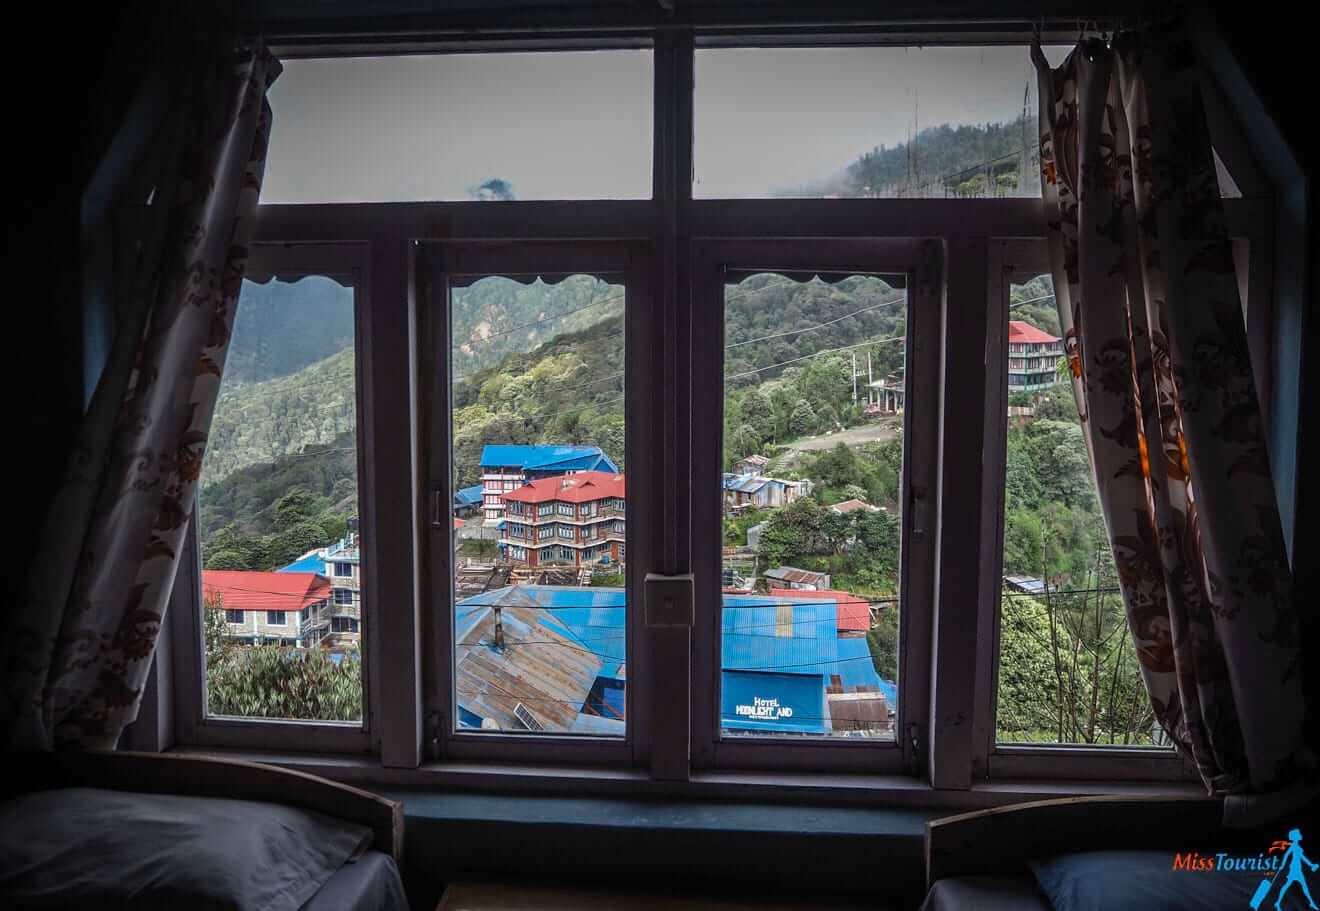
It also had a fantastic view, better than in the Alps! 🙂
Length: 17 kilometers
Hours of walking: 6,5
Elevation reached: 2810 m
Overnight teahouse: Hotel Hill Top in Ghorepani
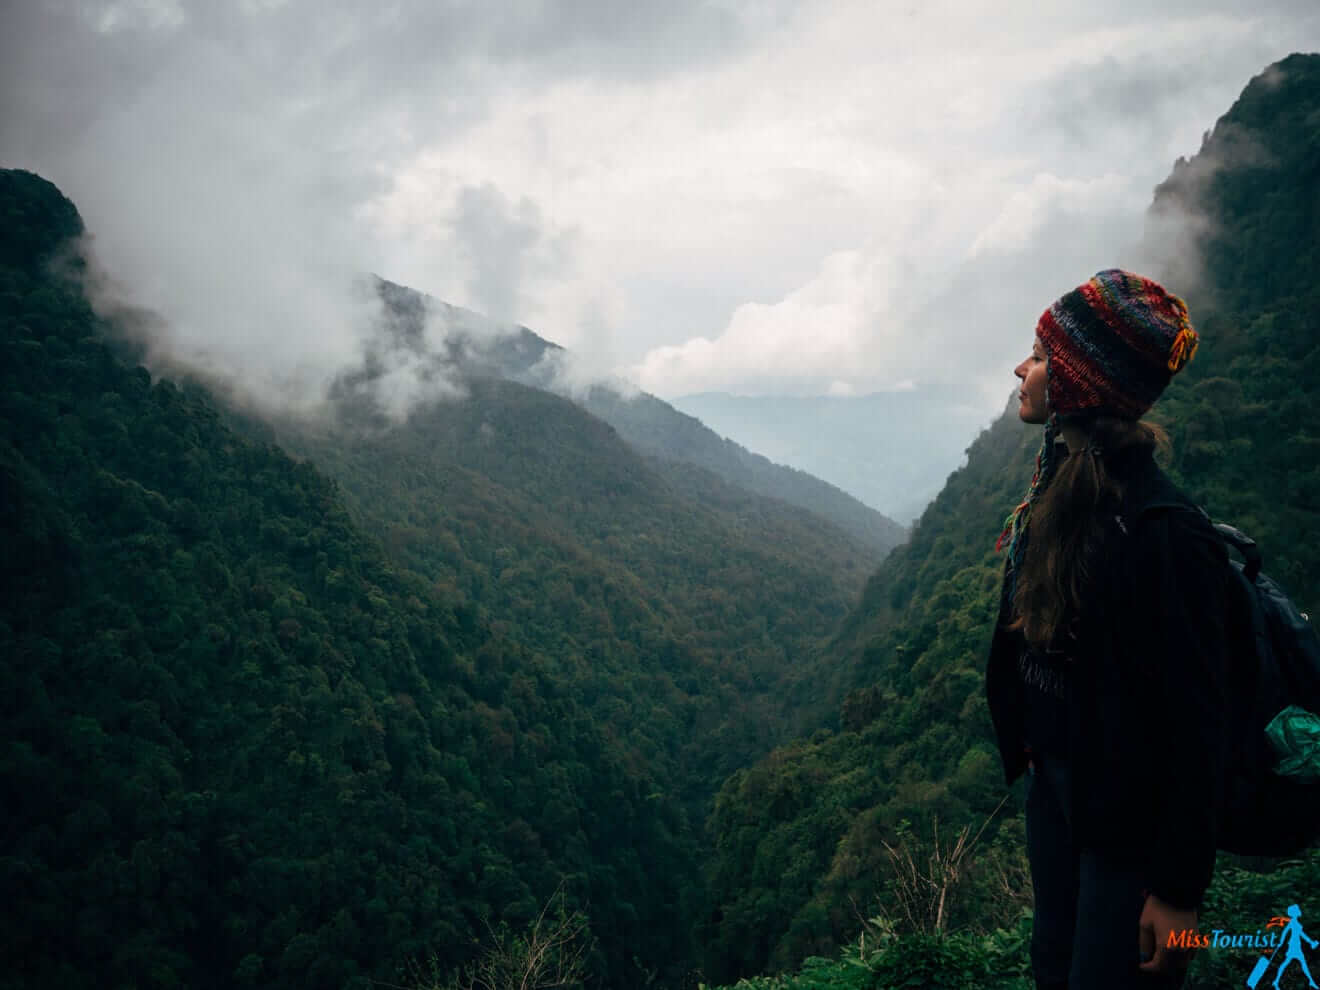
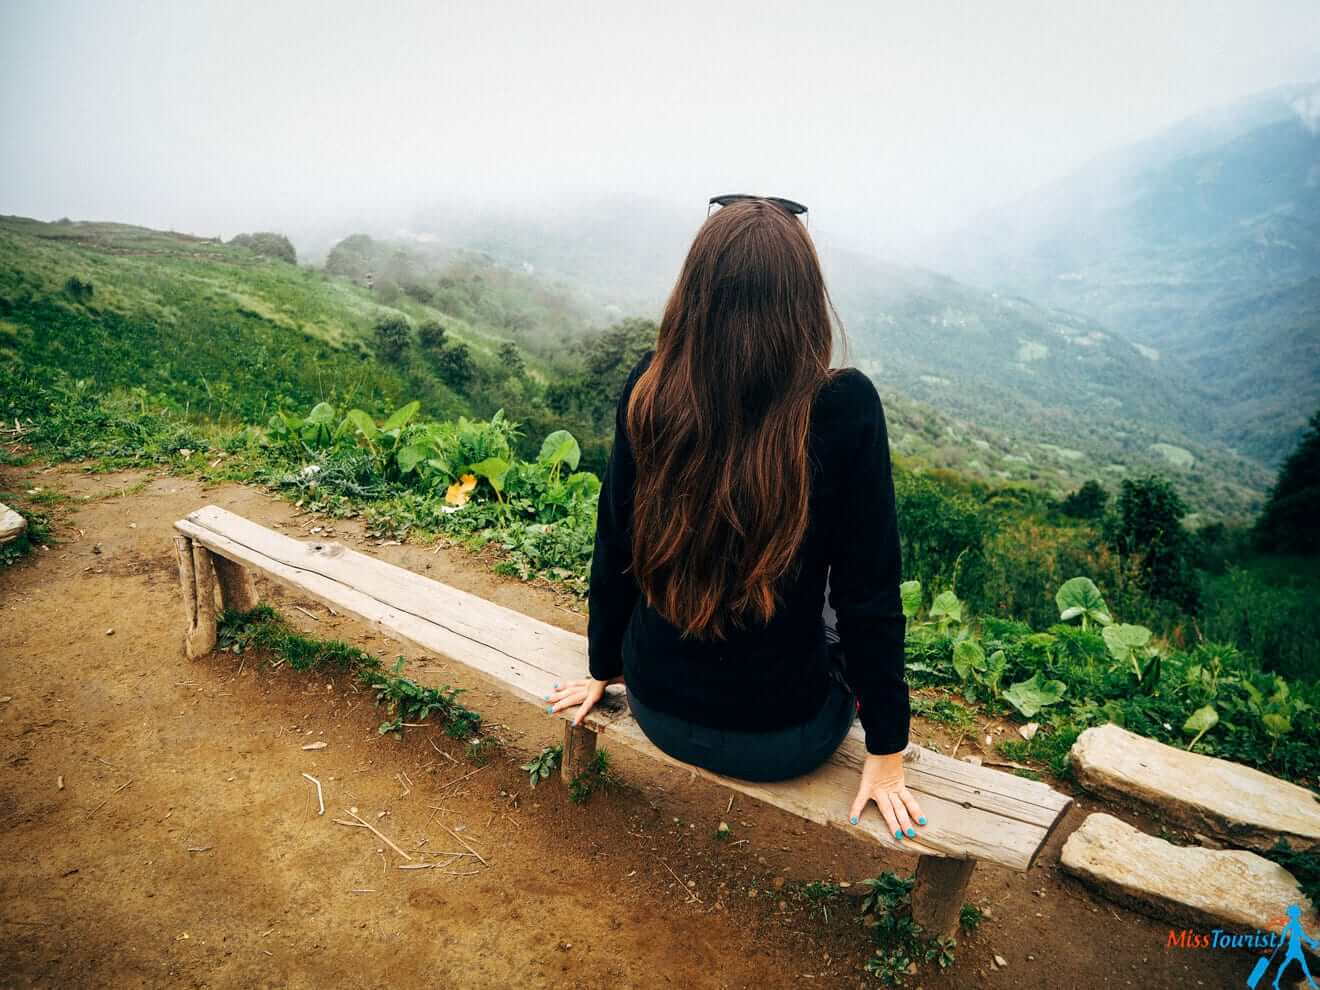
Day 3 – Misty forests and the Poon Hill
We were supposed to wake up at 3 30 a.m. to go see the sunrise from Poon Hill (hence, the name of the trek).
But guess what? It was raining heavily for the whole night, so we didn’t. (See number 1 things you should know before trekking in Nepal).
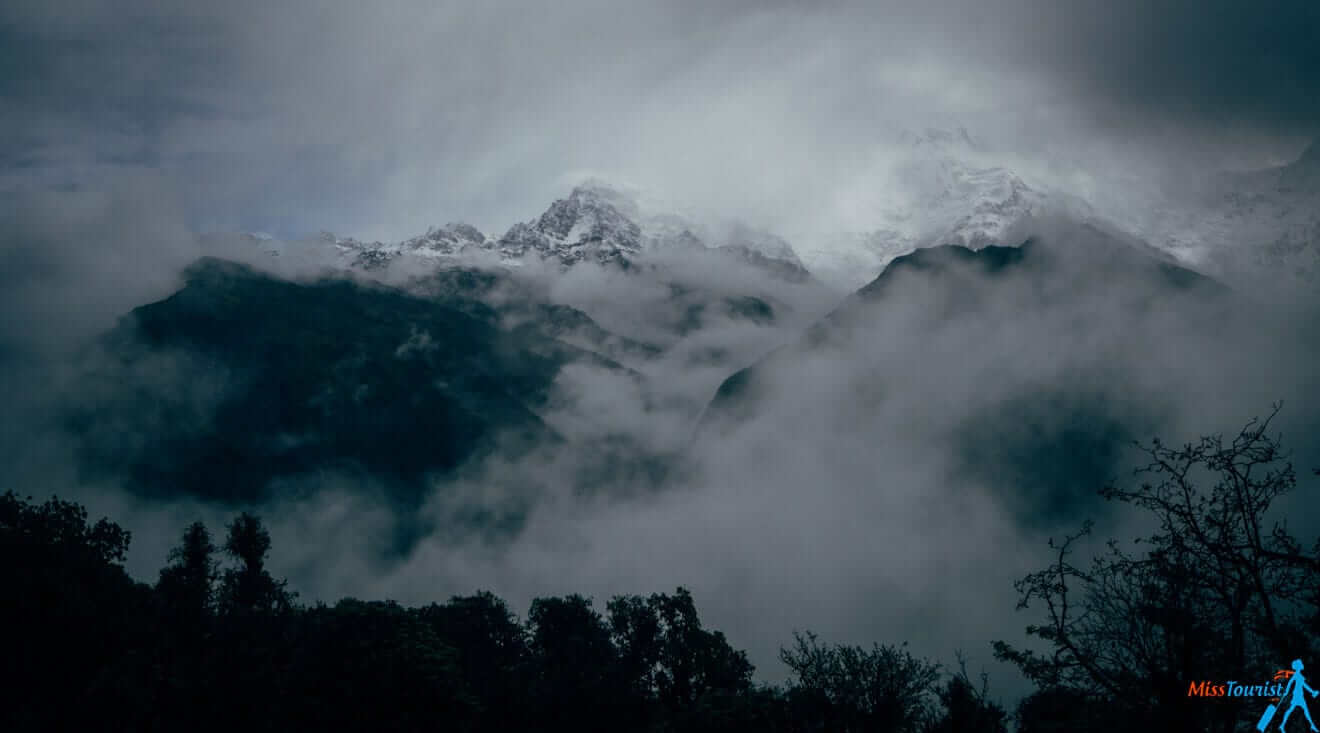
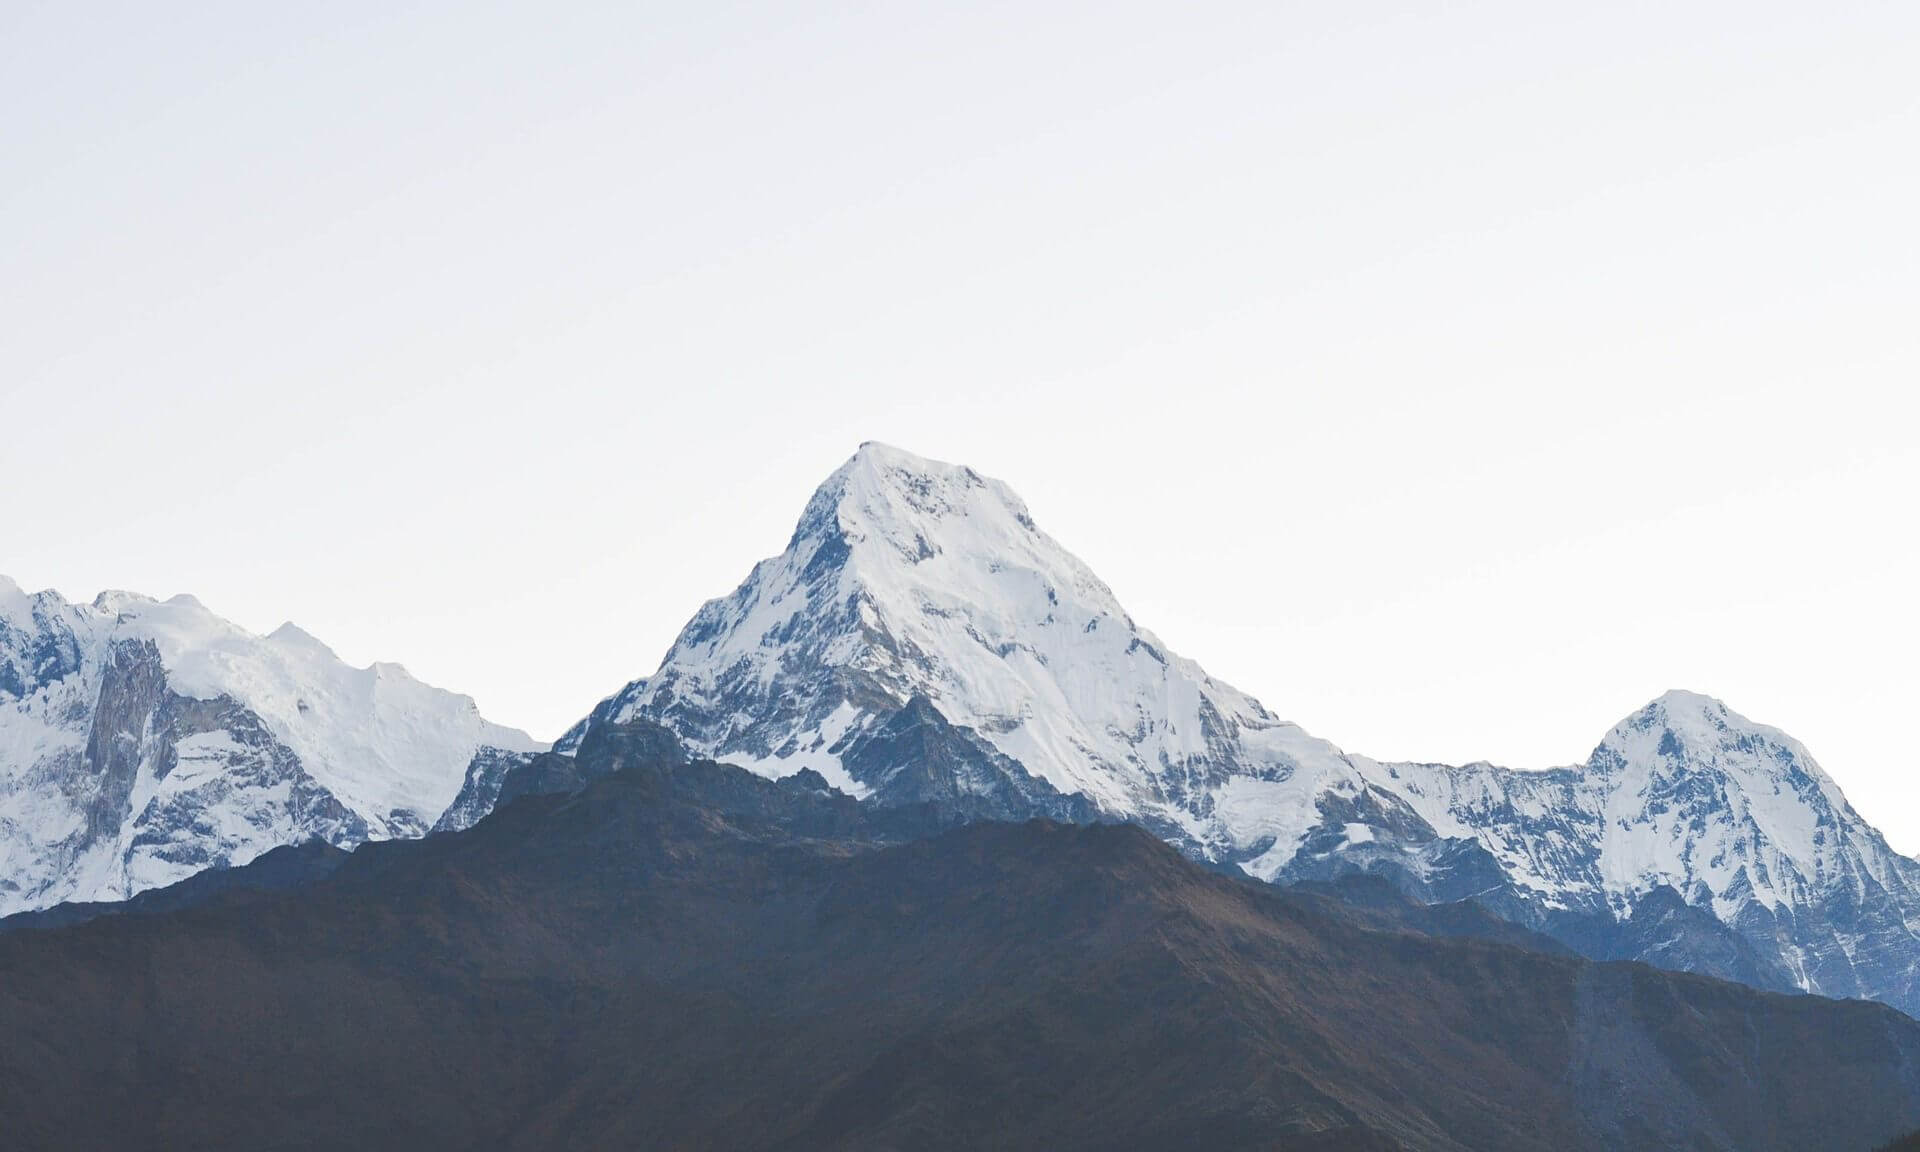
To say I was really upset is to say nothing!! The panoramic views of the Himalaya – Annapurna, Dhaulagiri and the mesmerizing Fishtail were supposed to be the highlight of the trip!
Well, that is why I want to come back once more in October…
If this works out for you, great! You should see an amazing view like this:
After admiring the view, you will come back to your hotel (about 1,5 hours), have breakfast, and head to another destination – Tadhapani.
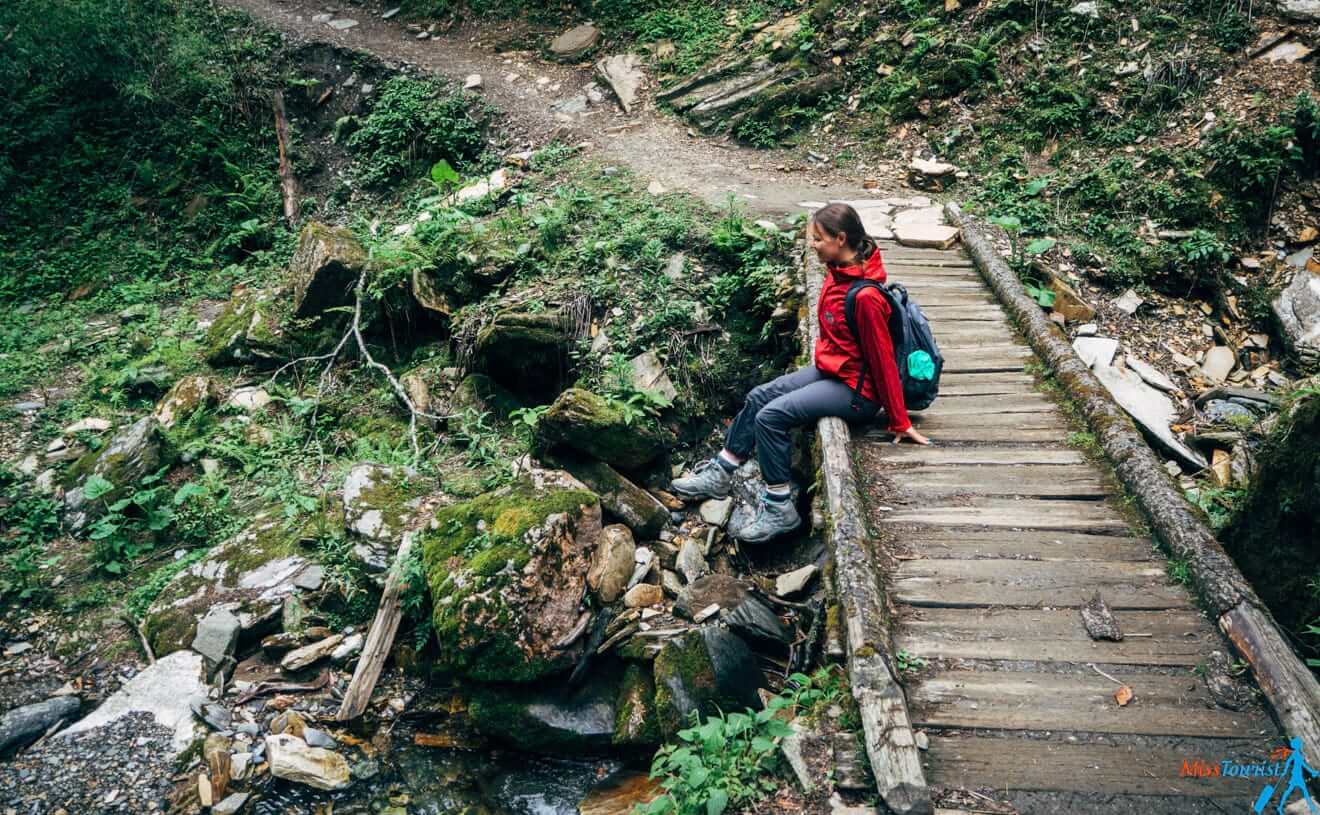
You will start at 8 a.m., and it is about 2 hours walking through misty, lush forests of bright rhododendron, some of it uphill. When you reach your tea break, it is just 1 hour to lunch in Banthanti. And then about 1 more hour to Tadapani.
See? The trek is built so that you enjoy, not get exhausted. But it will require some good physical condition from you in any case.
NOTE: You are going to be up in the mountains, it is quite cold, especially in the morning! It was about +6 °C, and I even bought a hat.
Length: 15 km
Hours of walking: 6
Elevation reached: 3210 m
Overnight teahouse: Fishtail Lodge in Tadapani
Day 4 – Mission completed!
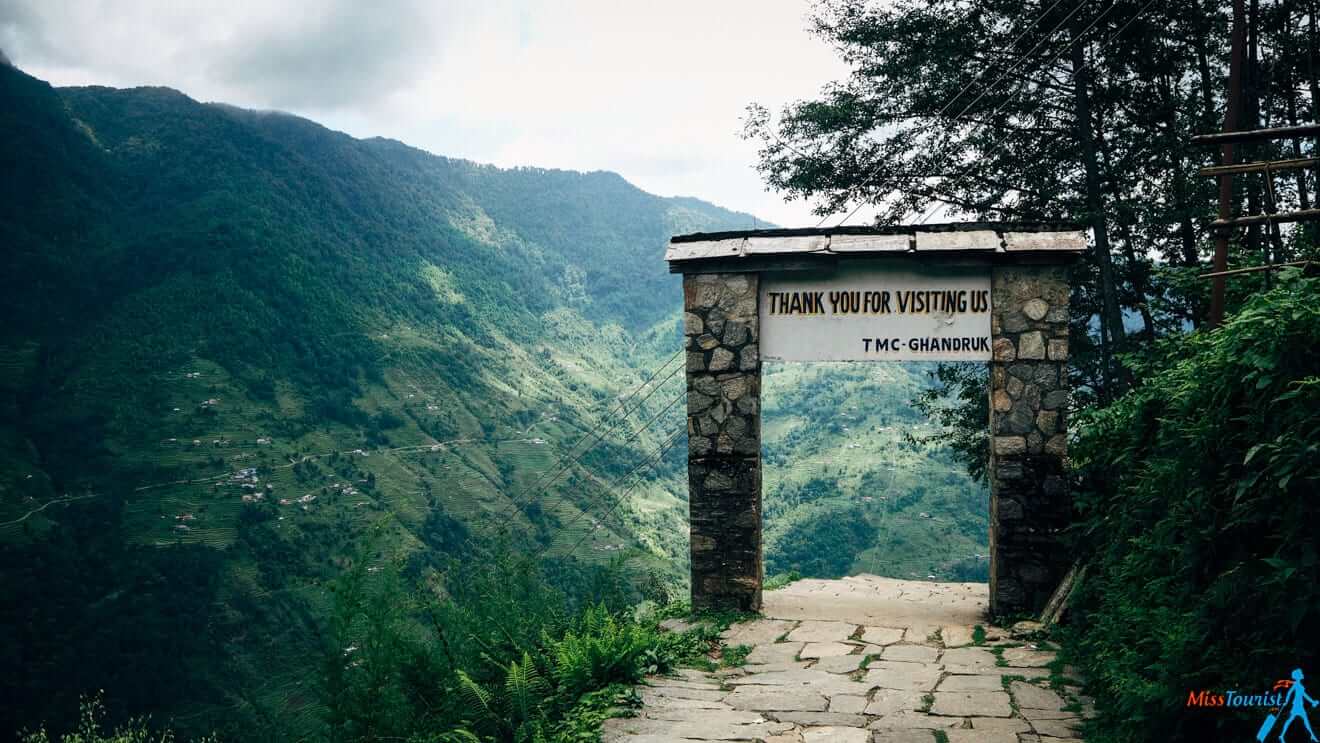
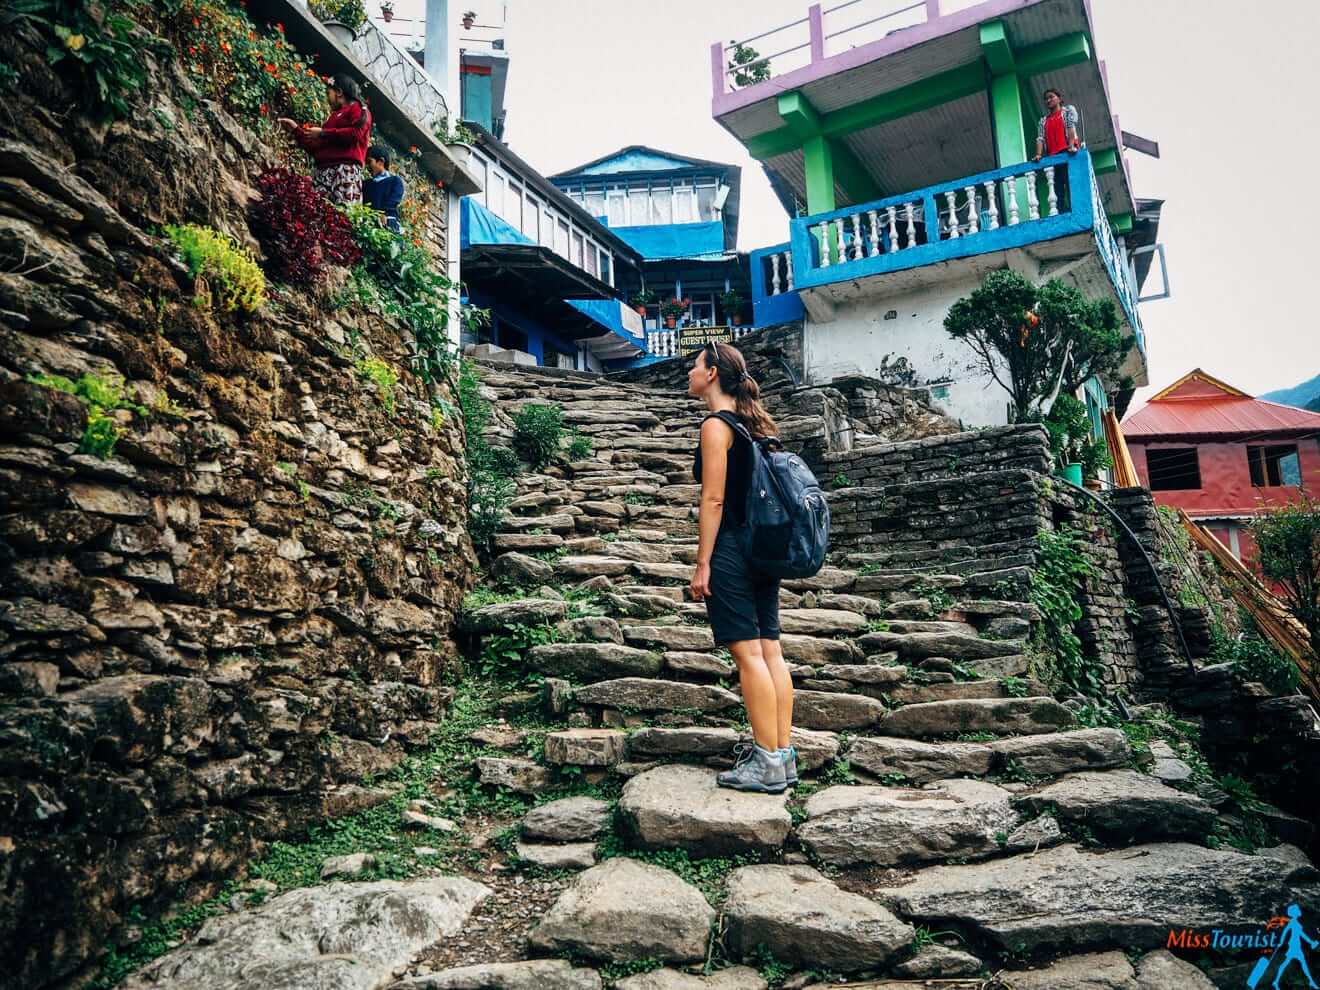
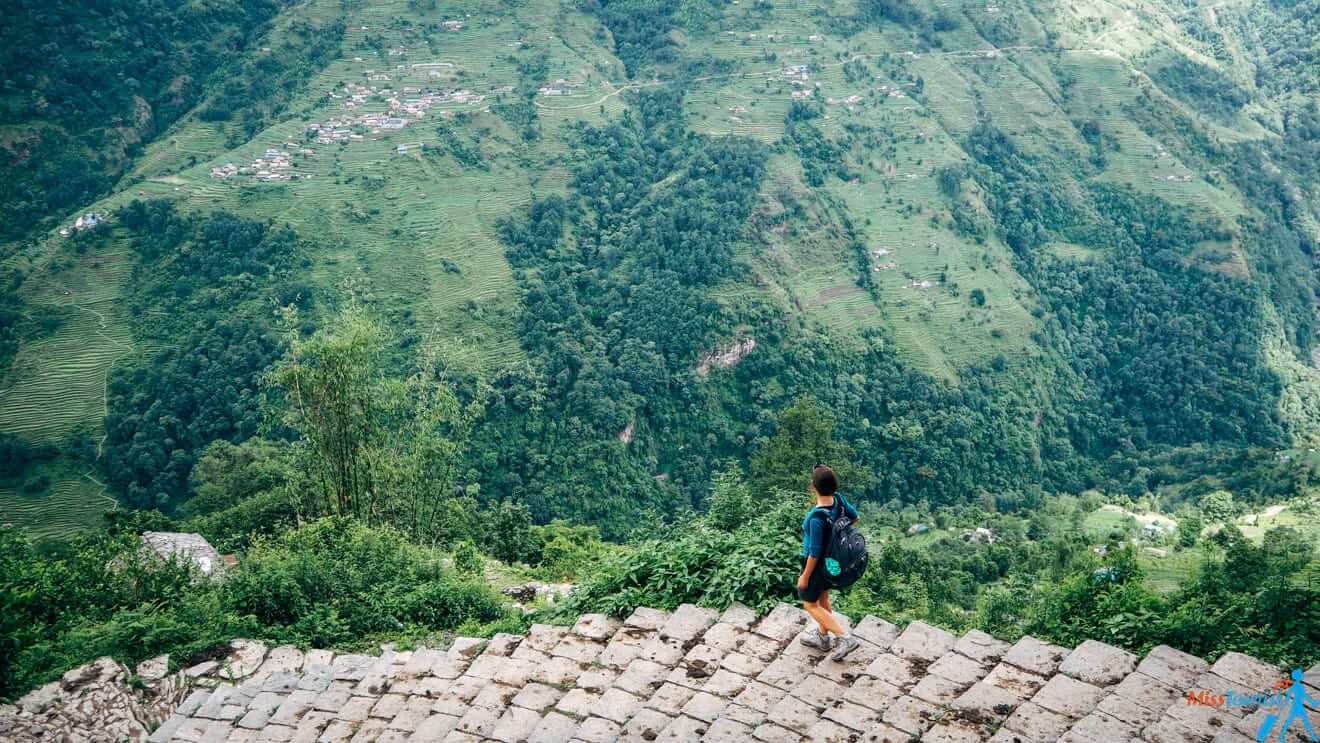
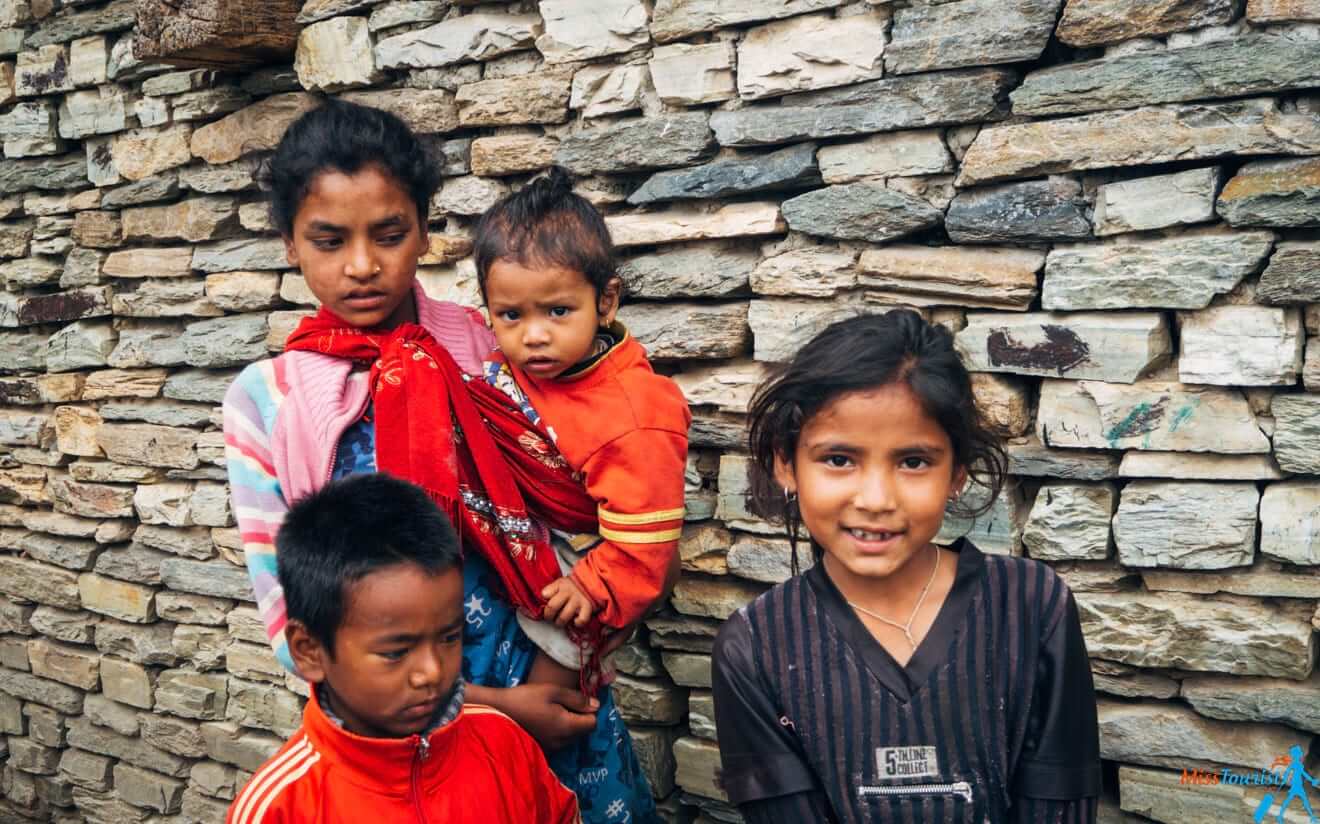
You will walk through some local villages offering the crisp serenity of this high alpine area and a peek into the traditional Nepali lifestyle. That was probably my favorite day!
The road goes downhill for about 2 hours to a tea house where you will have lunch.
Then it is about 1 more hour of downhill (stairs) to the place where a jeep will pick you up and deliver you back to Pokhara in about 3 more hours.
And that is it, you have made it, warrior!
Length: 15 km
Hours of walking: 5
Elevation reached: 1010 m
P.S. If your trek will be 5 days, you will come back to Nayapul – the village where you originally started.
P.P.S. The trail is accessible all year round, but, as I mentioned earlier, the best time to visit Nepal is October and November.
Other things you should know about the Poon Hill trek
The price of the Poon Hill trek
You can do the same trek in 3 different ways:
- Go with an organized group (that was my choice)
- Hire a guide and a porter, and organize the rest by yourself
- Go by yourself with no help
1) Organized group
If you go with an organized group, you will not have to worry about the transportation to and from the trek, and the food will be ready for you, too. In case of an emergency, your guide will be able to provide first-aid help, and you will just enjoy the hike.
The price of Nepal tour packages varies from 400 USD for a 5-day trek (that includes transportation from and to Kathmandu) UPD: even as low as 340 USD now! to up to 1000 USD per person.
For 1000 USD, you will have a fully organized stay in Nepal – 3 nights in Kathmandu with a private tour of the city with a driver, 2 nights in Pokhara, the trek, all meals, porters, down jackets, and even sleeping bags!
NOTE: If you go in a group of 3-6 people, the discount will be significant. 545 USD vs 498 USD per person.
Extra expenses: tips for the guide and a porter (approximately 5$ per day each). Purchasing drinking water, hot shower facilities, and electricity to charge devices (about 3-5$ a day altogether).
2) Hire a guide and a porter
If you go by yourself and hire a guide and maybe a porter, you will need to decide where you are staying overnight, paying on the spot for your meal, etc. If this is fine with you, this might be a great option too!
A normal rate would be 50 000 Rs. a day (~50 USD) for both a guide and a porter a day.
On top of that, you will need to pay for your trekking permit (about 20 USD) and a TIMS card (another 20).
The stay in a tea house will cost you about 200-400 rupees (2-4$) per person per night. A hot shower is about 100 rupees.
NOTE: Don’t forget to bring 2 passport-sized photos, you will need it for the permit!
You might also need to pay for the insurance for your guides (that is about 10-20$), but this is negotiable.
You can ask for a guide’s recommendation at your hotel in Kathmandu, or you can ask me. I will give you a contact of my guide, but he might be more expensive; I am not sure. He speaks great English, and he has been to all types of treks around Nepal numerous times.
Extra expenses are the same: tips for the guide and a porter (approximately 5$ per day each). Purchasing drinking water, hot shower facilities, and electricity to charge devices (about 3-5$ a day).
3) Independent trekking
You go completely by yourself, no help needed. Good luck, man, you are off to an adventure! Just a small tip – pack as light as possible! 😉
The accommodation can cost as little as 2$. The food is also up to you – the menu and the prices are more or less the same in every tea house. See the Food section for the detailed pricing and the picture of the menu I have taken.
Extra expenses: Purchasing drinking water, hot shower facilities, and electricity to charge devices (about 3-5$ a day).
Accommodation during the trek
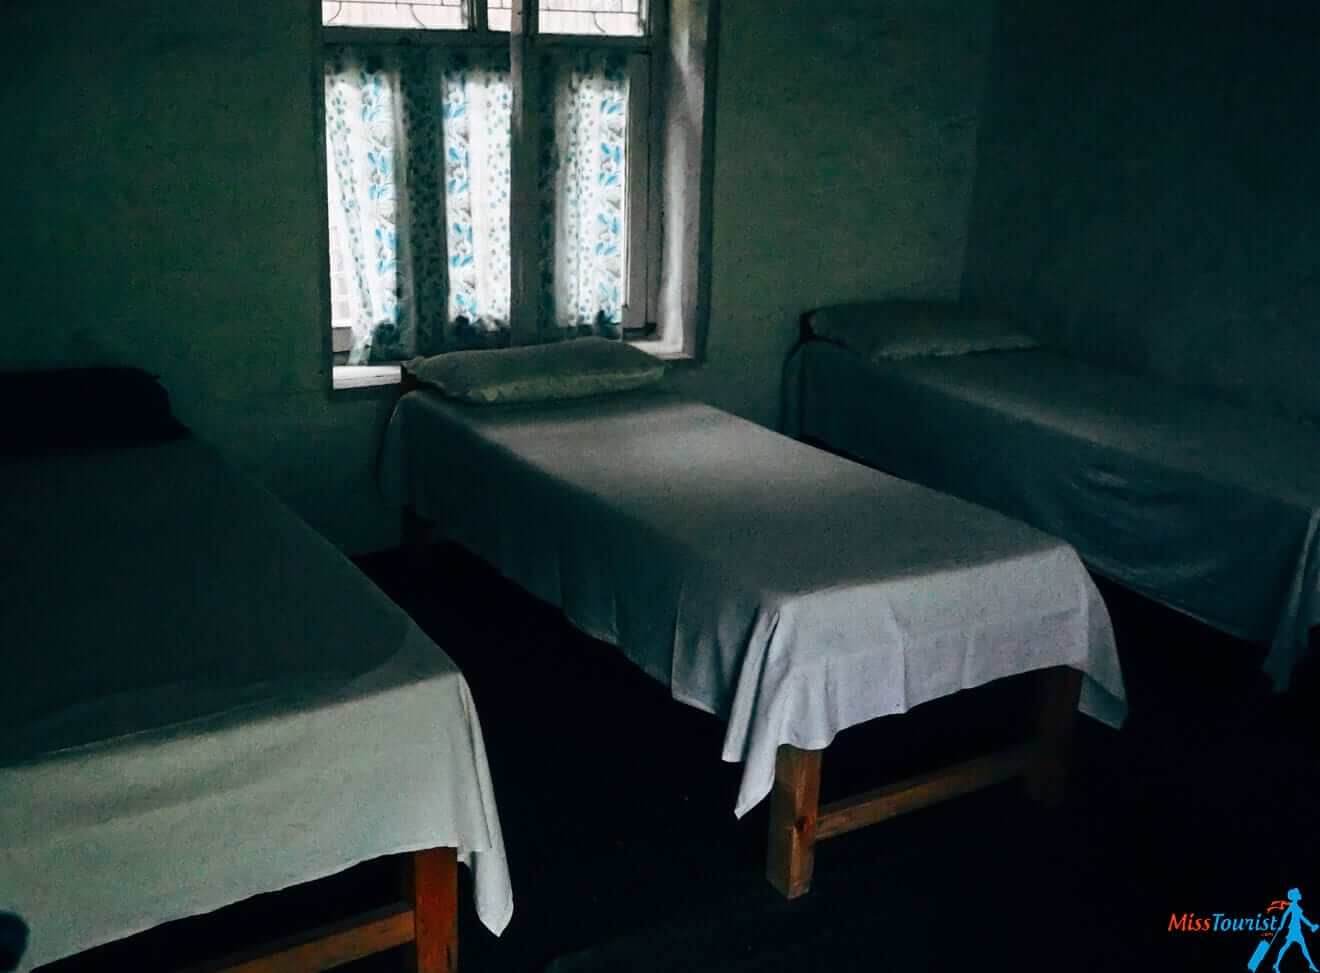
You will be staying in basic guest houses (also known as tea houses). Linens, blankets, and electricity are provided, but you certainly should not expect 5* luxury there.
The price of the accommodation, as I said above, is about 2-5 USD a night per person. Breakfast is paid separately and should be ordered in advance in the evening.
Keep in mind that it might be hard to get a room during the high season, but the tea houses in May were mostly empty.
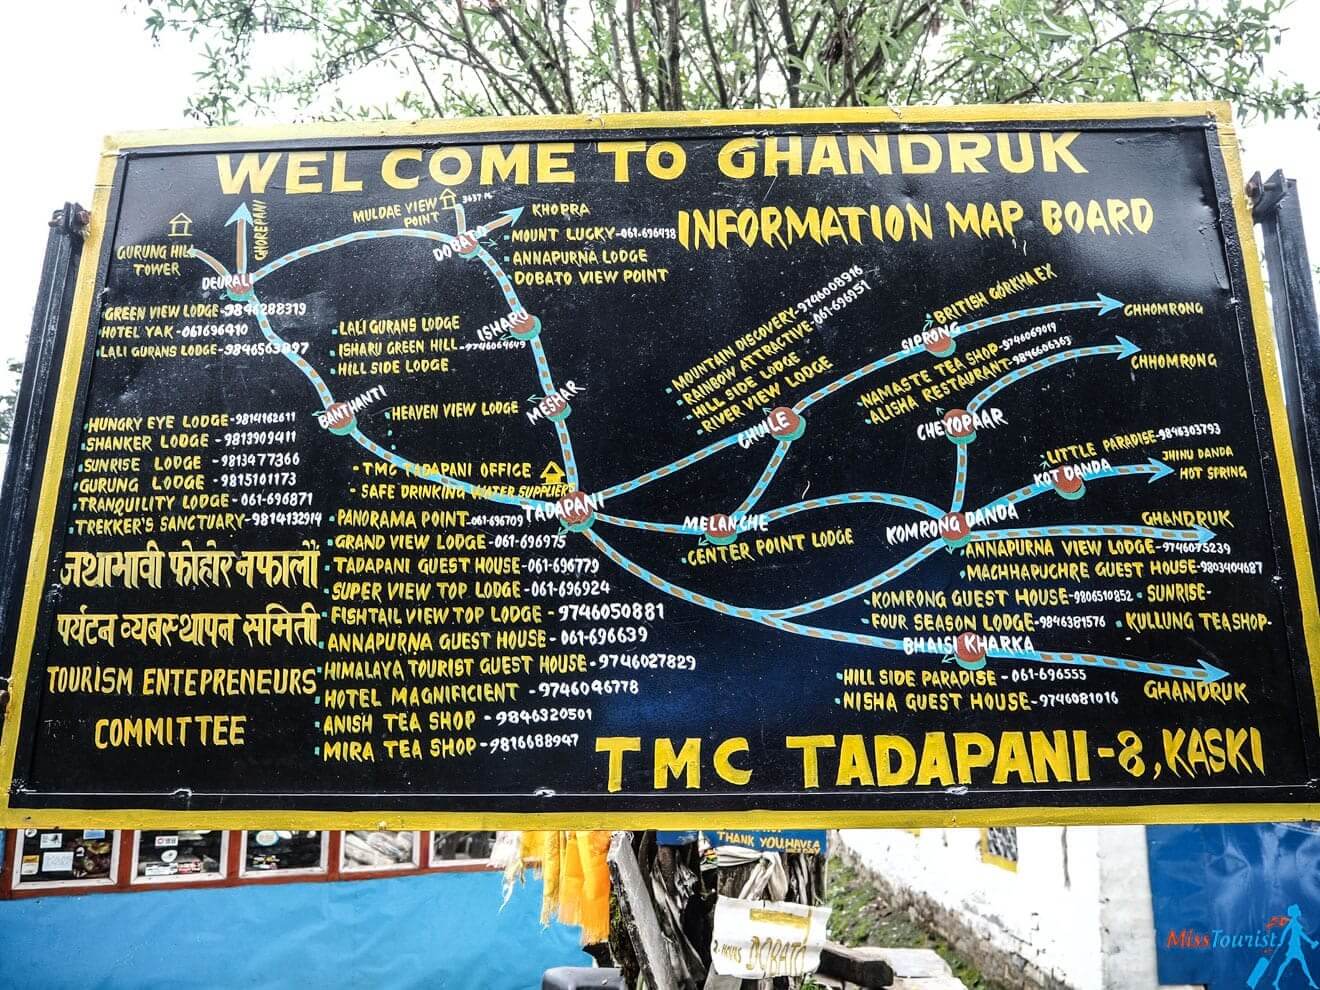
Above is the list of all the tea houses on the trip with their phone numbers (they obviously do not have a website). Just call them and try to book in advance. They usually speak basic English or ask at your hotel reception in Kathmandu to speak to them.
The food on the Ghorepani PoonHill trek
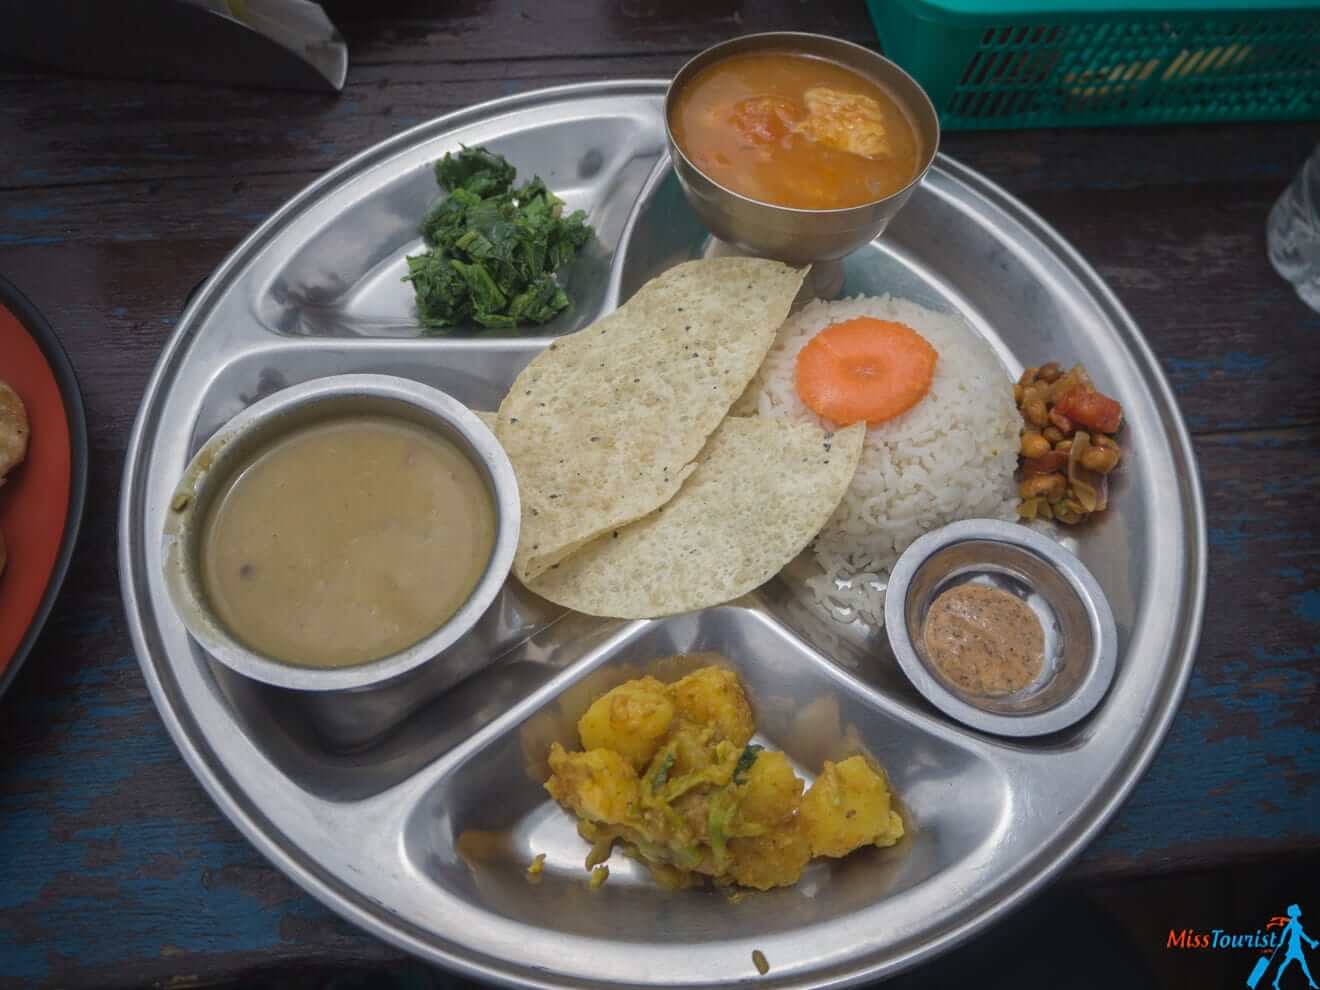
I cannot say for all other treks, as the conditions are different, but on the Poon Hill trek, you could actually eat European food during the whole time of the trek. I was pleasantly surprised by the quality and the variety of food!
The food is a bit more expensive than in the cities, but keep in mind they have to bring it all the way up, plus it is still affordable, so I think it is more than ok.
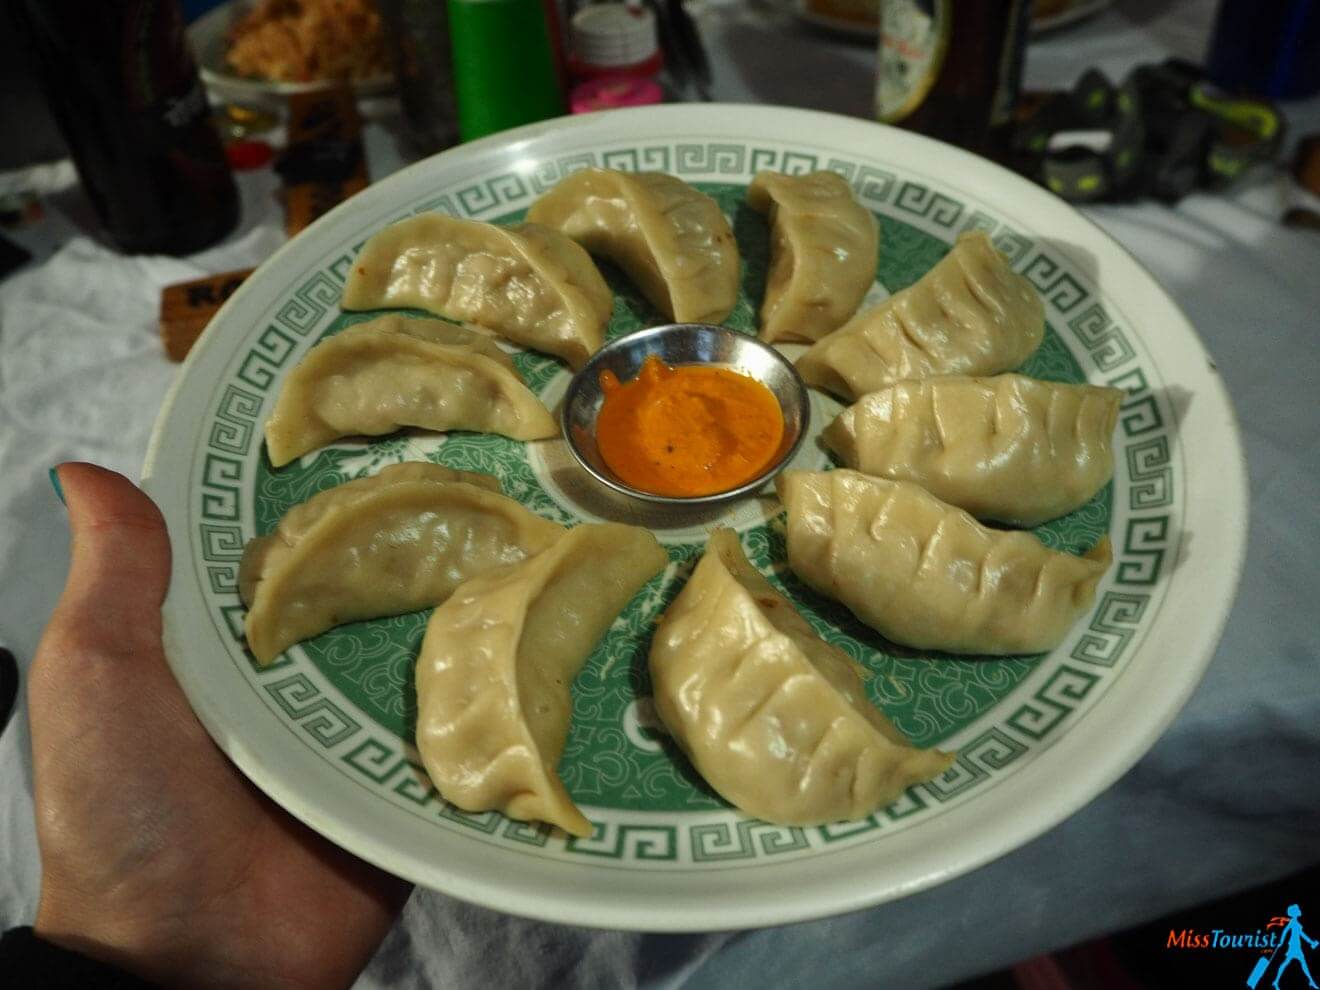
Here are some typical Nepali dishes:
- dal bhat (rice, dal soup, with a vegetable curry)
- Momos (small steamed stuffed dumplings)
Keep in mind that your order usually takes an hour to cook (maybe they bring the ingredients from somewhere else, not sure), which is why our guide called the cafes before and ordered food for us. The menu is pretty much the same everywhere, so that was not a problem.
I also stocked up on some energy bars before the trek. Even if I didn’t eat even half, it was very useful.
P.S. If you have some dietary restrictions, you should let your guide know in advance. I am sure they will be able to accommodate most of your requests if you tell them in advance.
The water
The water from the tap in the villages is not drinkable, though I have heard from fellow travelers that they used purification tablets and they were fine.
I refilled my water bottle from special refillable places in tea houses for an extra charge (usually 50 -100 rupees).
Packing list
Here is the list of things you should pack when trekking in the Himalayas:
- [easyazon_link identifier=”B07H2BN5KD” locale=”US” tag=”issouris-20″]Backpack[/easyazon_link]
- Cover for the backpack (in case of rain)
- [easyazon_link identifier=”B01M05HQON” locale=”US” tag=”issouris-20″]A torch[/easyazon_link] (was really helpful when the electricity was out), also for going to the toilet during the night
- [easyazon_link identifier=”B07KSSRJPF” locale=”US” tag=”issouris-20″]Trekking waterproof shoes[/easyazon_link] (can’t stress enough how important this is)
- [easyazon_link identifier=”B003NX8CKG” locale=”US” tag=”issouris-20″]Fleece jacket[/easyazon_link]
- [easyazon_link identifier=”B01CT5YUJU” locale=”US” tag=”issouris-20″]Refillable water bottle[/easyazon_link](mine was 0.6 ml)
- [easyazon_link identifier=”B01ERLMPL4″ locale=”US” tag=”issouris-20″]Camera[/easyazon_link](duh)
- [easyazon_link identifier=”B073NRYBKN” locale=”US” tag=”issouris-20″]Hiking poles[/easyazon_link]! (I didn’t take them, but I really regret it)
- [easyazon_link identifier=”B01LXKPVII” locale=”US” tag=”issouris-20″]hiking socks[/easyazon_link]
- [easyazon_link identifier=”B006WMAE2E” locale=”US” tag=”issouris-20″]Pants with zippers that becomes shorts[/easyazon_link] (so convenient in case it became hot)
- [easyazon_link identifier=”B074TB6CF2″ locale=”US” tag=”issouris-20″]Rain jacket[/easyazon_link]
- [easyazon_link identifier=”B06XHD6GKC” locale=”US” tag=”issouris-20″]Small towel[/easyazon_link]
- [easyazon_link identifier=”B01JGT7CBA” locale=”US” tag=”issouris-20″]A hat[/easyazon_link]
- [easyazon_link identifier=”B01MQXX9US” locale=”US” tag=”issouris-20″]Sunscreeen[/easyazon_link]
- [easyazon_link identifier=”B07DS95FJX” locale=”US” tag=”issouris-20″]Sun glasses[/easyazon_link]
- [easyazon_link identifier=”B0741DTS9C” locale=”US” tag=”issouris-20″]Snacks[/easyazon_link]
- [easyazon_link identifier=”B00BSUM0I6″ locale=”US” tag=”issouris-20″]Flip-flops[/easyazon_link] to take a shower in
- [easyazon_link identifier=”B008D5HAHU” locale=”US” tag=”issouris-20″]Dry shampoo[/easyazon_link]
- [easyazon_link identifier=”B004N59OFU” locale=”US” tag=”issouris-20″]Mosquito spray[/easyazon_link]
- Your own [easyazon_link identifier=”B0157T1UMA” locale=”US” tag=”issouris-20″]blanket[/easyazon_link] or a [easyazon_link identifier=”B01EIQH9JG” locale=”US” tag=”issouris-20″]sleeping bag[/easyazon_link]. (A bed and linens will be provided, but it’s not going to be freshly clean, so you might want to take your own to sleep in.)
A life hack: mosquito spray will not only save you from mosquitoes, but also from leeches! There are many of them on the trek during the rainy season! Just spray your ankles and feet, and they will not be interested in you anymore. Too bad I figured it out too late, I actually got bitten by 2 of them before, no matter how much I covered myself.
The weather during my Nepal trek
As I said, May was really rainy, and it was hard to see much of the mountain peaks, which were covered by clouds most of the time.
Temperature-wise, it was quite pleasant; the warmest I was dressed in was a raincoat and trekking pants. The only exception was the highest peak we reached – there it was quite chilly during the day (I bought a hat) and freezing during the night (I was in the room under a thick blanket, so that was ok too).
Check out the weather for your dates here.
Insurance for Nepal trekking tours
It is essential to have insurance before your trek. Your contract needs to cover personal accidents, medical expenses, and emergency evacuation (they will need to get a helicopter!). One great insurance that I can recommend is World Nomad. Get a quote here.
Subscribe here to get up to 35% off your accommodation for your next trip!
Other things you should know about Nepal
Visa to Nepal
A Visa is obtainable on arrival at the airport. They accept all major currencies. The price varies from your country of origin, but in most cases, the cost of the visa is 25 USD if you stay for up to 15 days.
If you want to stay for up to 30 days, it is 40 USD.
SIM Cards in Nepal
I strongly advise getting the SIM card at the airport, not in the city. Why? There is no need to bargain there; prices are fixed. Also, you do not need to have a passport-sized photo with you, which they will for sure ask for in Kathmandu.
I was really excited to arrive in Nepal, and I completely forgot to get a SIM card inside the airport, so I had to search for the NCell booth in Kathmandu, and, as I did not have a picture of myself with me, I could only get a SIM card in the 3rd place I tried. It was also overpriced, but I did not care anymore.
There are 2 major mobile companies – NCell and Nepal Telecom (NT). My experience showed that they have more or less the same coverage – sometimes Ncell would have reception and NT would not, and sometimes it would be the other way around, no winner here. The reception for both companies is good in the cities.
When you buy it, make sure to ask if the SIM card allows tethering to share the internet. Some of them do, some of them don’t. Ncell would be able to share the connection, but my internet did not work.
The official prices for Nepal Telecom at the moment are 1 GB costs 500 rupees (about 5$). Here are the prices for NCELL – 1,2 GB is 250 rupees (~2 USD). NCell is much cheaper, so I recommend getting that one.
You can top up your credit in any of the kiosks. Just be aware that if you top up for, say, 100 rupees (1 USD), the actual price will be less as there is a tax that is not included in the price.
Restaurants in Kathmandu and Pokhara
Just two words about dining in these cities – when you open a menu, take a look down. If it says that the governmental tax is not included, in this case you will be charged 25% more.
Otherwise, just go for TripAdvisor, there are plenty of great places for all budgets! Tips of 10% are appreciated in Nepal.
Taxis in Nepal
Taxis are easy to grab just on the street; they are white (and usually very old). Try to bargain until you reach the price you are ready to pay. Do not worry, you will not be overcharged in any way! 🙂
Make sure to agree on the price before you get in the car.
I have probably heavily overpaid comparing to locals, but 7 minutes ride was about 3 USD.
P.S. The traffic is crazy. Sometimes you will stop for 10 minutes without moving at all, without any apparent reason. Be patient.
Souvenirs from Nepal
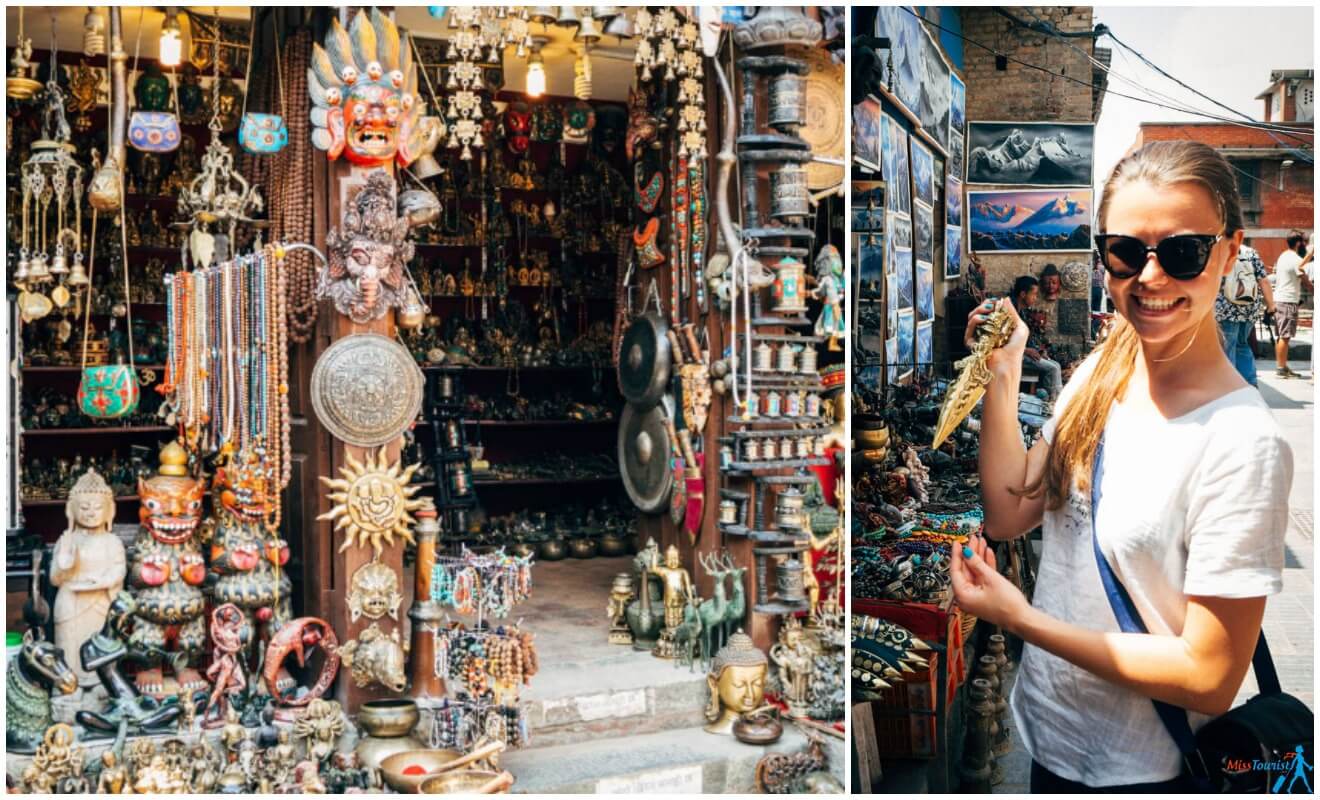
Among all normal souvenirs like magnets and t-shirts, there is also something special – honey that makes you high!
Because the altitude is so high in the mountains, its nectar boasts hallucinogenic properties. I wanted to buy it for my dad, who loves honey, but I didn’t have enough time before the flight. My friend said, ” You can feel a liiiitle high indeed.
A good place to buy souvenirs is Pokhara Lakeside. It is more touristy, but the choices are way more diverse. Price-wise, I think it is a bit cheaper in Kathmandu in the Thamel area.
Things to do in Kathmandu
I can’t leave you without a fast list of things to do in Kathmandu:
- Pashupatinath Temple (entrance fee – 1 000 Rupees)
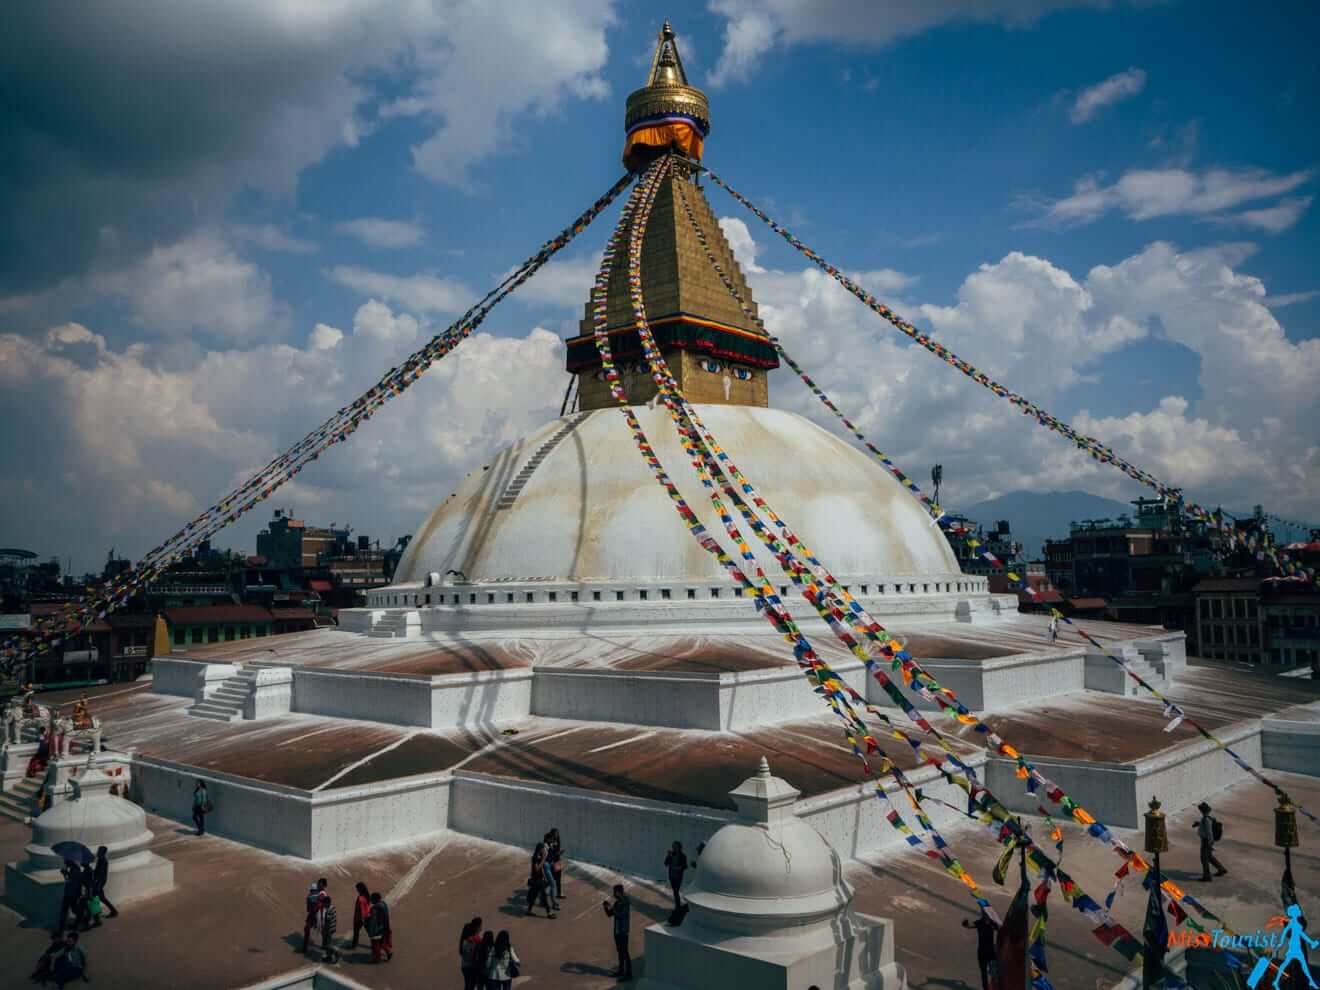
- Boudhanath Stupa (entrance fee – 250 Rupees)
- Swaymbhunath (Monkey Temple) (entrance fee – 250 Rupees)
- Patan Durbar Square (free)
NOTE: Some of the sights are very damaged because of the Nepal earthquake in 2015, but there are many renovations happening here and there. The city is very dusty because of the constant construction work.
Hotels in Kathmandu
UPDATE: You can check out more accommodation options in my new article about Where to stay in Kathmandu, Nepal!
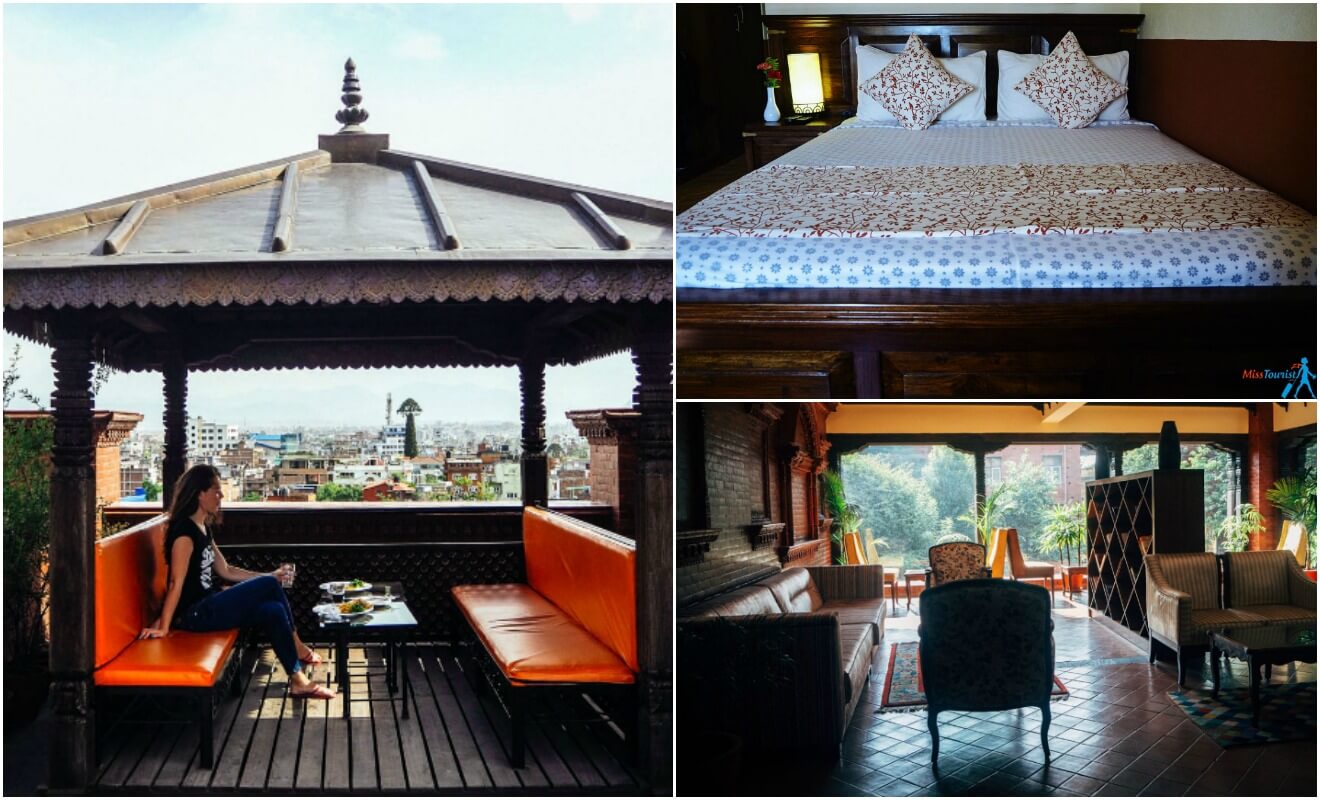
When deciding where to stay in Kathmandu, I would choose a hotel with solar panels, as it will have electricity during the night too. Yes, many hotels actually do not have electricity after 7-8 p.m.
I stayed in Traditional Comfort, which is a great hotel with a lovely rooftop. An oasis to hide from a chaotic metropolis. Unfortunately, though it is not that far, you still need to take a taxi to get to the major points of interest.
Check deals/Book a hotel in Kathmandu here
Hotels in Pokhara
We stayed in Pokhara Grande hotel – a 5* hotel with a pool and spa, which was great, and I had fantastic views of the mountains! We could also leave our valuables there (like my laptop) while we were trekking.
The breakfast could have been more diverse, though, but I found it was a little too far from the center. So, if taking a taxi is ok with you, consider it a great option.
Check deals/Book a hotel in Pokhara here
How to get from Kathmandu to Pokhara
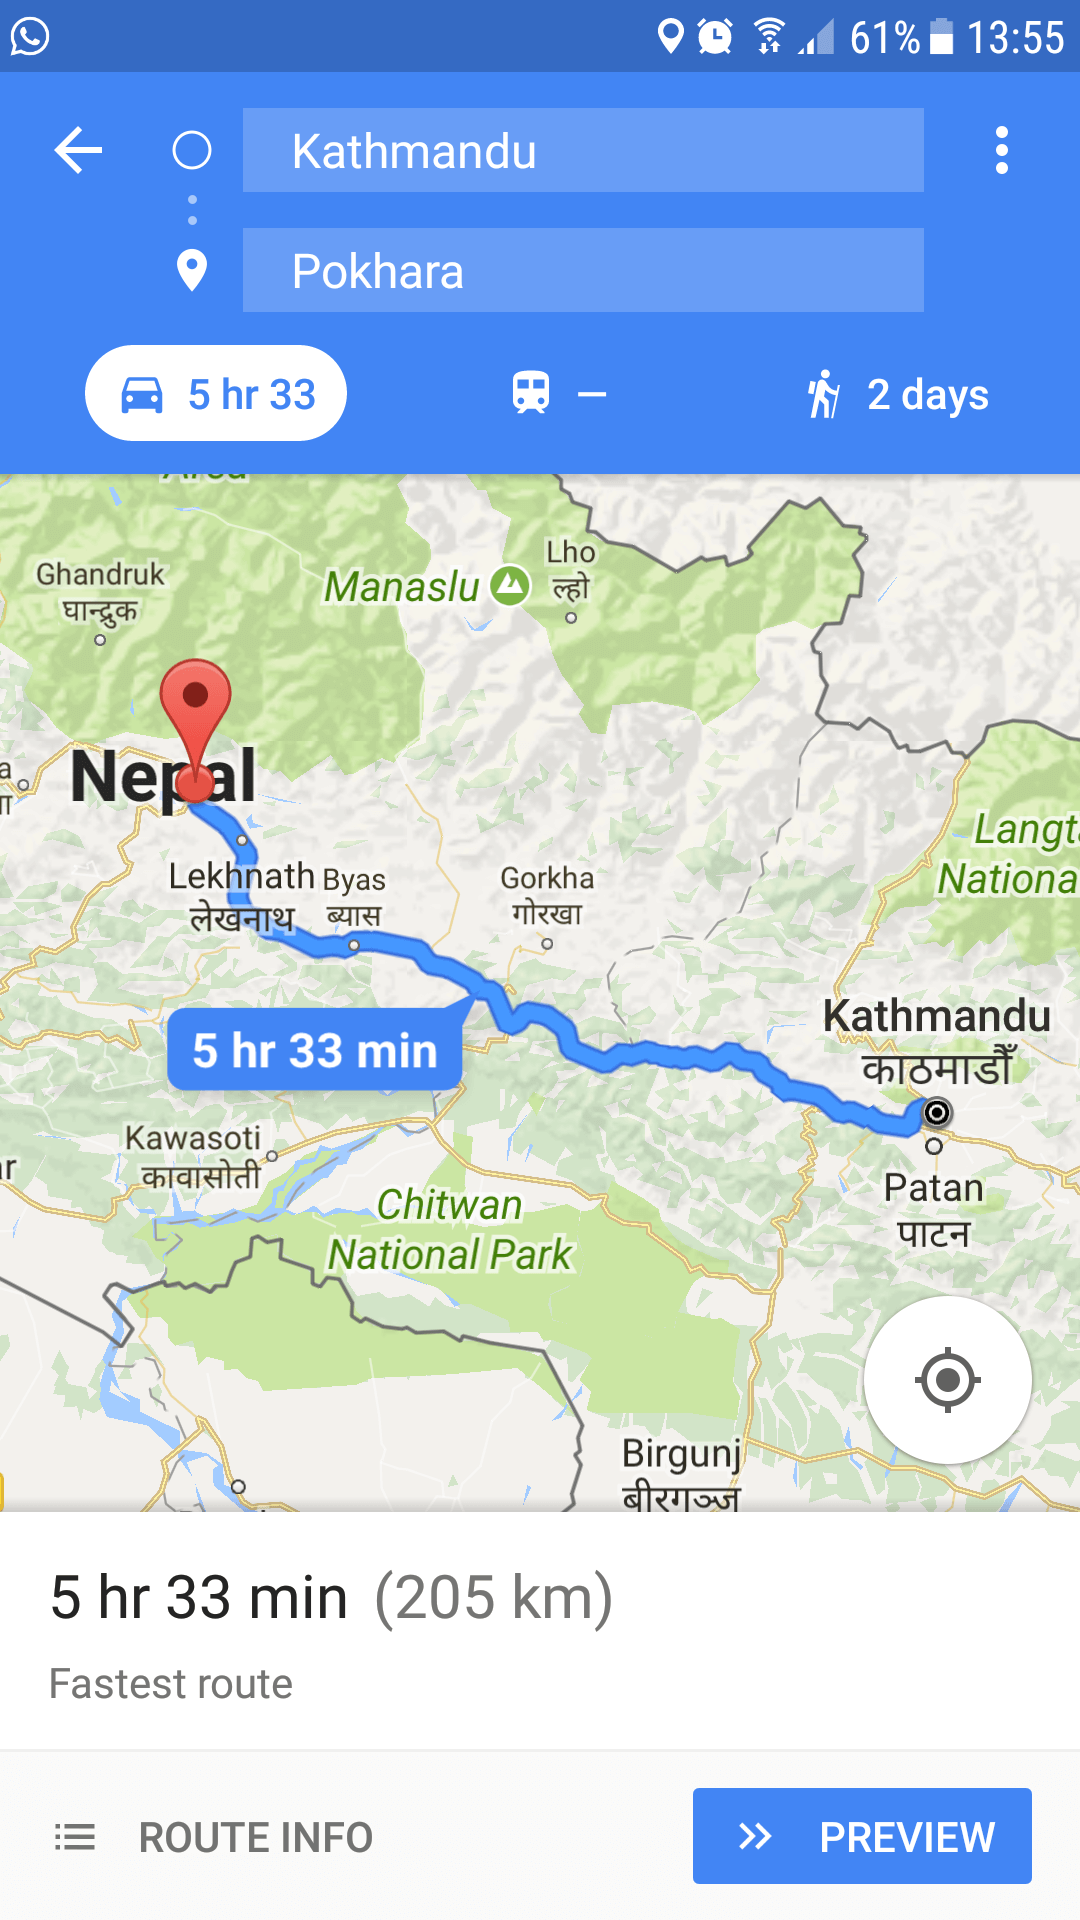
That’s a good question!
If you don’t have much time and you are not limited by money, you should fly! A one-way ticket is about 100 USD, and the flight is just 25 minutes. Keep in mind that your flight might be delayed if the weather conditions are bad. This happened to us (and it is a common practice, I think), we waited for about an extra hour, but it could be worth it.
If you have time and travel in Nepal on a budget, you can go by bus. There are just 200 km in between, but it will take you more than 5 hours (6 or sometimes even 7) to reach your destination. Why? Traffic and the road conditions.
I took a bus to Pokhara and came back by plane to try both options for you, and I can say that I definitely prefer to fly (even if the flight was also quite bumpy). You choose which option you prefer.
Conclusion
Nepal trekking is known all over the world – the Everest Base Camp trek, the Annapurna Base Camp (ABC) trek. The Poon Hill trek that I did is perfect for people who have a limited amount of time, but still don’t want to miss out on the magnificent views Nepal has to offer.
In this post, I gave you some tips on what you should consider before trekking in Nepal. I have a detailed description of my trek. There is lots of information on Himalaya trekking in general – how much it will cost you, what kind of food they serve there, where you will stay, what you should pack, etc. If you want to explore more, you may consider many other things to do in Pokhara.
You also learned about the SIM cards that you should buy in Nepal, how much is the visa costs, how to get taxis in the city and many other helpful tips for travelers to Nepal like you!
Nepal is fantastic and I am sure you will love it, but you need to plan it a bit ahead weather wise and packing list wise.
Hope my tips were helpful and that your Nepal trip will be unforgettable!
Be sure to let me know if you have any more questions!
Yulia
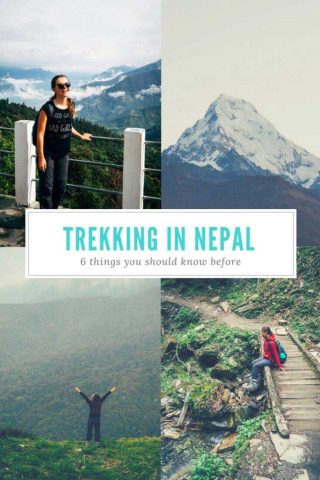
Pin it for later:
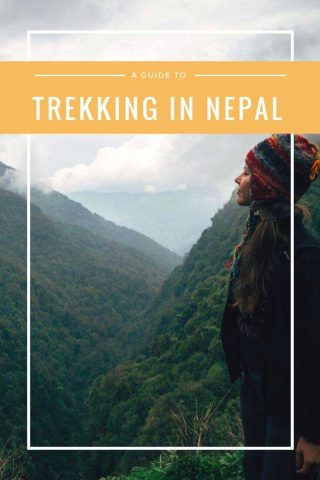
Pin it for later:

Absolutely, the Ghorepani Poon Hill Trek is a must-do trek in Nepal. The viewpoint from the top is extremely breathtaking and makes the trail all the more worth it.
I am unfit, 56, do you think I’d be able to do this trek?
Hi Julie!
It is hard to say, the trek is pretty challenging, it has lots of stairs and it requires waking up in the middle of the night (once) to go to the summit. We had a woman in the group who found it very challenging, she caught up with the group later in the day as she walked slower. She made it, but it was not easy for her.
Great post! Do you know how long is the Poon Hill Trek?
Thank you! It has 51 km (32 miles)!
Many thanks for this!! Can I ask – which organised tour did you go with and would you have any to recommend? How much uphill climbing is there?
Hi Siew, thanks for the comment! I dont remember the name of the company any more, it was a pre organized tour for bloggers. If I dont mention this in the post, then I dont know, sorry 🙁
As for the amount of steps/uphill – i think it was quite a lot, we had a couple of girls in the group that were extremely tired in the evening, so I’d say it is not super easy. But it really depends on how fir you are and if you have done long hikes before. For instance, Kilimanjaro to me was a way harder hike 🙂
Superb Blog Thanks For Sharing Such an Amazing Post about Poon Hill Trek in Nepal!
Thank you too, I’m glad to share some of my experience with you!
Namaste
From Three Diamond Adventures
Great article there. annapurna circuit & manaslu circuit,Kanchhanga trek ,Upper Mustang might be the best treks to do in nepal but these treks does require the good physical fitness right. For absolute beginners these treks could be hard to achieve. For absolute beginners chisapani nagarkot, ghorepani poon hill trek, panchase trek,mardi himal trek might be an option.
Great Post!!!
Such a great post! I’ll be in Nepal for the first time this Oct and you have reassured me that I don’t have to organize everything before I leave my country. I like to go with the flow, feel things out on the spot and decide day by day. You help to make this feel possible . Thanks so much for taking the time to put this together for us travelers! Namaste.
Hi Corine,
even if October is more touristy opposed to May when I went, I am sure you will be just fine!
Have an amazing trip!
Hi, you mentioned that the tips for guide an porter should be around usd5 per day. Is that price per per porter? And we have 5 of us so means per perosn need to pay i.e usd5 x 3 porter/guide x days?
it is a price per bag, not per porter of course. These porters do an amazing job carrying our bags in the mountains, it is incredibly hard, you will see it when you are there. please respect their job and pay them accordingly (we also left them tips because they are incredible, really!)
wonderful articles and information.
Enjoy Nepal Treks!
It is one of the great Article
Thanks! 🙂
Hi Yulia,
Great write up! We’re going in April and I wasn’t sure what to expect. Thanks for all the tips and advice, I’ve downloaded the app you suggested and am now excited about the trip! All the best,
you are very welcome, hope you will be more lucky with the weather! 🙂
Namaste,
wow great and thanks for sharing Natural beauty of Nepal.
Yulia, thank you so much for this post! I’m going to Nepal for New Year and your post has all the basic, but at the same time all the necessary information. Thanks again!
What was the name of the organised tour you took?
Hello Jess,
we hired a private guide and porters
Namaste from Kathmandu 🙂 great piece of writing. really useful for travelers who are planning to come to Nepal. a huge fan :))
namaste!
happy you liked it! 🙂
Perfect, that is so usefull! I am doing the Everest Base Camp Trek with 1 full day in KTM before…(in October, so the sun should be shining. Would be pain if I don’t see that damn peak!)
glad it was useful!
have a safe trip!