 Yulia Saf
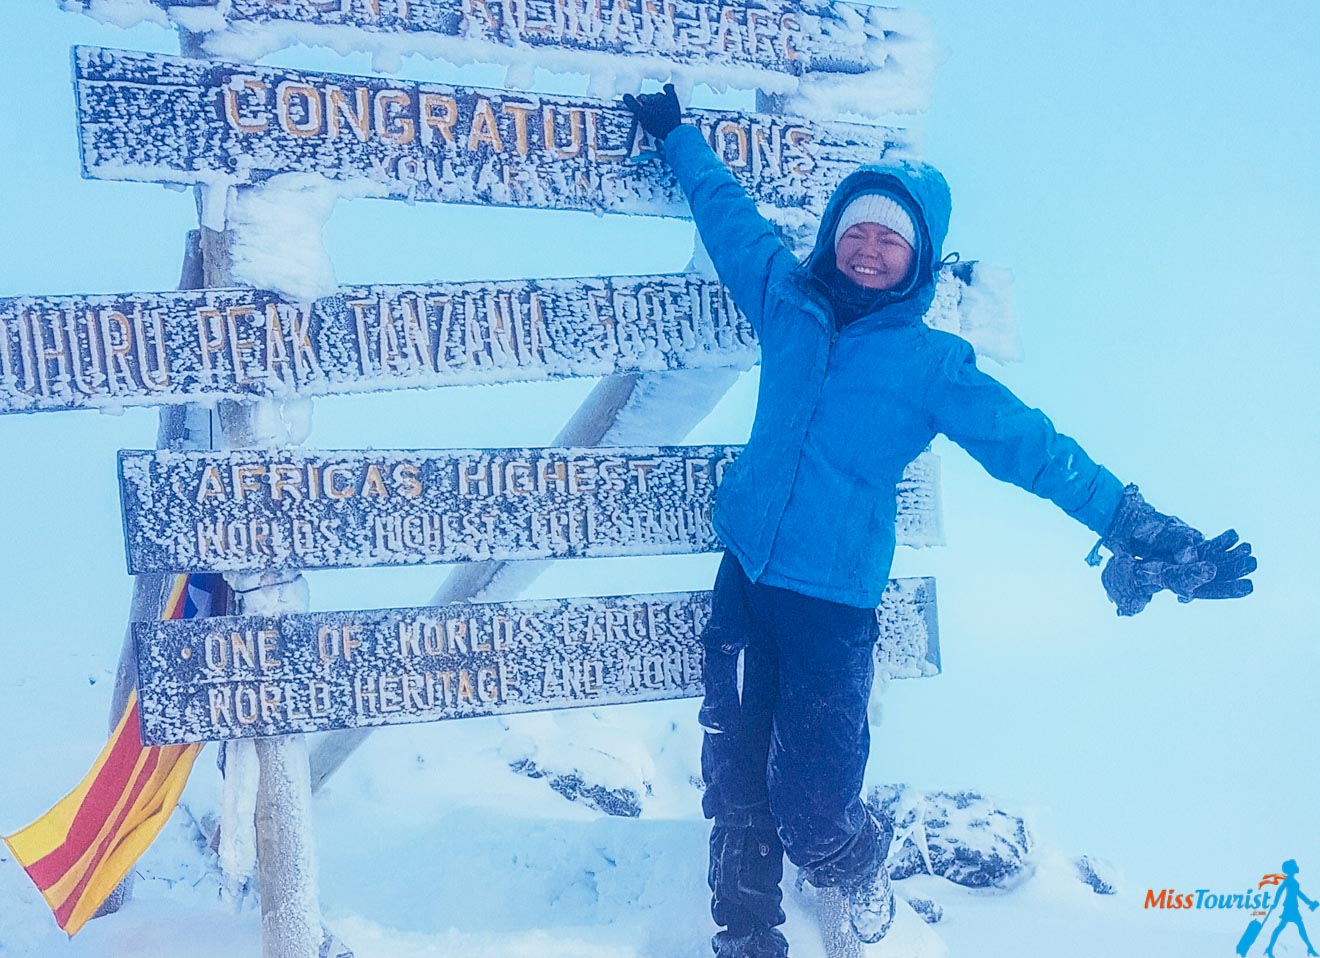
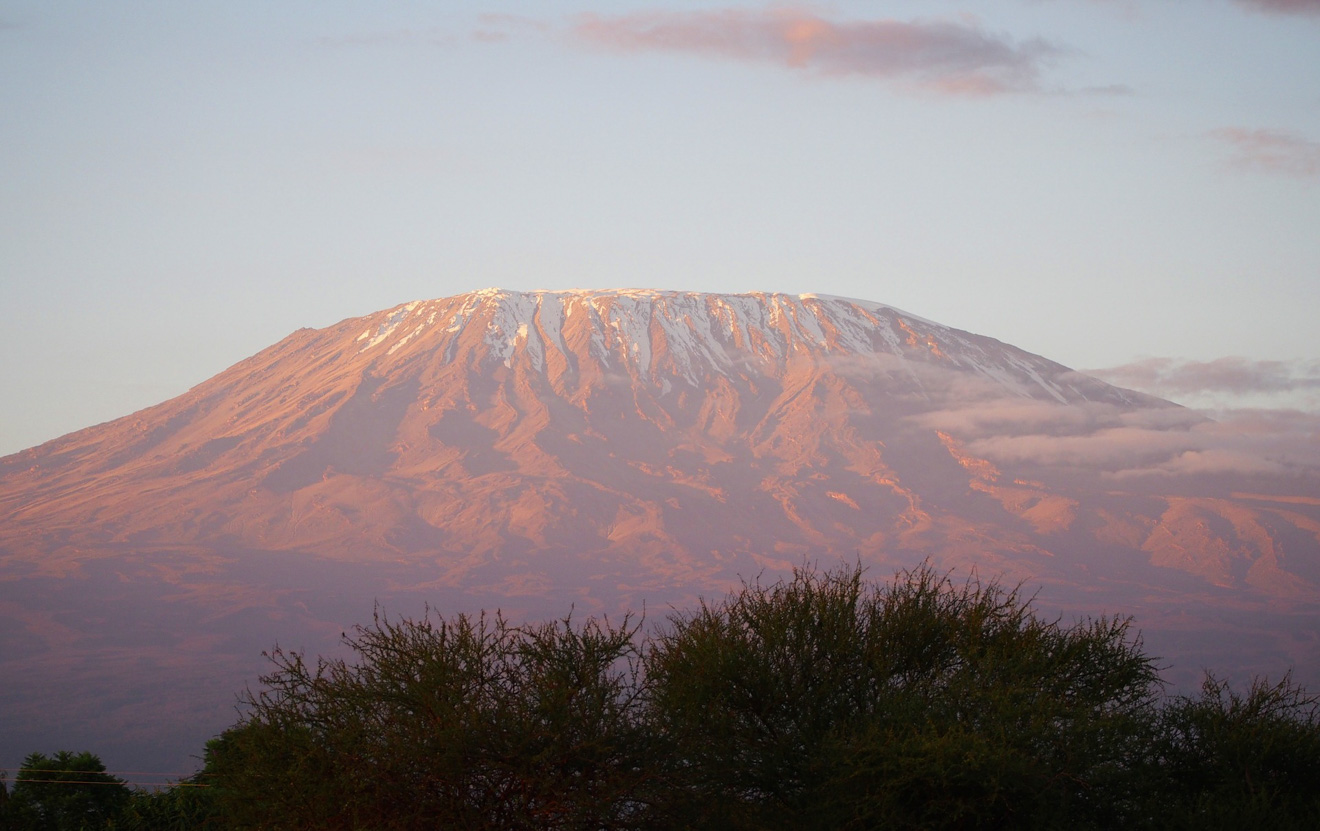
Hello, adventurer! I see you are interested in Kilimanjaro, and that is awesome because it is a life-changing trip!
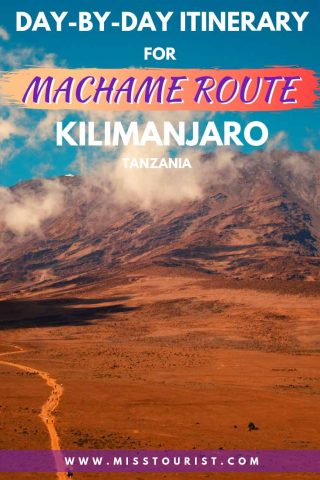
In this post you will learn everything about the distance, difficulty, success rate, price, duration and also a day-by-day description (from my experience) of a route called Machame (also known as the Whiskey Route). Aaaaand the best part – I am going to give you my secret only-for-my-readers discount to a company I can 100% vouch for!
BEFORE WE BEGIN: If you want to read a general overview of all the routes and other important things to consider before climbing Kilimanjaro, I invite you to read this post first.
Also, if you check my Instagram, under the highlight tab called “Tanzania”, you will see what the trek looks like day by day, what I wore, what we ate, how I cried reaching the summit etc. (don’t forget to follow me too! 🙂 )
Ready? Let’s begin!
Contents
- Fast facts about the Machame trek:
- Day 0 – Preparations
- Day 1 – And so it begins!
- Day 2 – Climb day
- Day 3 – Acclimatization day
- Day 4 – Climbing Barranco wall
- Day 5 – Base Camp – preparation and rest
- Day 6 – THE BIG day
- Day 7 – Easy-peasy
- Practical questions about the Machame Route (+ the Discount!)
- Conclusion
If you are considering the Machame Route and want to know more about it, here is a day-by-day description of Machame to help you decide if this is something that you’d like:
UPDATE: I have been in a conversation with an owner of an awesome company organizing the hike and they agreed to give a 5% (!!) discount to my readers (this is actually a pretty big saving!). The company name is Altezza – drop them a line to this specific email ([email protected]) to claim yours. Note – please claim it in the first email right away, otherwise it will not work (the owners try to keep this exclusive for my readers only!).
Fast facts about the Machame trek:
Days: 7 (can be 6, read below about it)
Success rate: 85%
Difficulty level: It is not the hardest of them all, but given the fact that we are talking about Kilimanjaro, you need to be physically fit
Cost: about US $2,000 per person (read details below)
Distance covered: ~62 km (37 mi) gate to gate
Closest city: Moshi
Pros: It is a well-thought out route, the views are beautiful and there is enough time to get used to the altitude so the success rate is one of the highest, too
Cons: The trek is one of the most popular ones, so it might be quite crowded
Here is a short video showing my experience taking the Machame trek all the way up to the peak of Africa:
If you are still reading, great! Here is what you should expect from each day as you will be conquering the tallest mountain in Africa:
Day 0 – Preparations
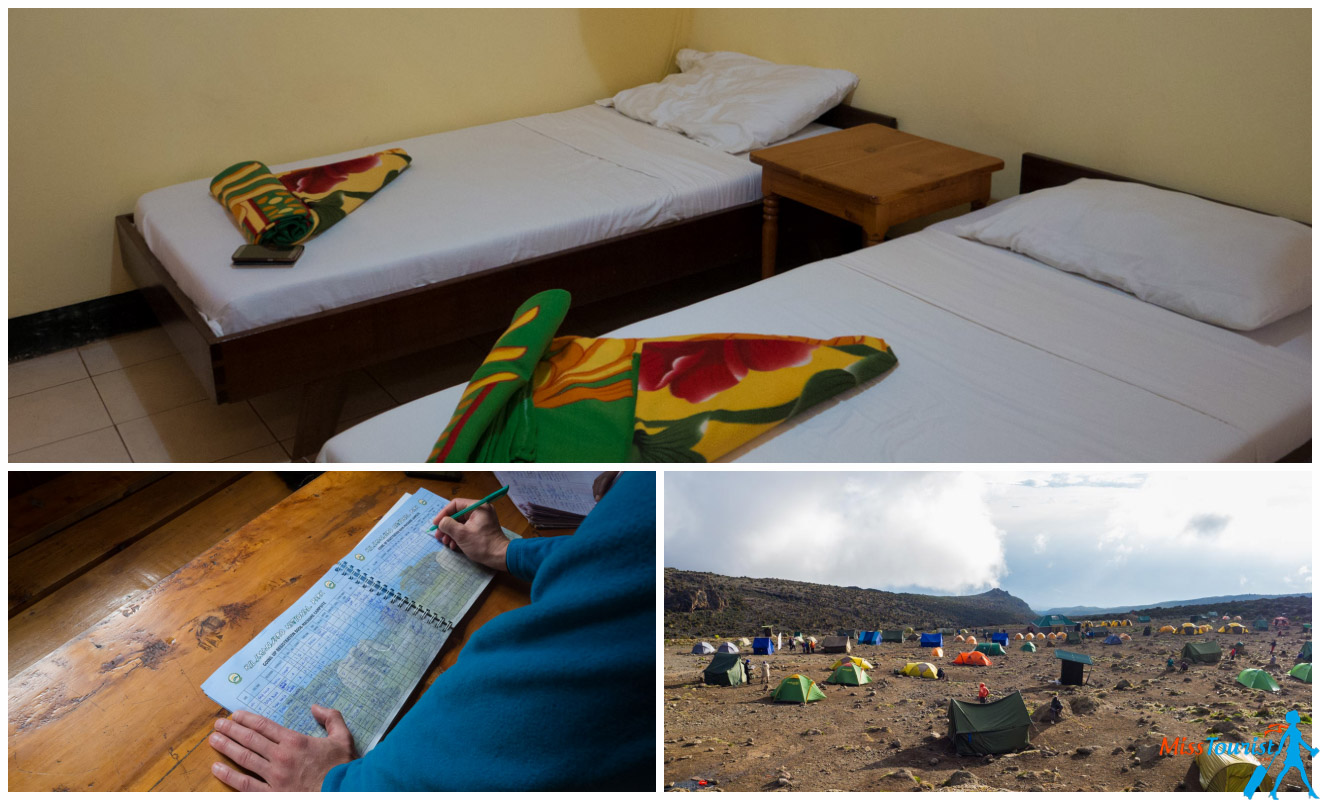
Arrival – you will be picked up from the airport (you will most probably arrive at JRO – Kilimanjaro International Airport) and a driver will take you to your hotel in the town of Moshi. If you wish to, you can take a couple of days before the hike to discover the surroundings, but we decided to just dive-in directly!
During this day you will acclimatize and have your gear checked by your guide, who will come to meet and greet you in the hotel. This day is given to you to acclimate yourself and get some rest before everything begins the next day.
Enjoy your meal, take a hot shower, check your email and simply relax! In my case, the meals were included (excluding alcoholic drinks), but you should double-check that with your tour provider.
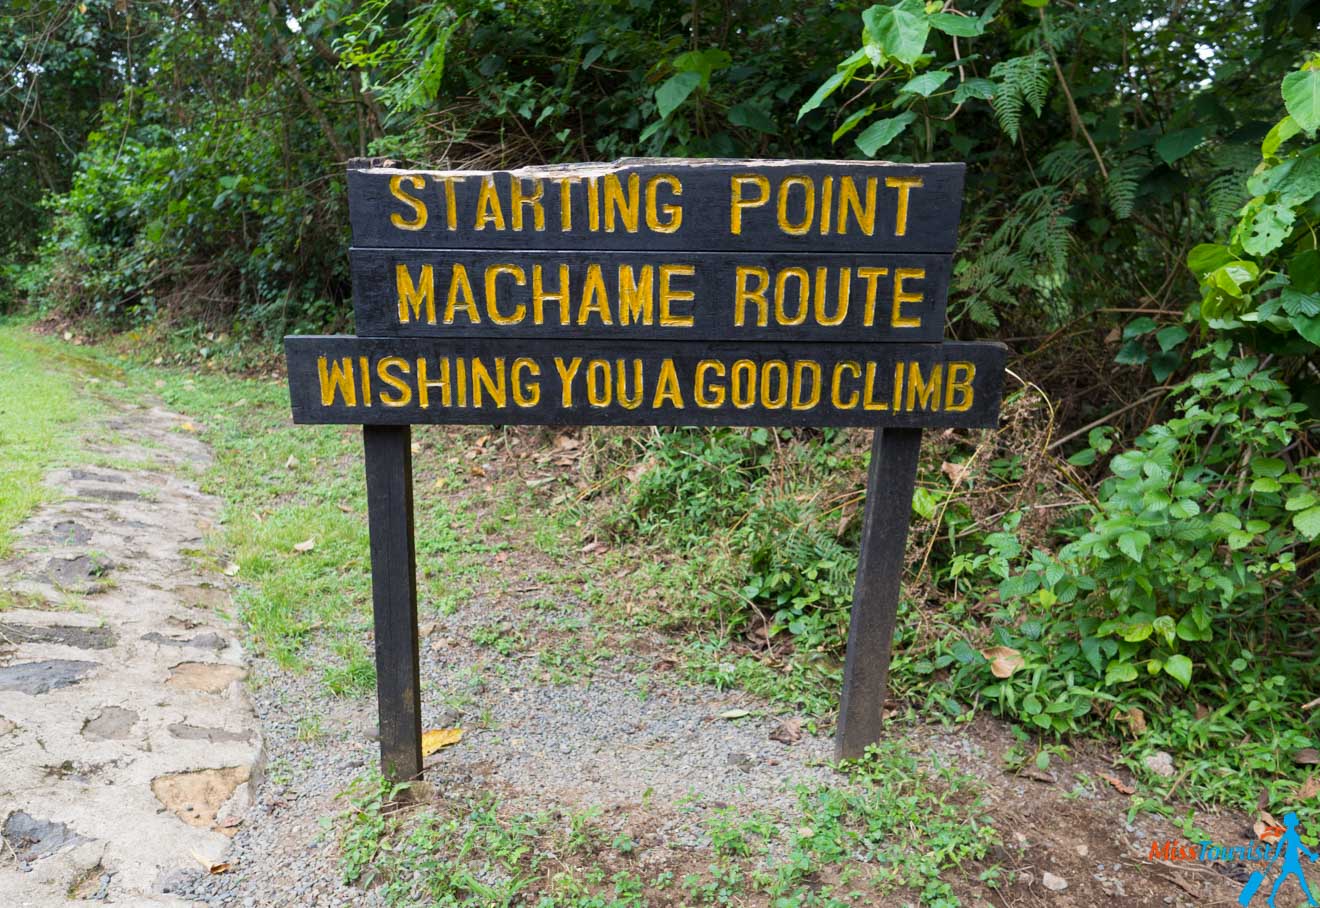
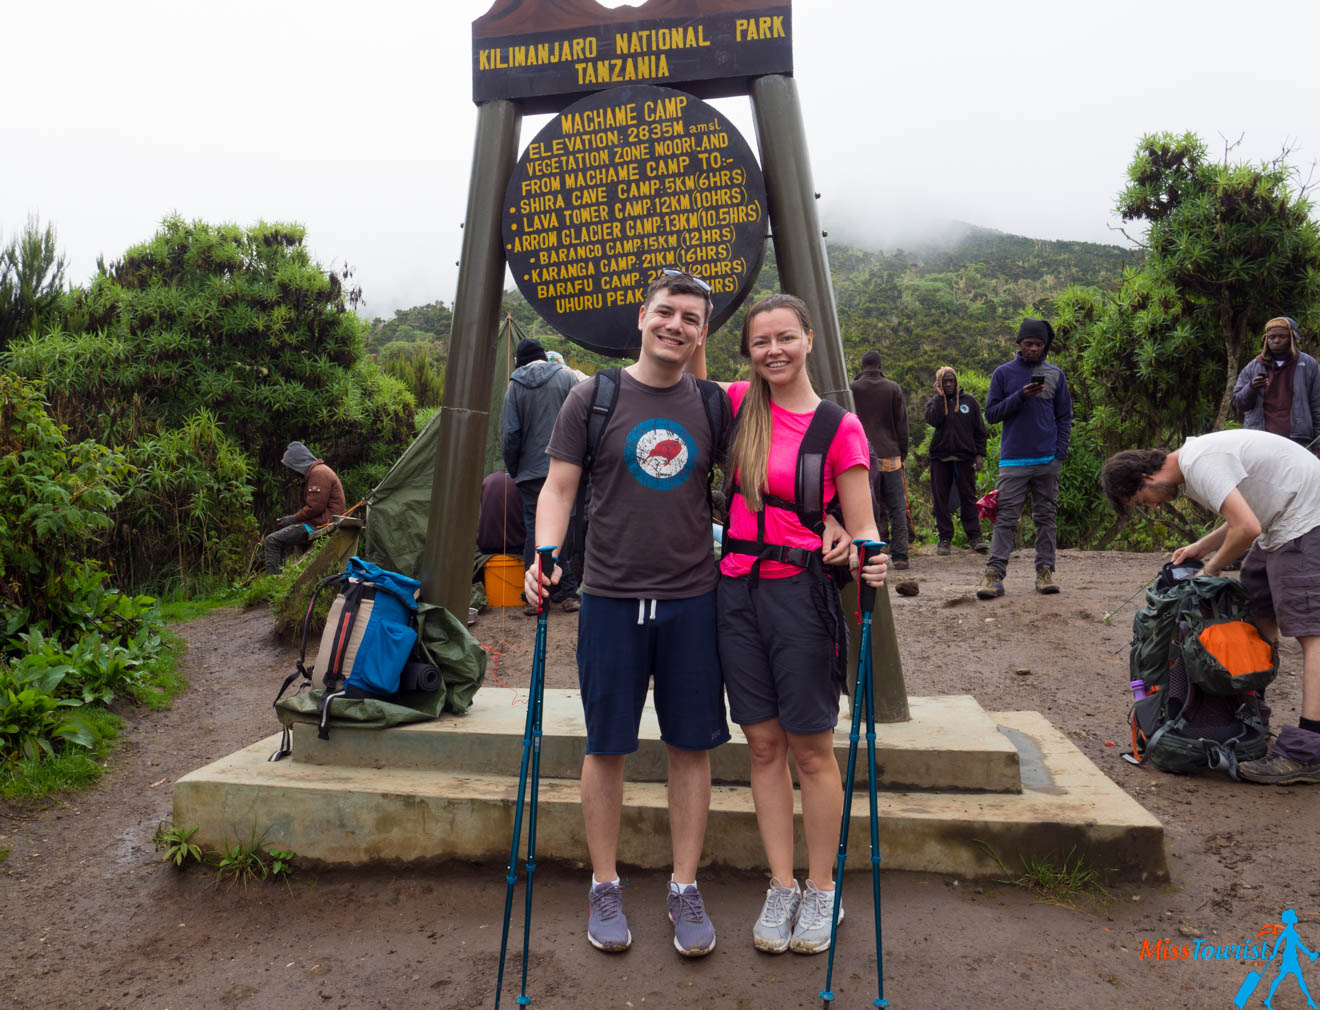
Day 1 – And so it begins!
Elevation: you will start at 1,800 m and finish at 3,000m (5,900 ft. to 9,800 ft.)
Hours of hiking: A bit less than 6 hours
Distance covered: 12 km
Camp name: Machame Camp
Pack your stuff in your duffle bag and put the rain gear in your day pack, have breakfast with no rush and get ready to start! The pick-up is at about 10 AM, the ride to the gate takes about 1 hour by minivan and you will be transported with all the other members of your team including porters, cooks, etc.
On the road to the gate, you might stop by some shops to buy any of the remaining stuff that you might have forgotten – sunblock, baby wipes, a hat, a water bottle, some snacks…
Once you reach the entrance, the porters will weigh everything that you have with you which takes about an hour. The porters are not allowed to carry more than 20 kg per person (some companies set their own limit of 15 instead of the government regulation). You will give them your duffle bag and wait for them to arrange all the weight between themselves. Meanwhile, you will have your lunch.
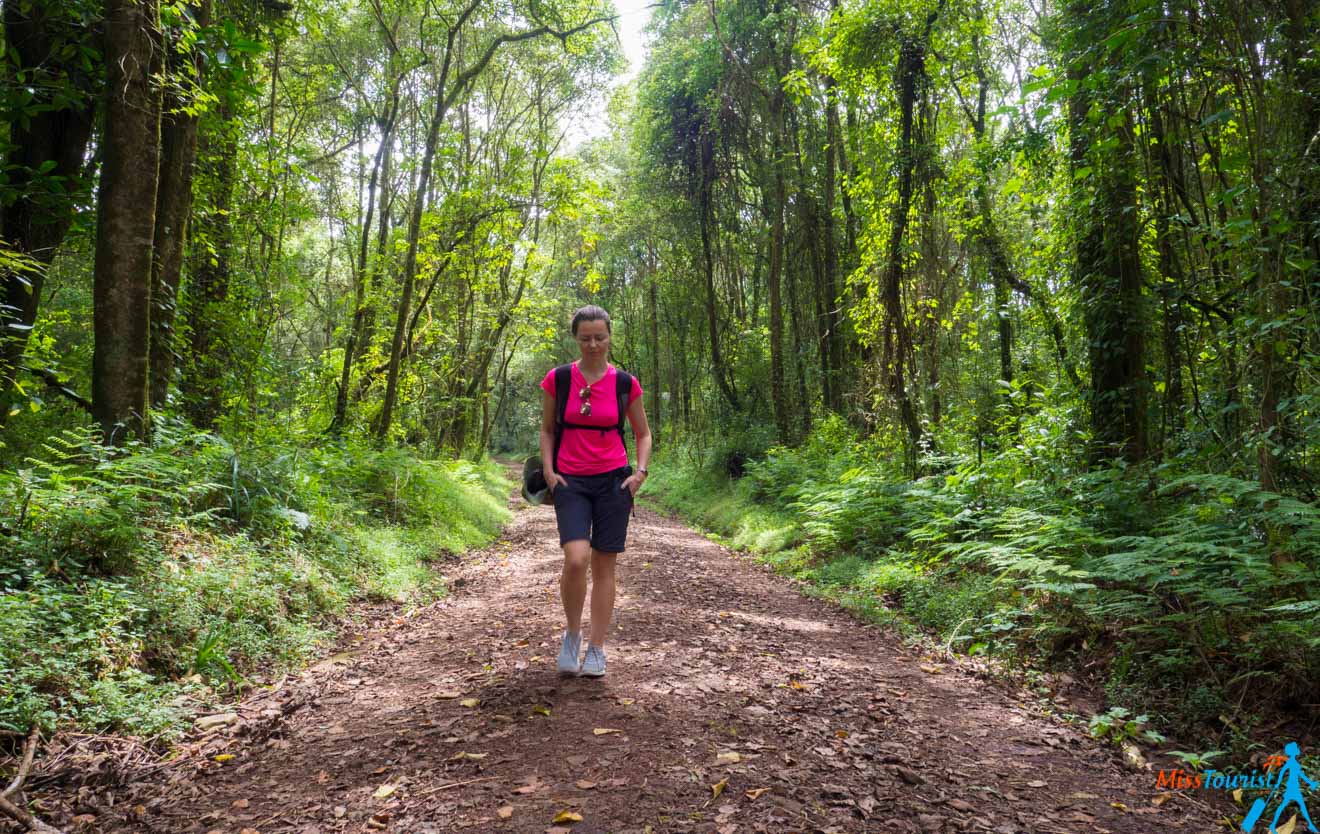
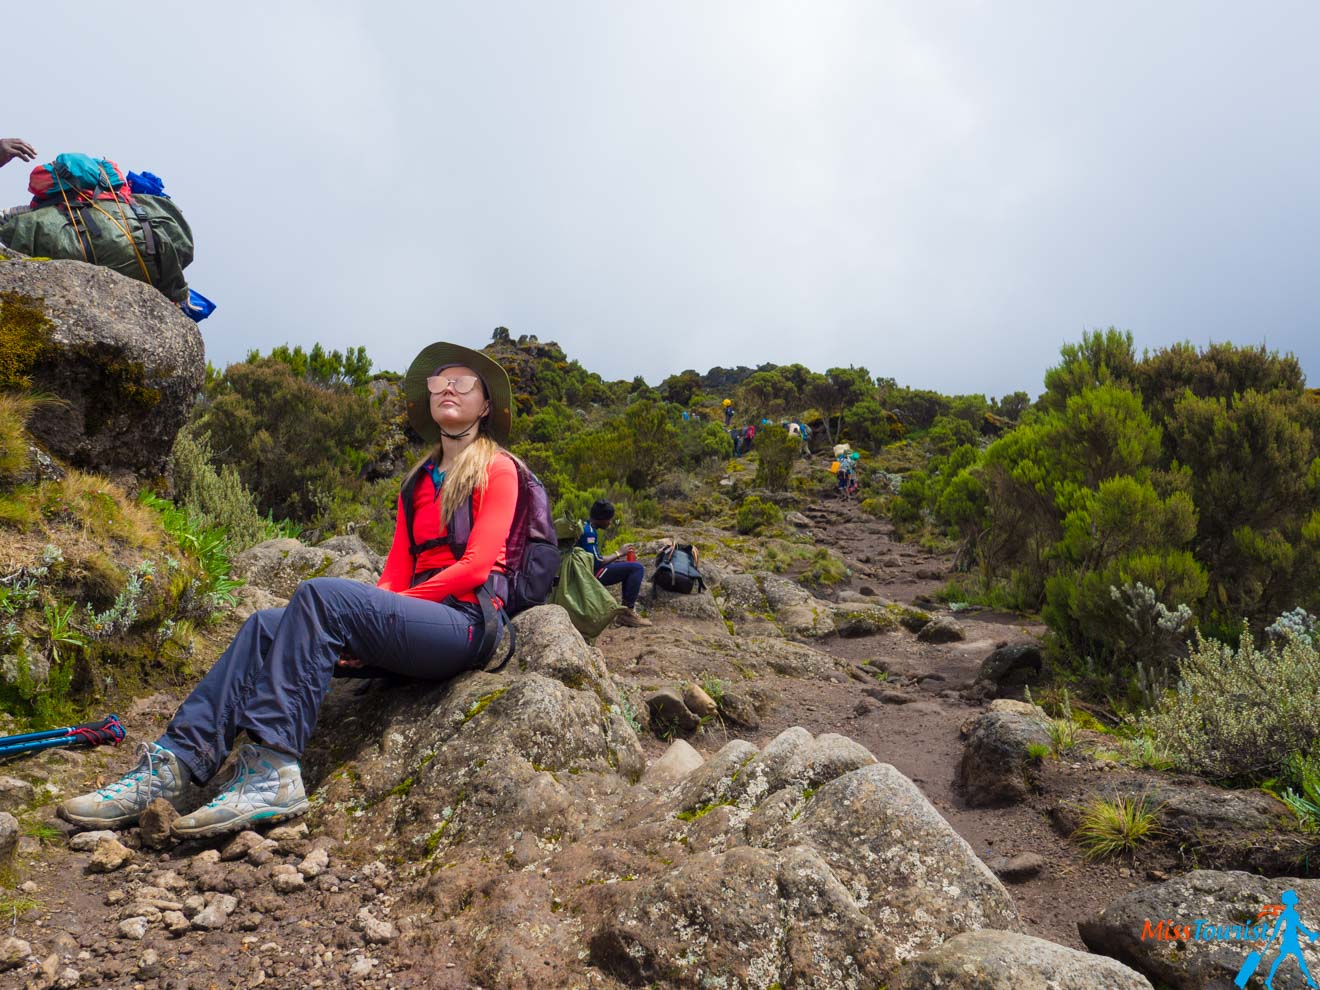
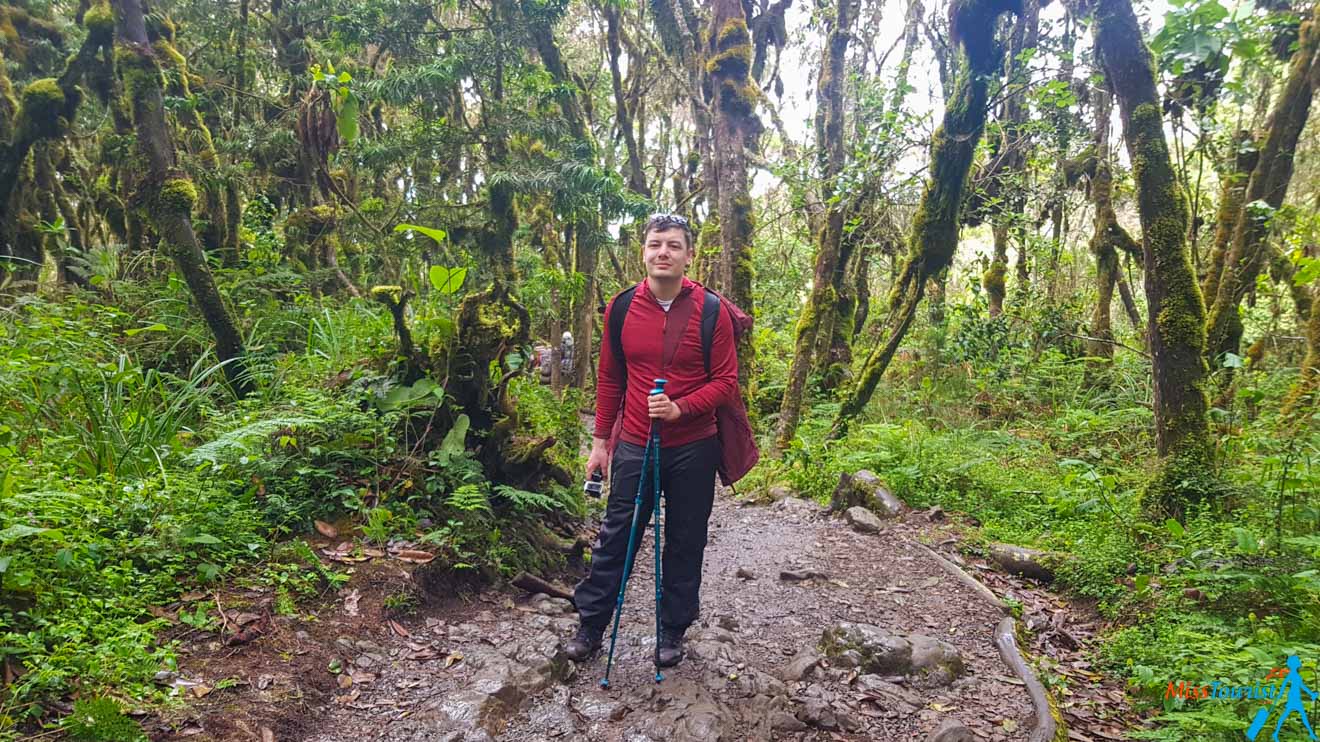
The first day is very easy and pretty to walk in – you will walk for 12 km through a beautiful rainforest where you might spot some monkeys, too! The temperature is pleasant; I remember I did not need more than a T-shirt and shorts that day.
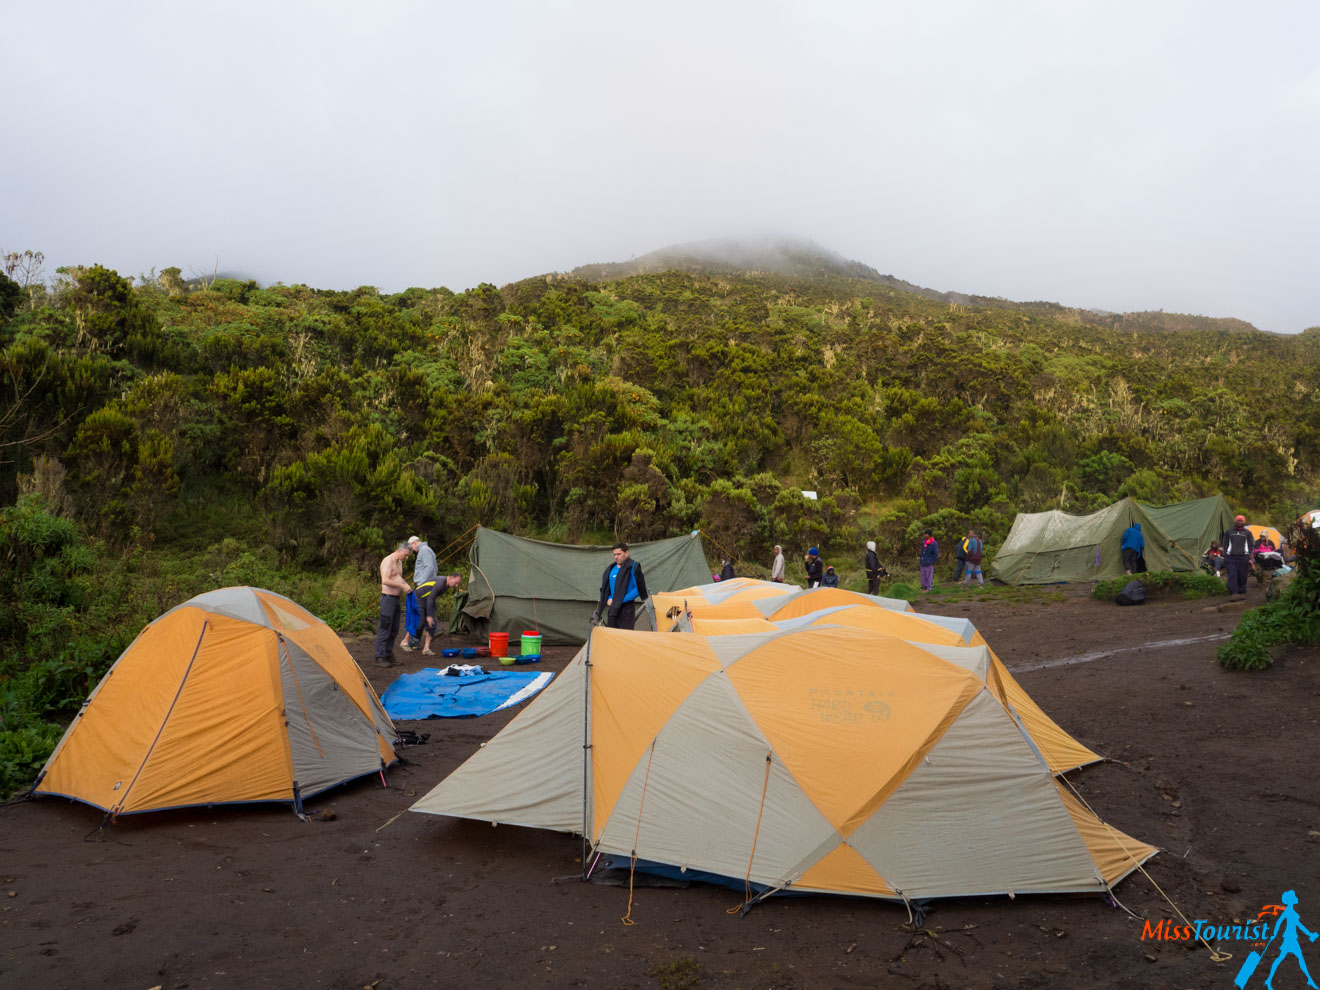
You will walk for 5 to 7 hours depending on your fitness level and reach Machame Camp before sunset. Once you get there, you will check-in (this is the procedure for all camps) and your guide will show you the place where you will sleep (the porters will have probably set up the tents by that time already).
You will be given a hot dinner and hot water in a basin to refresh yourself before sleep, and then you will be in for the night.
NOTE: You can download a maps.me map that is available offline beforehand if you are interested to see at what point of the trek you are at any given moment.
NOTE 2: On the first night you will sleep in negative temperatures already, so make sure to dress appropriately.
Subscribe here to get up to 35% off your accommodation for your next trip!
Day 2 – Climb day
Elevation: from 3,000m to 3,800 m (9,800 ft. to 12,500 ft.)
Hours of hiking: 5 hours, 4 of them are steep and uphill, 1 hour goes up and down
Distance covered: 5 km
Camp name: Shira Camp
You will wake up at 7 AM (that was the usual time for us to wake up except for the summit day), have your breakfast, and head out at about 8:30 – 9 AM (It can vary for each group. If you feel like starting earlier, this can be arranged too).
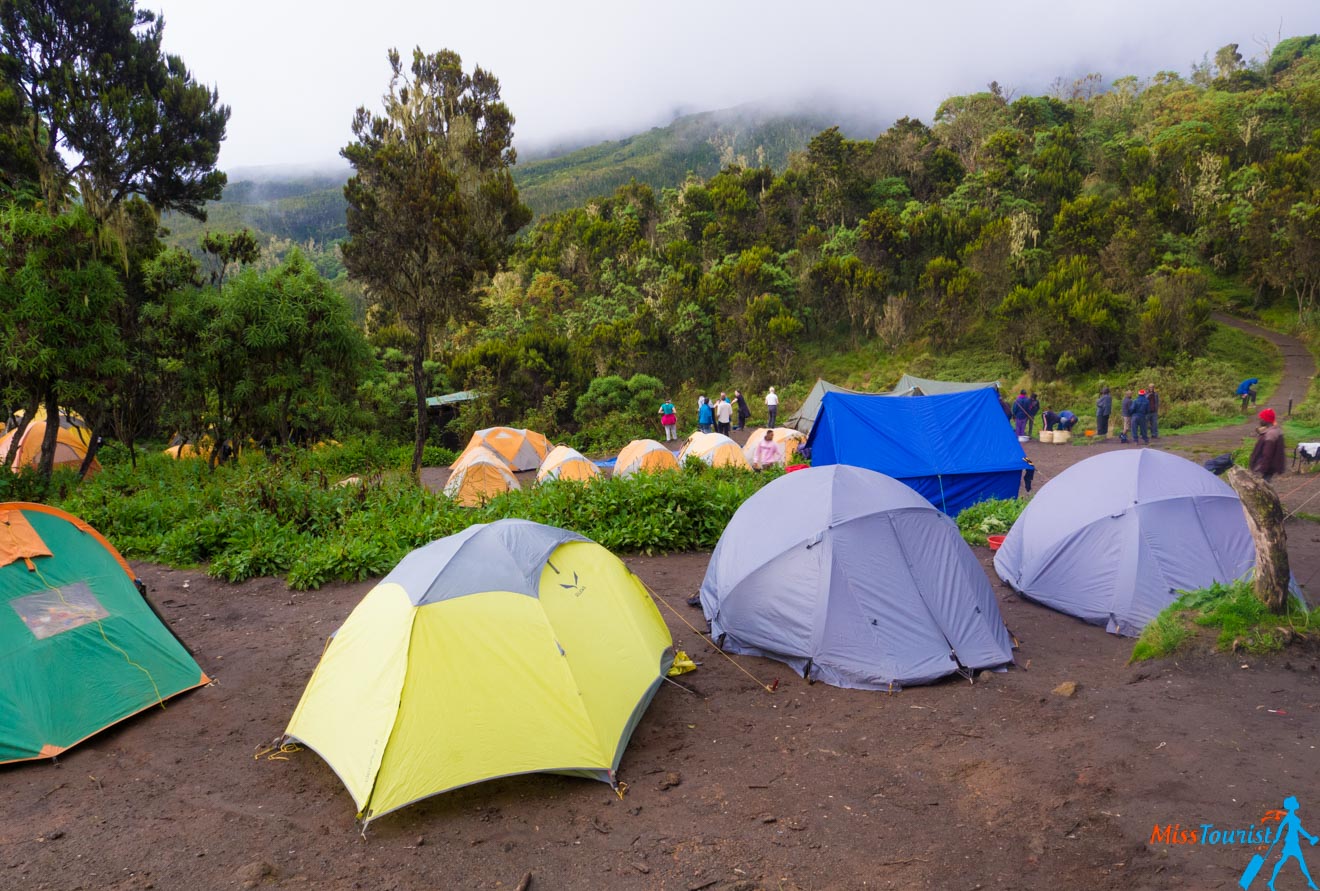
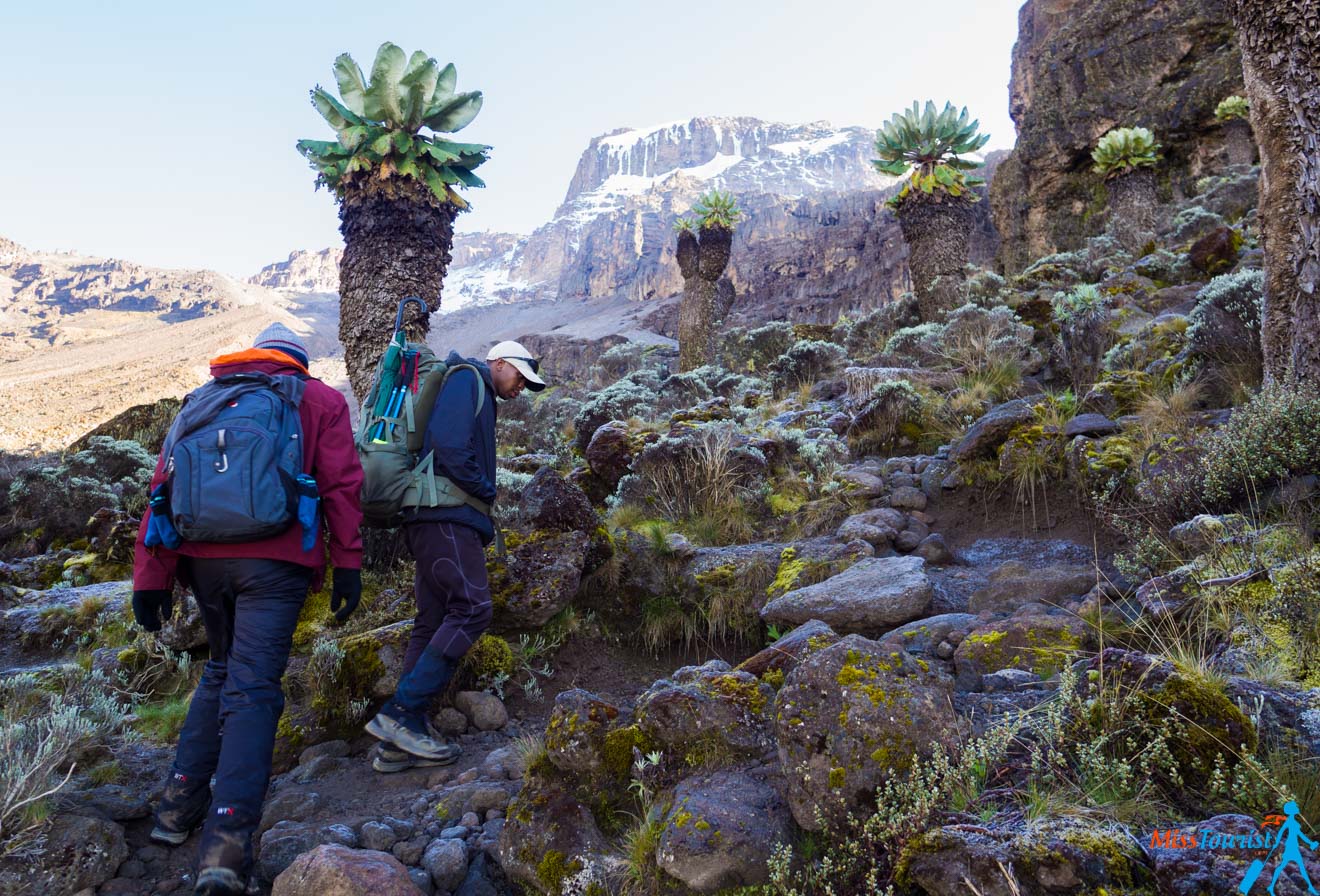
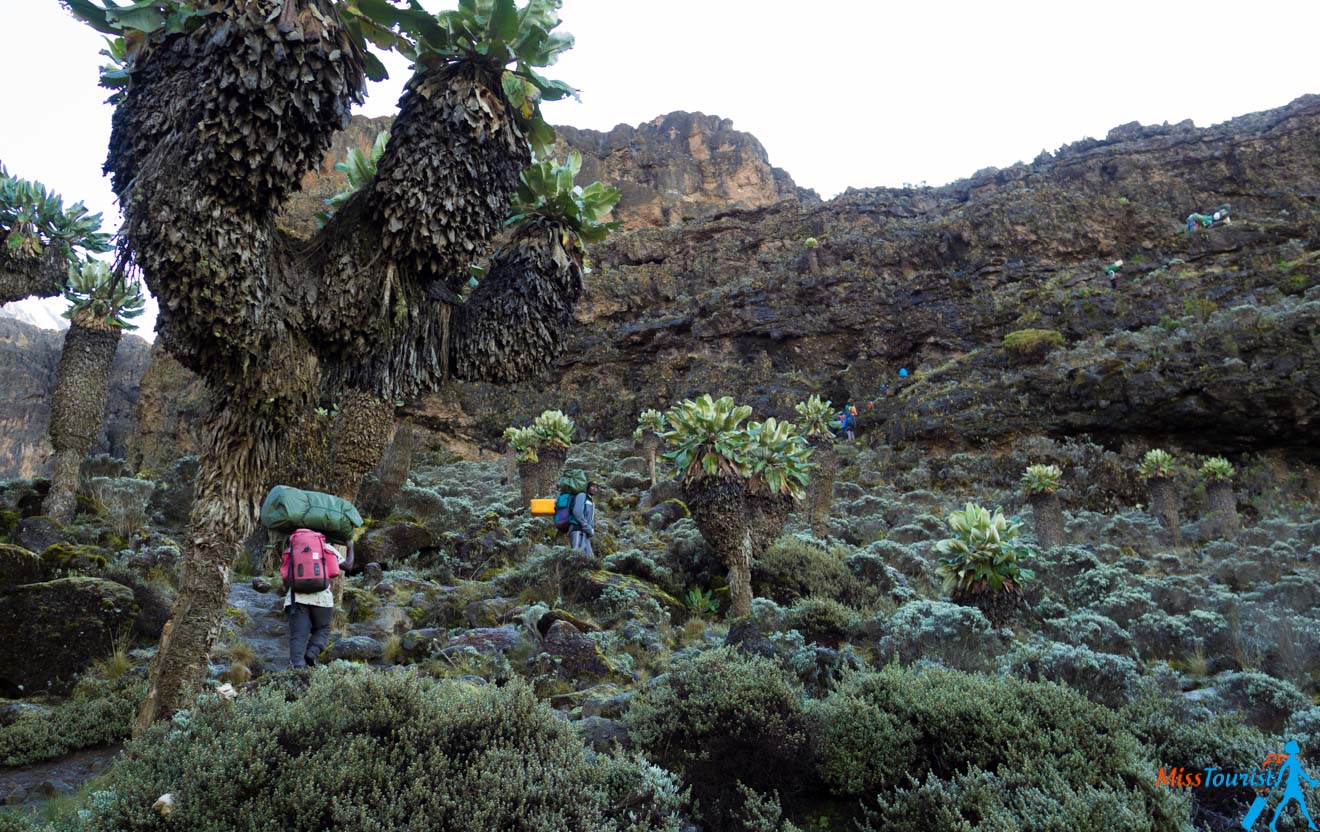
When you start, you will see right away that the trail is visibly much different than the day before – there are more rocks and fewer trees. There is a rocky ridge to climb, too. Don’t rush, go slowly (“poli-poli” as the locals say) and you will reach the next camp successfully. We reached Shira camp at about 2 PM (the altitude is 3,750 m).
If you still have some energy left, there are a couple of caves a 15-minute walk away that you can visit after lunch. There is a great view of the camp from there (but the view is very weather-dependent, obviously).
The clothes are also much more different from Day 1 as well – you will need some light pants and a long sleeve shirt to hike in.
Day 3 – Acclimatization day
Elevation: 3,800m to 4,600m and back to 3,900m (12,500 ft. to 15,100 ft. and back to 12,800 ft.)
Hours of hiking: 7 hours (5 up and 2 down)
Distance covered: 15 km
Camp name: Barranco Camp
This is when I started to feel the altitude-4,600 m (12,500 ft) is not a joke! I don’t think I have ever been as high up before that day!)
The start is, as usual, at 8 AM. You will walk up for about 5 hours to the Lava Tower and then have a packed lunch there. Your lunch will probably be fast because 4,600 m is quite coooold and windy. But congratulations, if you made it up there, you will surely make it to the base camp because it is located at the same elevation!
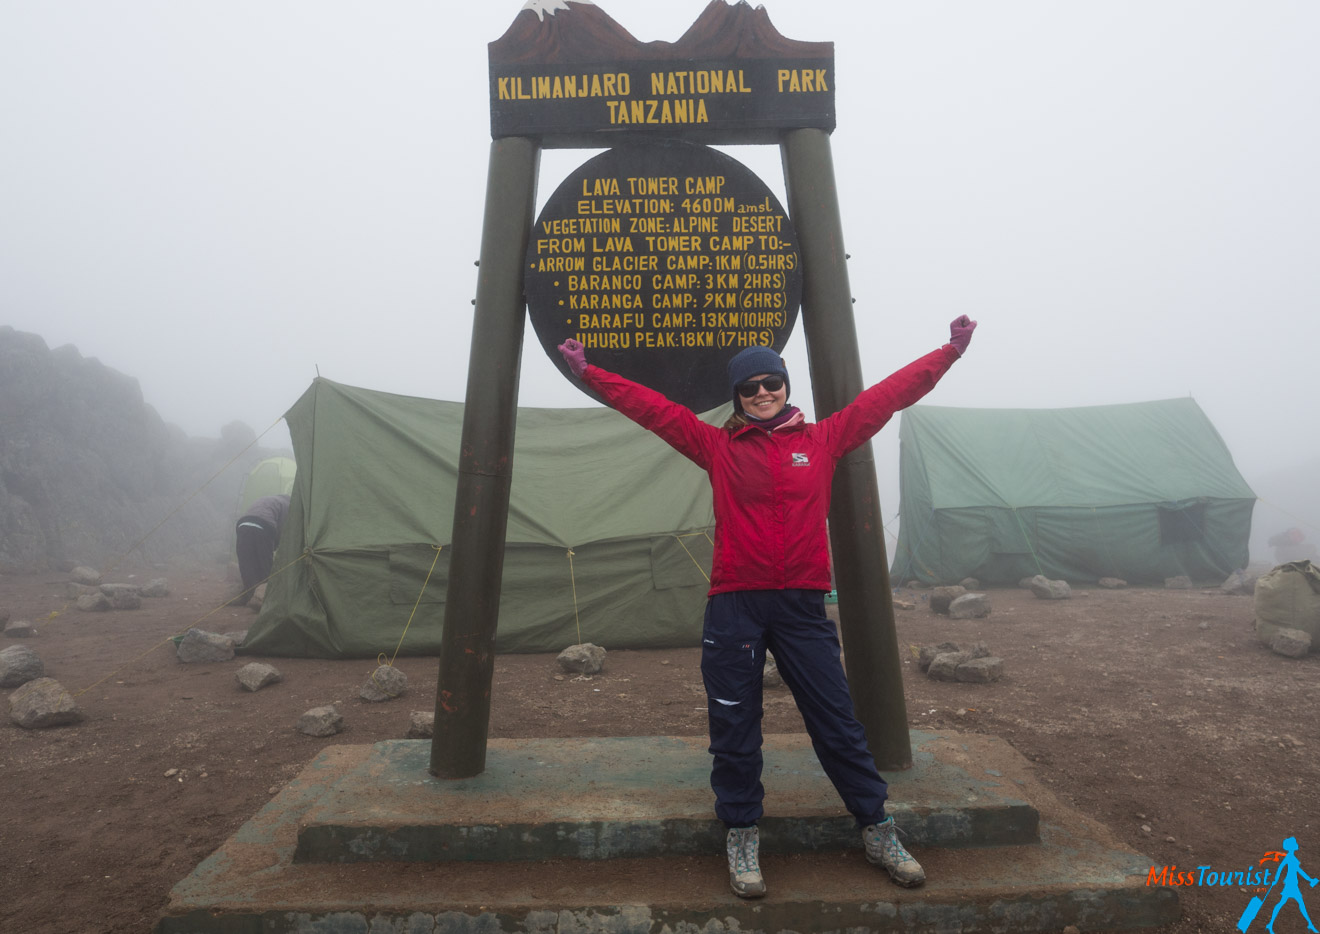
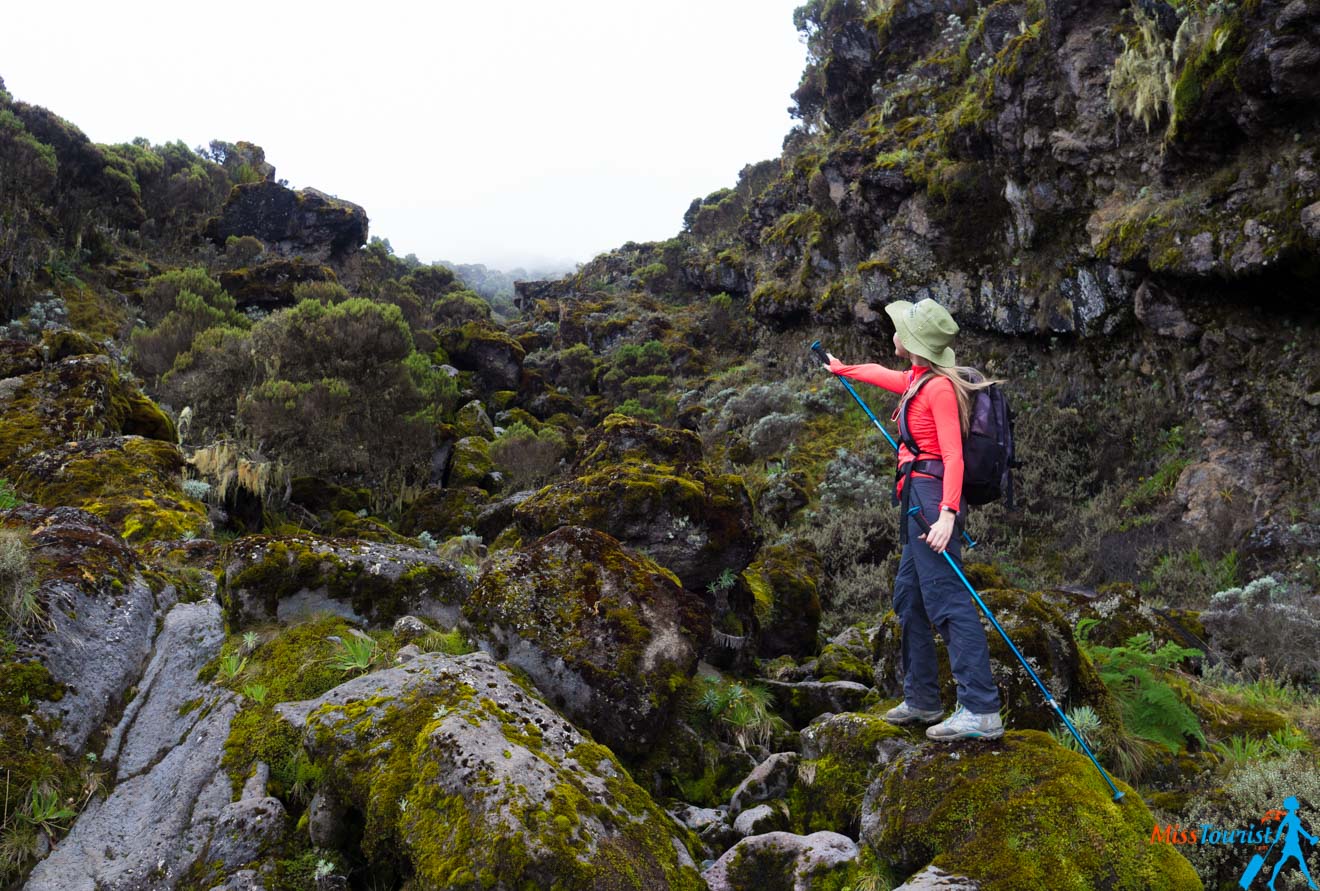
After conquering Lava Tower, it is about 2 hours down to Barranco camp (located at more or less the same altitude as your camp yesterday). You will see some interesting vegetation along the way if it is not rainy. For us, it was very foggy.
We arrived at the camp at 3:30 PM, my head started to hurt so I slept until dinner, which was at 6 PM.
Altitude sickness-my experience: In fact, it hit me quite hard! To be honest, I secretly hoped I would have a built-in resistance to it. It started with minor dizziness and an increased heart rate for 10 mins, but this was completely fine. It was only when we came to the camp that it hit me. First, I felt an increased pressure in my eyes and then it spread to my temples.
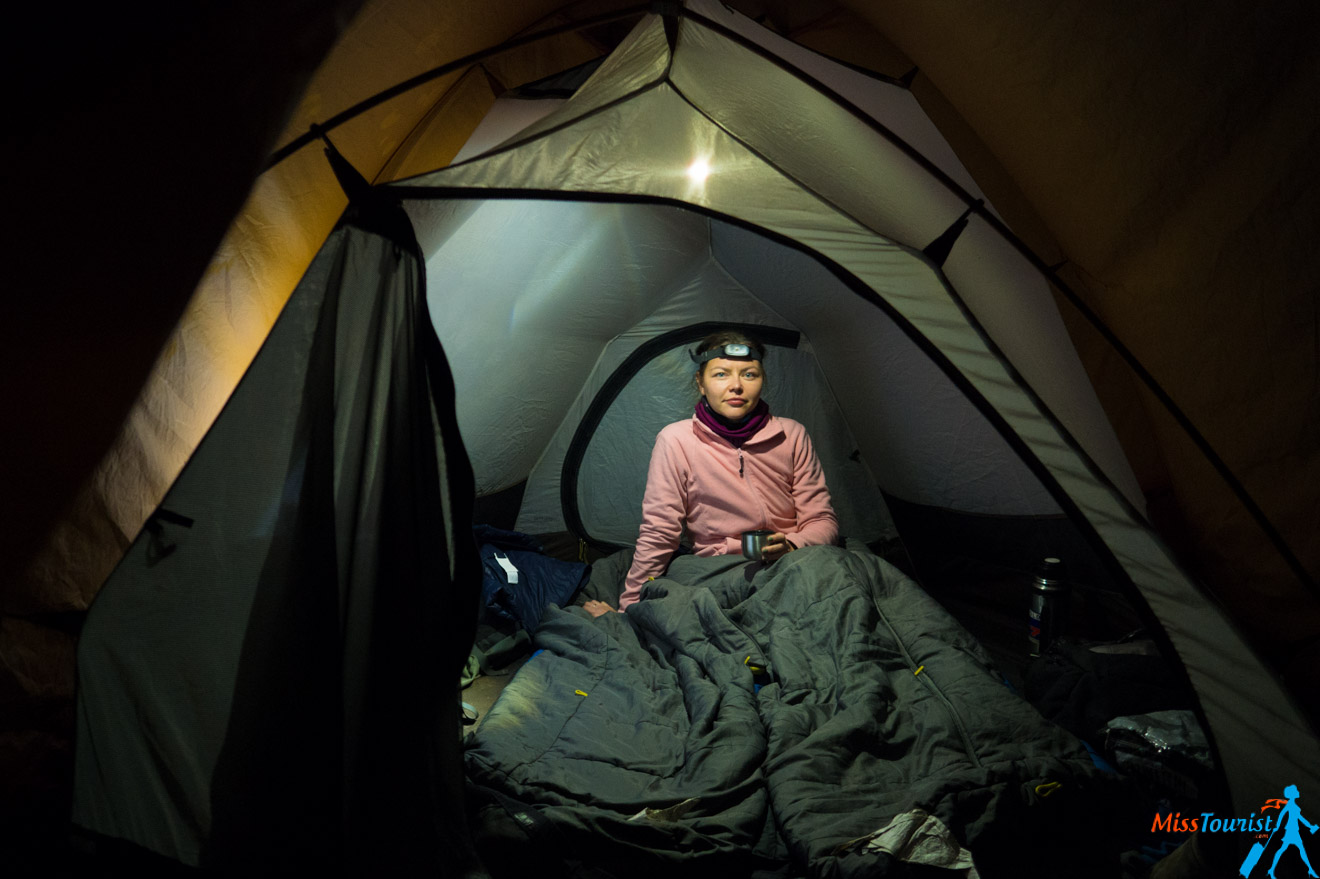
My head felt like it could break in pieces and I could not even open my eyes because they could not bear any amount of light (here I should note that I was in my tent, it was gloomy outside and I was wearing sunglasses – so it was actually pretty dark). I slept a little bit until dinner but woke up with the same horrible headache. I was thinking to ask my guide for a pill, but the pain suddenly went away after I ate some hot soup (hot liquids apparently help a lot!).
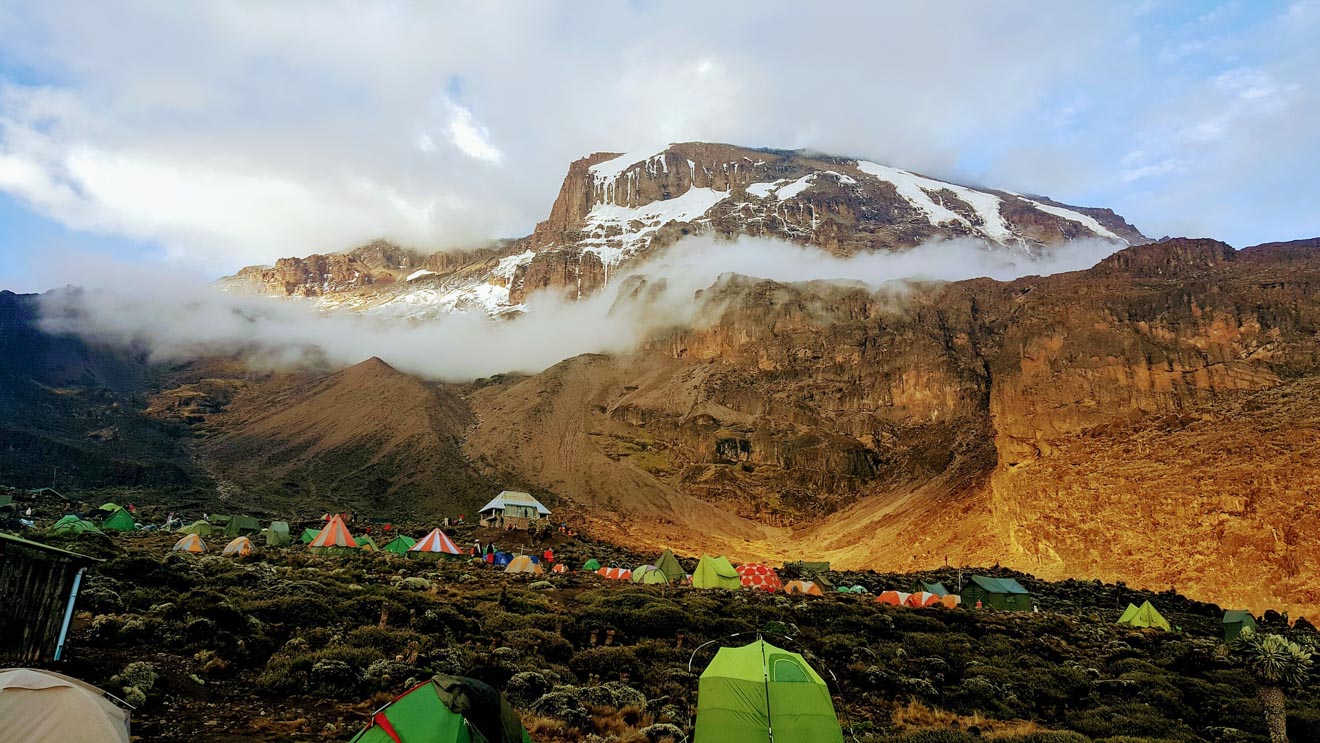
Day 4 – Climbing Barranco wall
Elevation: no elevation, just walking from one camp to another
Hours of hiking: 3.5 hours
Distance covered: 5 km
Camp name: Karanga Camp
This is a relatively easy day, there is no elevation gain and there are only 3-4 hours of walking, congratulations! Now, this seems easy so that is why many people combine Day 4 and Day 5 into one. Beware – this saves on some costs but it drastically decreases your chances of success. You can read why I do NOT recommend doing it below in the “Practical Questions” section.
You will start at 8 AM as usual. Right after you leave the camp, you will see an almost vertical menacing wall that you will need to climb. Don’t be scared – it is not easy, but it is doable! The wall will take you about 1.5 hours and then there are 2 more hours up and down, of which the last 25 minutes are quite steep. You will be rewarded by arriving at Karanga Camp pretty early (around mid-day). Now you can rest in the camp for the remainder of the day!
You will have lunch at about 2 PM and dinner at 6 PM. You can play some board games with your fellow trekkers or read a book, but the most important thing is to rest well – tomorrow is a big day!
By the way, I remember that starting from this day on, my appetite wasn’t as good as the days before. They say this is a pretty common symptom of altitude sickness.
Day 5 – Base Camp – preparation and rest
Elevation: 3,900 m to 4,600 m (12.800 ft to 15.100 ft.)
Hours of hiking: 3 hours
Distance covered: 4 km
Camp name: Barafu Hut (basecamp)
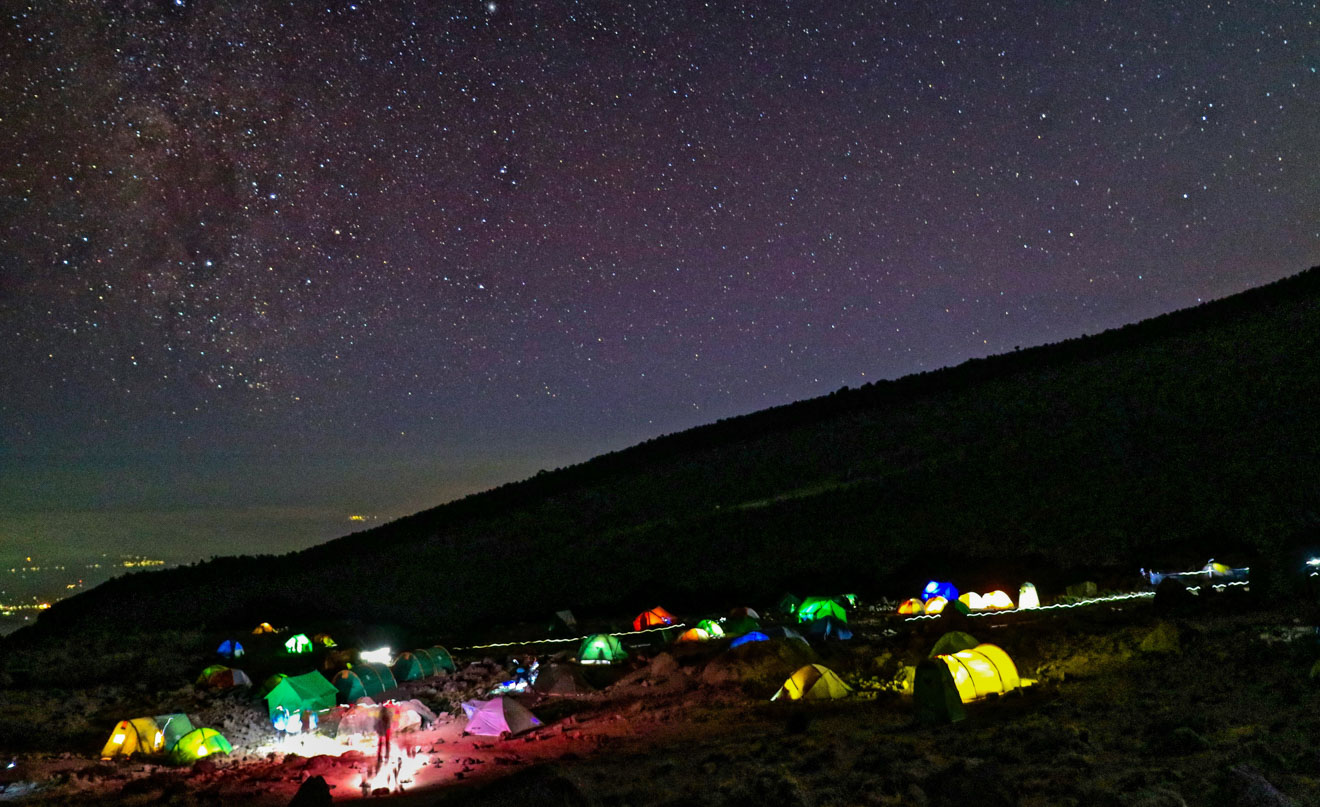
Today might seem like an easy day as well, but do not forget that the next day basically starts on Day 5 (you will start at 11 PM or midnight). That is why it is 2 days in 1 and one of them is the hardest day of the hike (and most probably in your life, too), so don’t underestimate it. 🙂
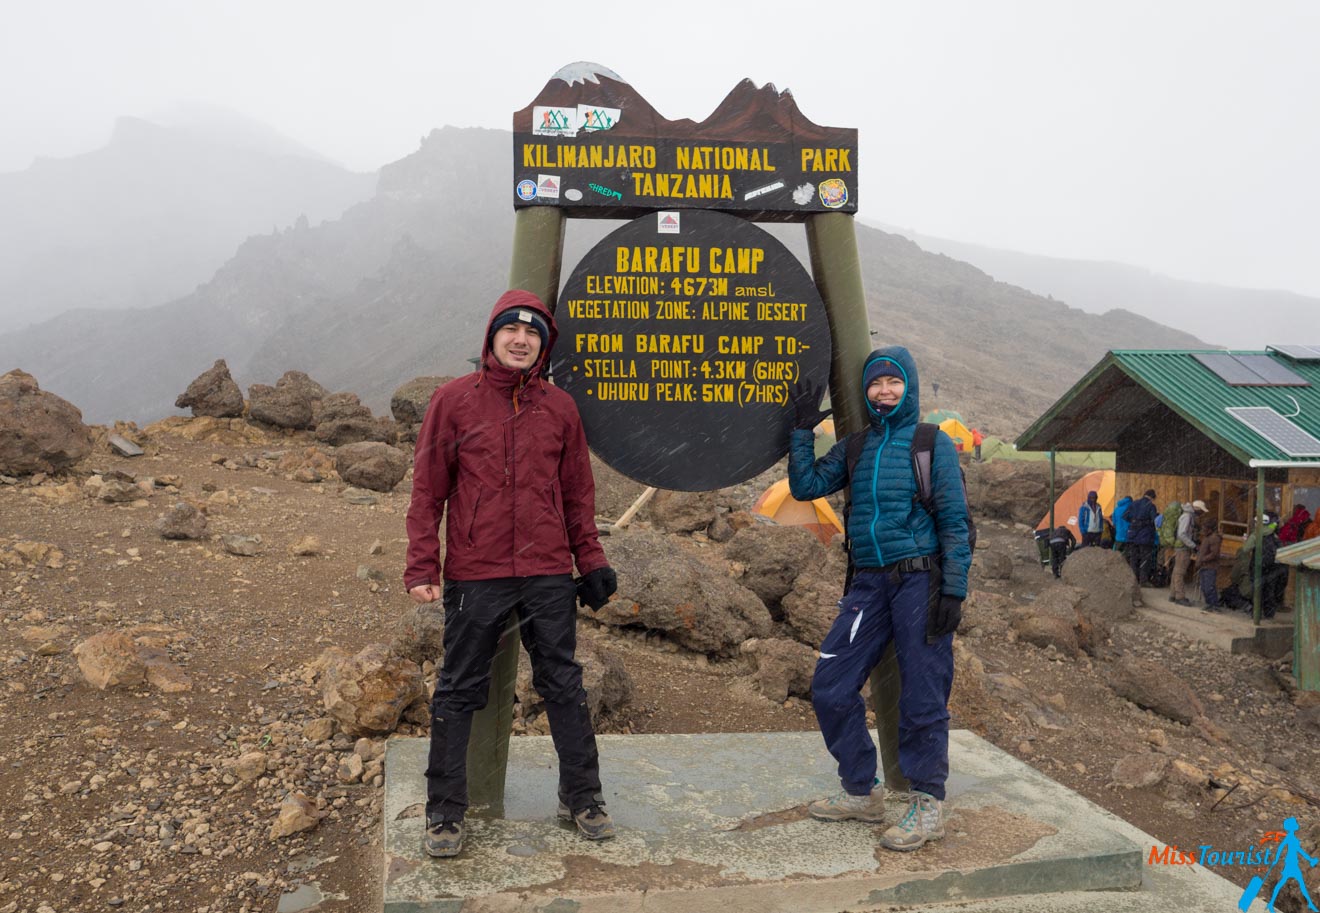
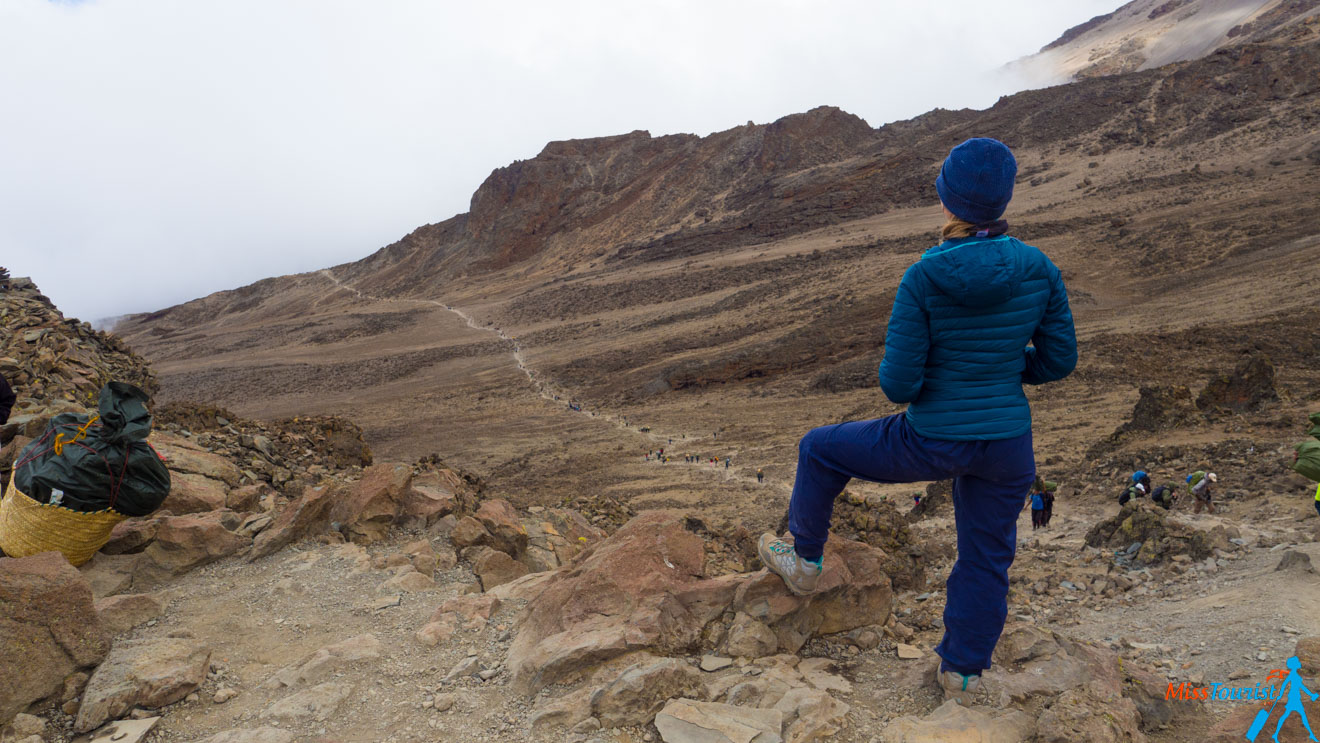
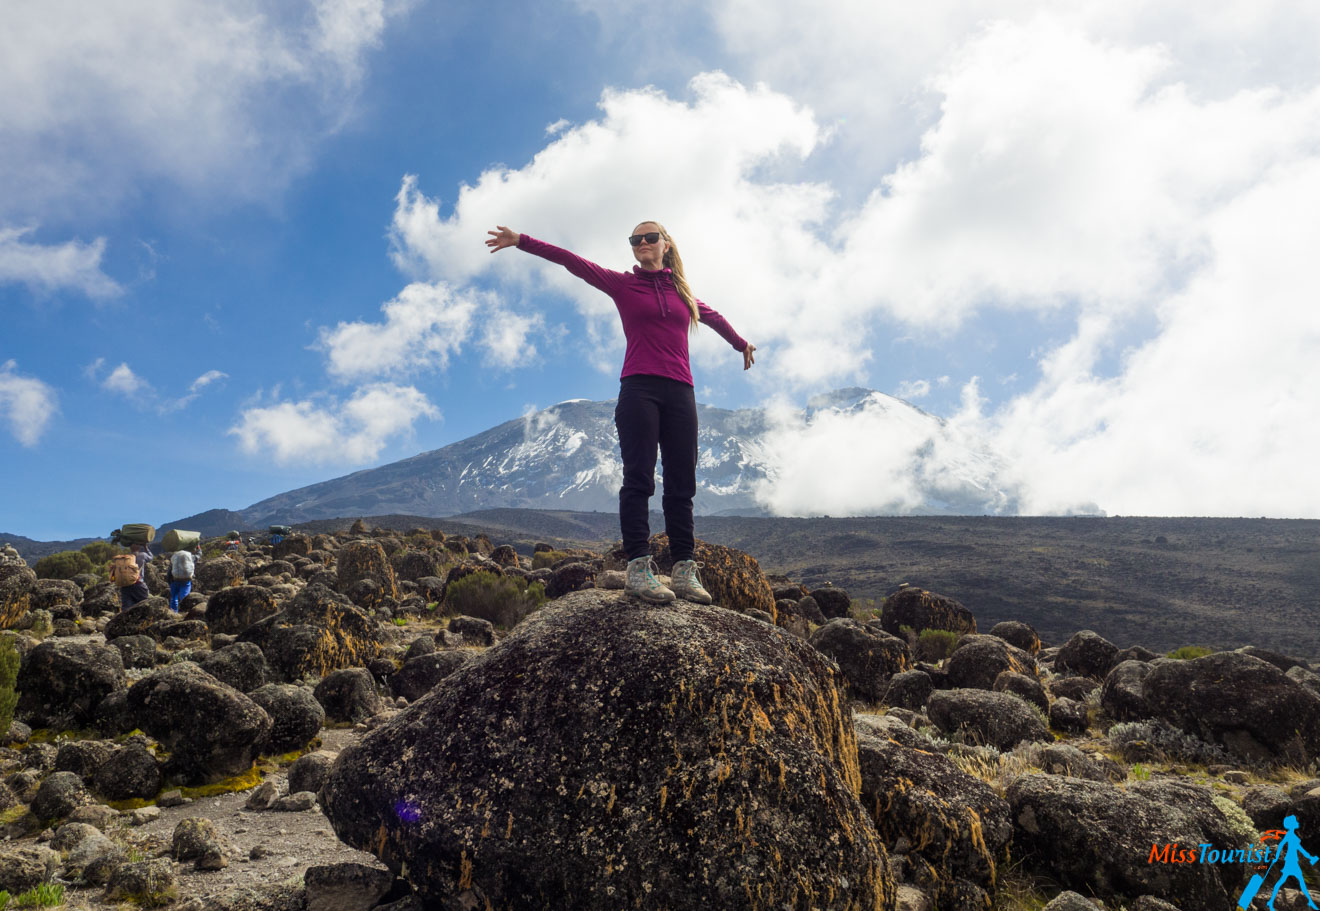
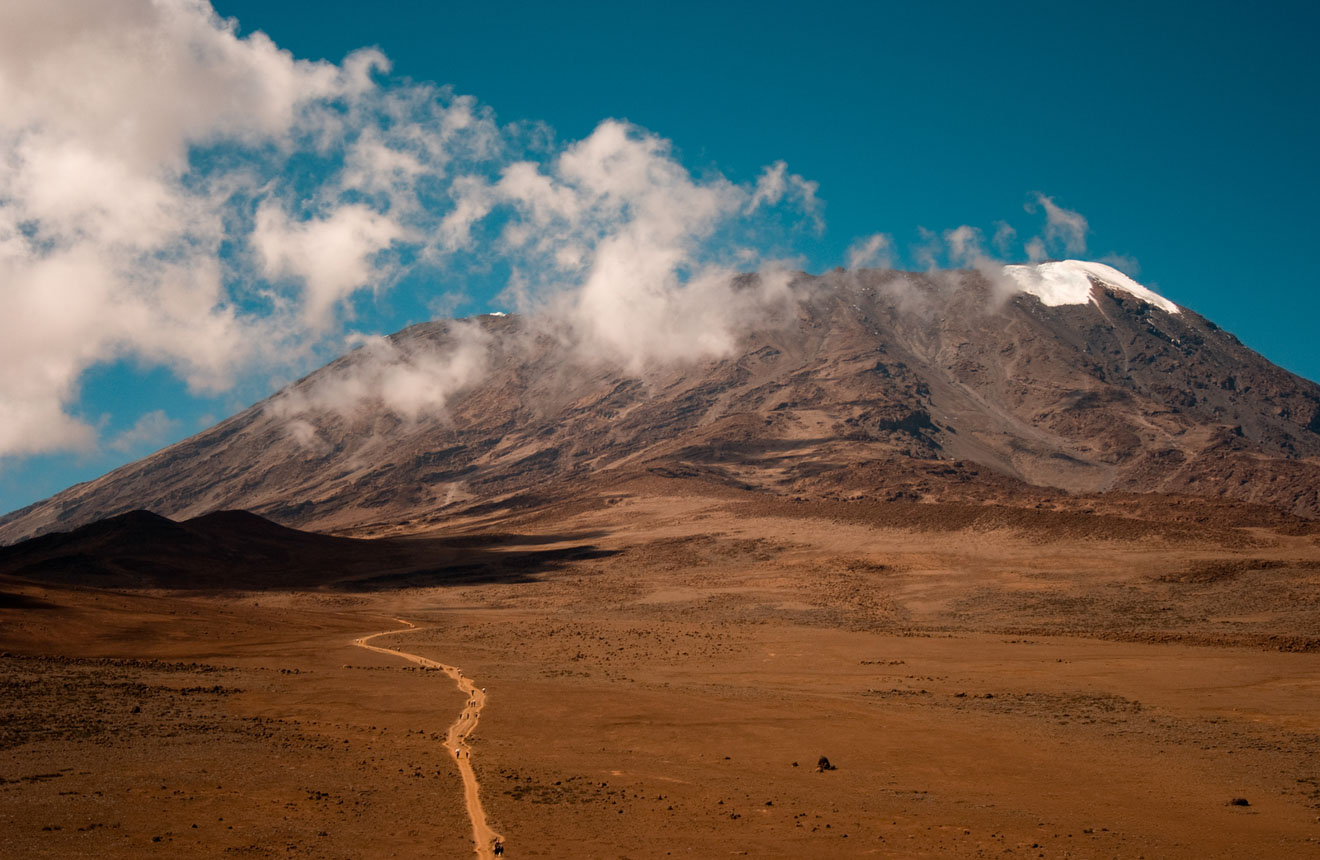
As always, you will leave the camp at 8 AM. There will be a bit of uphill in the beginning, a bit of flat, a bit of up and down, and again uphill at the end. You will reach the base camp after around 3 hours. The base camp is located at 4,700 m, but this altitude will not be new to you because you already acclimatized yourself on day 3 when climbing up to the Lava Tower. Keep in mind that the weather there is extremely changeable and it is usually pretty cold.
It is absolutely normal to experience sun, hail, a storm, mist, rain and snow within one or two hours from up there. Kilimanjaro has its own microclimate!
You will have lunch, have a rest, have dinner, have more rest until 11 PM (that’s the usual start time, but your guide will tell you exactly when it is going to be for you; the time will depend on how strong your team is). We started at 11:30 PM (and then we were late, so 11:45 PM), but we spoke with some guys that started at 2 AM and came back to the camp 2 hours earlier than us (they were VERY fast!).
And noooow, the fun part begins!
Day 6 – THE BIG day
Elevation: 4,600m to 5,850 m to 3,100m (15,100 ft. to 19,000 ft. to 10,100 ft.)
Hours of hiking: 13 hours (7h up + 2h down to base camp + 5h down to Mweka Camp)
Distance covered: 30 km (7 km up and 23 km down)
Camp name: Mweka

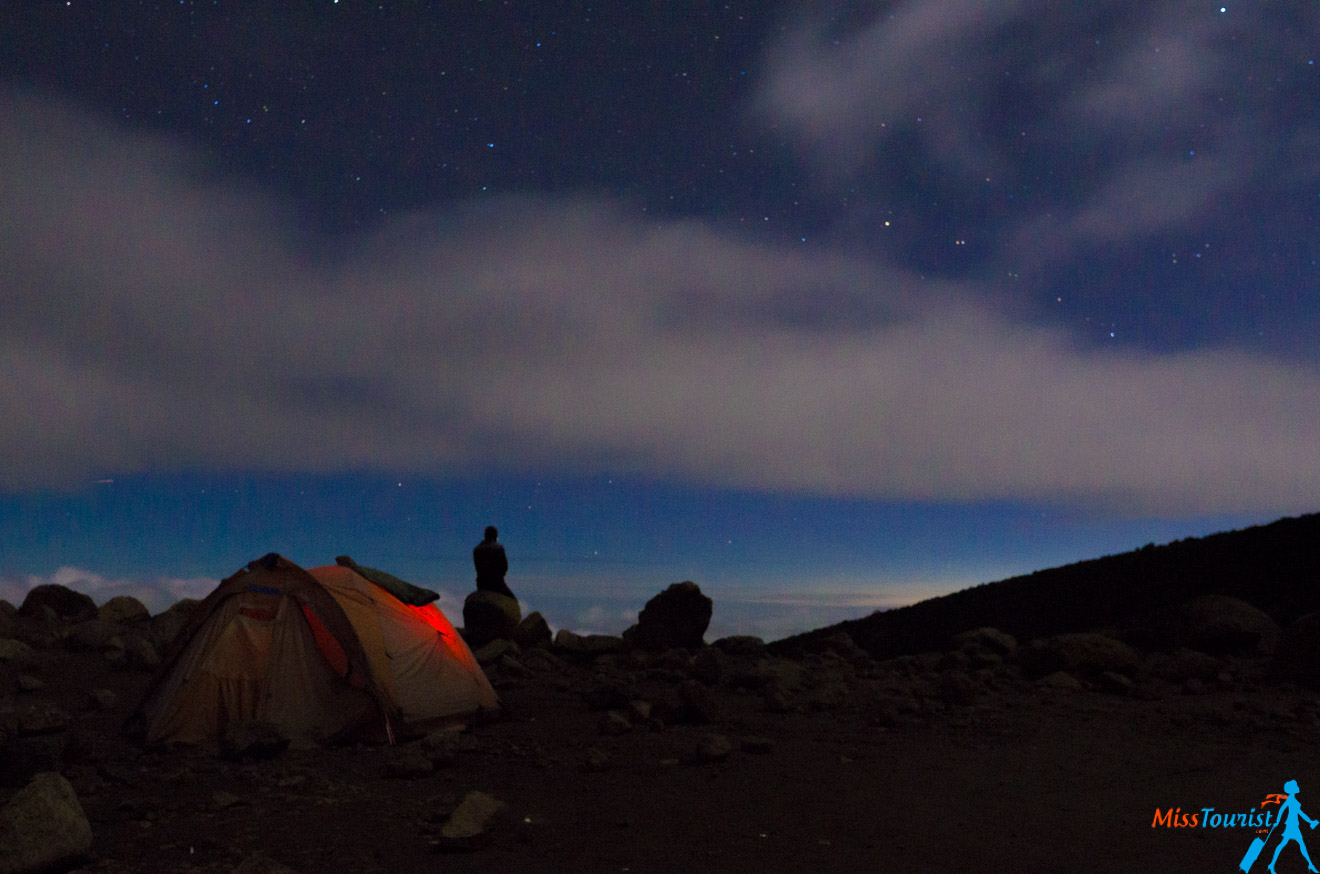
Today is the summit day, which means today is THE big day! You will wake up before midnight, have some tea with biscuits (no heavy food) and head off into the darkness.
I almost did not sleep before the summit because I was too nervous and because it was quite cold – so I only napped for maybe 1 – 1.5 hours. If you can, you should have a good night’s sleep because the day promises to be looooooong.
The hike to the summit takes about 7 hours depending on your fitness level. As I said above, I spoke to some guys who did it in about 4 (!) hours roundtrip. That is impressive, but the majority of us will take 9 hours to go to the summit and back.
My personal experience summiting Kilimanjaro:
I think I described my feelings about the summiting pretty well on my Instagram post here. (Follow me for more stories if you haven’t yet!). Please read that first, it will give you an idea about why this day is the hardest of them all.
Maybe not so much mentally, but I thought I was physically ready for the challenge – after all, I already did some hikes in Nepal, Peru, and Chile. I was only worried about the lack of oxygen as I did not know how my body would behave at this altitude.
GOING UP
“How hard can it be? If I am dead tired, – I thought, – I will have a rest, stop for as long as I need and continue after that, no matter what!”. How wrong I was!
What I didn’t take into consideration was the weather. You see, you can’t really have many stops and enjoy your tea because it is dark and VERY cold. My fingers froze at this temperature even though I had 2 layers of really warm gloves on. You can only do a couple of really fast stops because it is freezing out there and you can’t rest without movement for a long time. Having said that, it is possible you will get super lucky and there will be no wind and no snow, but this is very rare. On my summit day, for instance, there was a snowstorm turning into a blizzard!
Prepare yourself for a steep uphill in the beginning, but it will be slightly easier afterward. Remember to go veeeeeery slowly and don’t forget to breathe. Take as many stops as you need to drink some hot water (or tea), but try to keep them short.
Eventually, after about 6 hours of walking, you will reach Stella point. You are close, but still not there yet – the main peak is called Uhuru and it is about 100 m higher than Stella. It has been about 5h 30 min, it is not that dark anymore, and there are still 45 mins to go to the main summit.
A VERY INTERESTING PHENOMENON
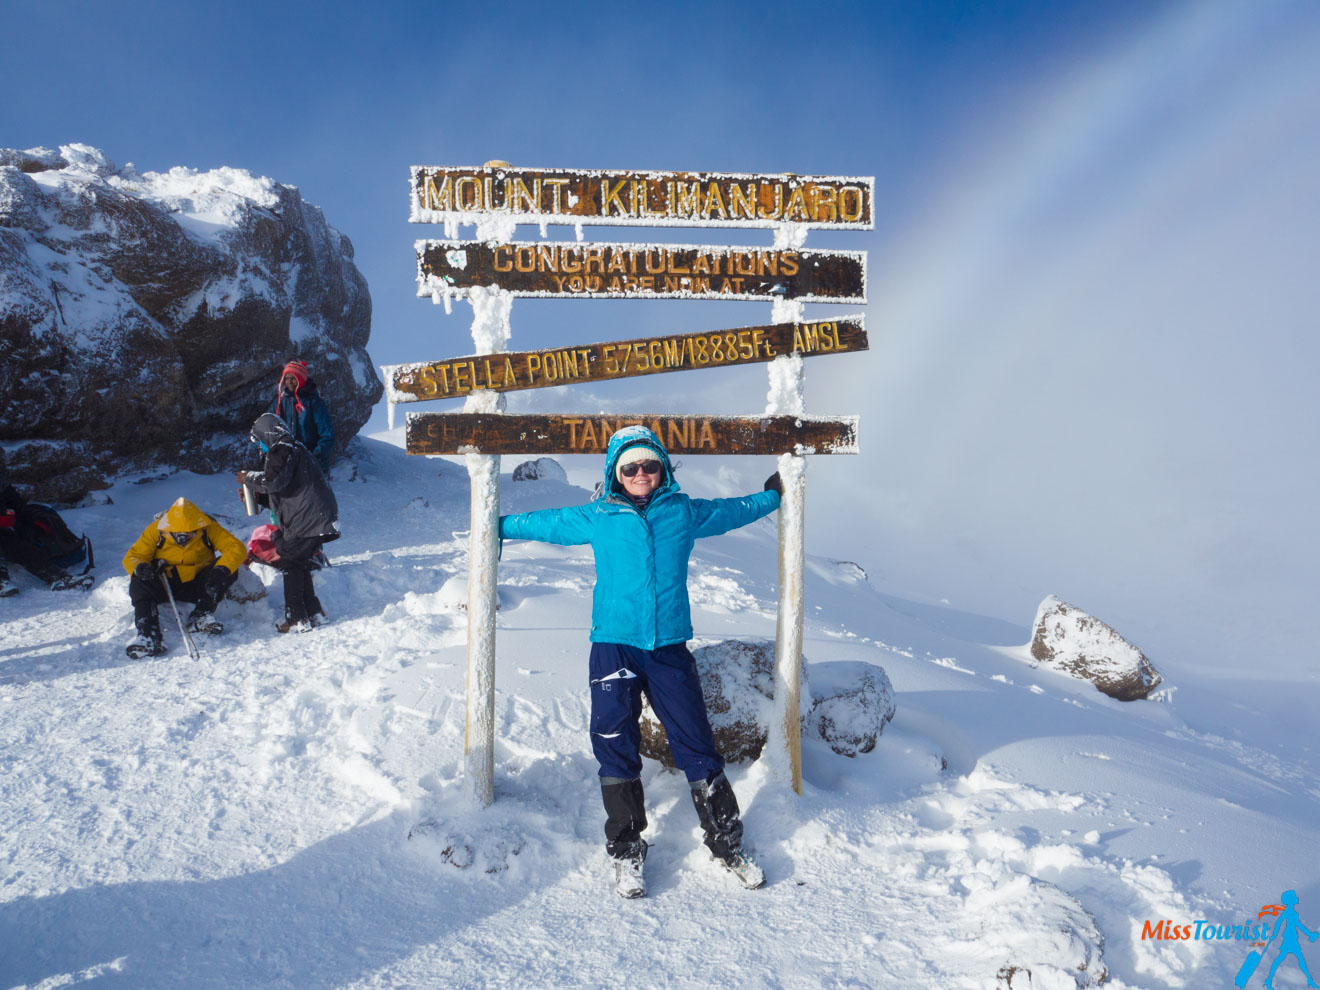
Many people apparently stop at Stella Point and don’t continue further! I could not understand this before I went when I read about this phenomenon on the Internet – Why, oh why on Earth did you turn back when you only had 45 mins left to go? What was your fight about? But you know what, after doing it myself, I can understand it now. You will probably be exhausted when you see that sacred sign, but I dare you to keep moving just a little longer! After all, the last 45 minutes are actually pretty easy!
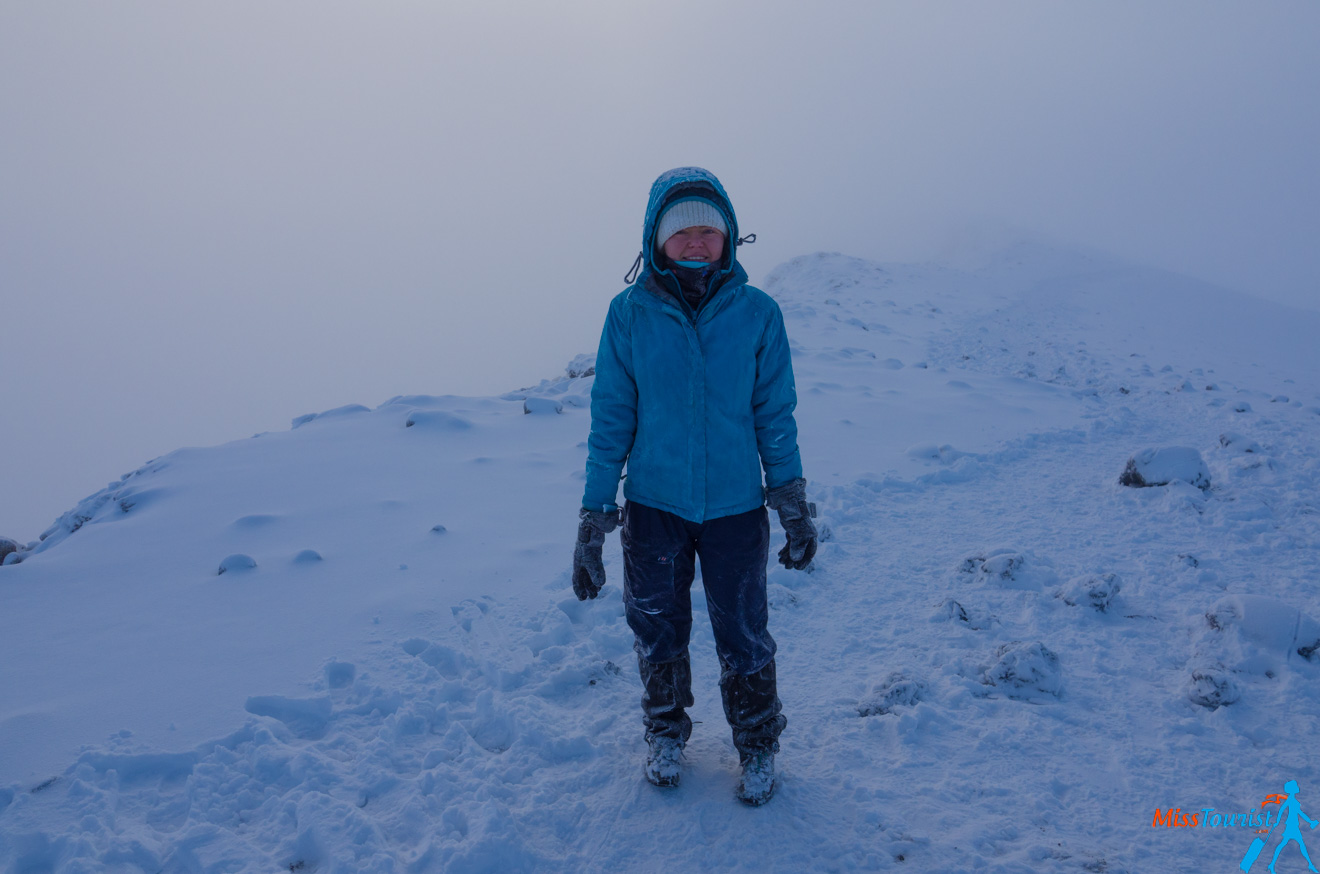
REACHING THE SUMMIT
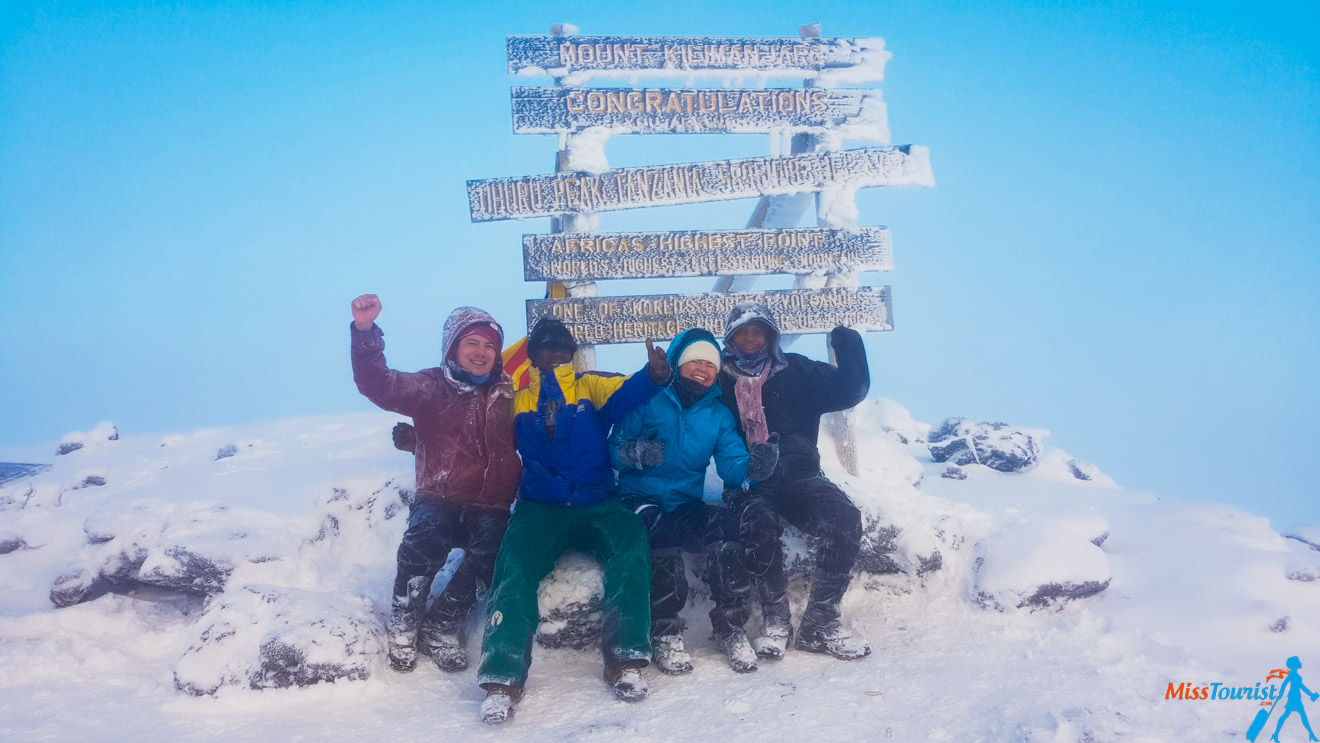
As I said, during my summit day the weather was pretty bad, our guide also confirmed that what we experienced was abnormal weather. Because of the snow storm and the blizzard afterward, everything was covered in snow (that is why my pictures might look completely different from the majority of people who have climbed Kilimanjaro). As a consequence of the bad weather, the sunrise wasn’t visible either – it was hidden under the clouds, but the view was fantastic nevertheless.
The view from up there is just like the one you see from the window on a plane, just that now you are IN that view.
I will be honest with you, when we reached the summit, I couldn’t help but cry (you saw it already if you watched my Insta stories). The tears froze immediately on my cheeks, but I did not care! These emotions were some of the most sincere ones I have ever experienced in my life – pure happiness and joy of achievement – not only about reaching that peak but mostly about conquering yourself. Timidity aside, I think I became a slightly better, stronger person that day.
NOTE: Because of the humidity, all electronics freeze very fast, so take those pictures ASAP! My Go-Pro died even though it was fully charged for the occasion and I kept it close to my body. Surprisingly, my phone was fine, so I used it to take my pictures.
THE WAY BACK TO THE BASE CAMP
After the sun comes up, everything is much easier and brighter! You will lose most of the clothing layers, put on some sunblock, have a snack and head back to the base camp.
For me, thanks to the above-mentioned snowstorm, the way back was very slippery, so we had to almost slide down. As a result, it took us 3.5h instead of the usual 2 because of the slippery path and the snow. (I hope you will be luckier with the weather! 😉 )
After you come back to the tent you only have 1-2 h to rest and some time to pack and have lunch (but people usually don’t have a great appetite after the summit for some reason).
FURTHER DOWN – BASE CAMP TO MWEKA CAMP
It is 3 to 4 hours to the next camp, which is located at 3,100 m (so a 1,600 m descent). Some people say that climbing down is harder for them than climbing up, but for me, the two don’t compare. It is indeed quite hard on your knees to go down for so long, but that is when your trekking poles will be extremely useful!
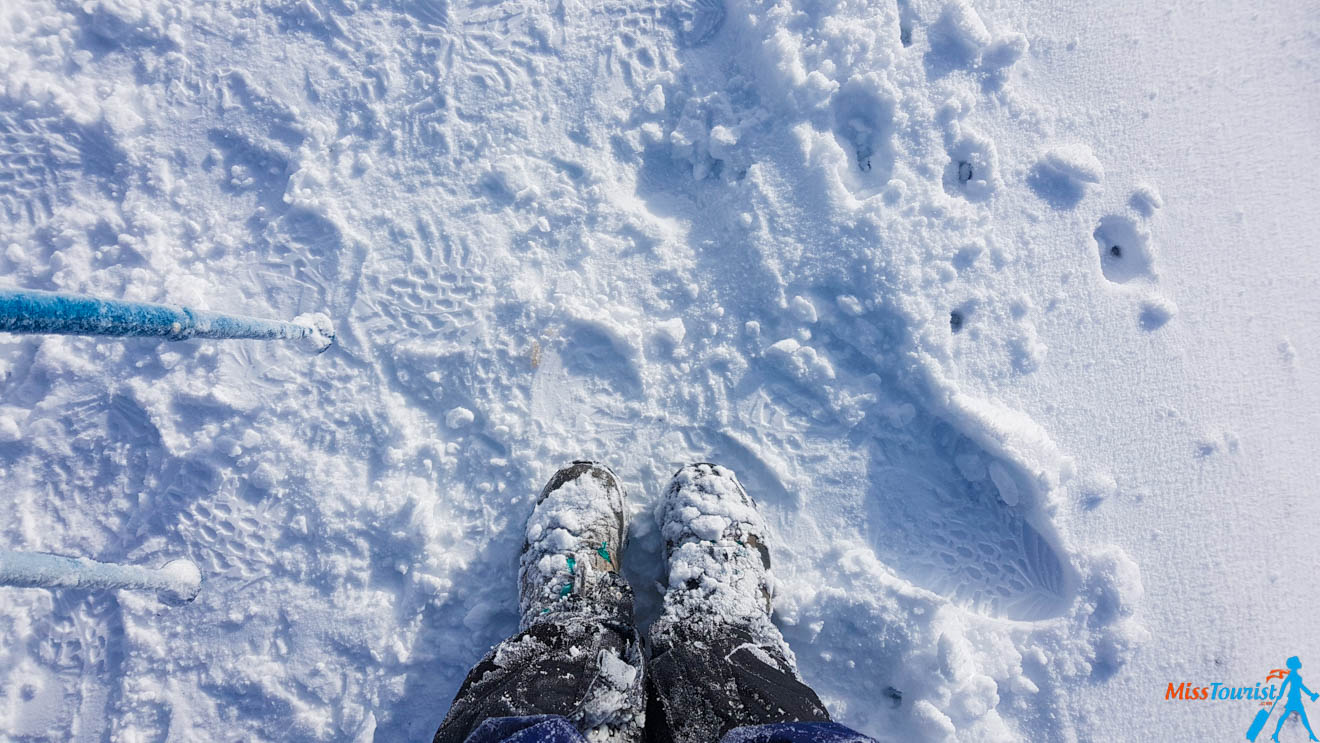
Again, in my case, we weren’t very lucky with the weather and it was raining for the whole day. Given the fact that the path you will take goes down, that means all the water follows it, forming a small stream. As a result, all my clothes got really wet, including my waterproof shoes (this is why it is extremely important to have good quality hiking gear when you do such a climb!).
My shoes were great but quite old (I suppose they had a tiny hole in them). Definitely make sure yours are: a) comfy b) waterproof. And again, I hope you will be luckier with the weather and you will enjoy that trek to the fullest! There is quite a bit of interesting vegetation and rainforest on your way down.
We arrived at Mweka camp at about 3 PM. That day was exhausting, I had my lunch/dinner and I slept like a rock right after I got to my tent.
Day 7 – Easy-peasy
Elevation: 3,100m to 1,600 m (10,100 ft. to 5,200 ft.)
Hours of hiking: 3 hours
Distance covered: ~15 km
Camp name: no camp, Mweka Gate
Trust me, after everything that you have already done, this is a walk in the park! The last day is a very easy and short descent.
We started a bit earlier than usual (our guide suggested it and we did not mind), had breakfast and headed out.
TIPS: Keep in mind that this is also the day when you will give gratuities to your team. You will be given an envelope and the main guide will distribute the tips to each person in the team himself (they have their own system, don’t worry). Please read everything about tipping, including how much it should be in my post here. In short, they are very much expecting it (they deserve it, too!) and the amount is around 10-20% of the tour price, depending on the number of people and the number of days.
After a very easy 3-hour walk through a rainforest, you will reach Mweka Gate, your gateway to civilization (and most importantly – a shower!).
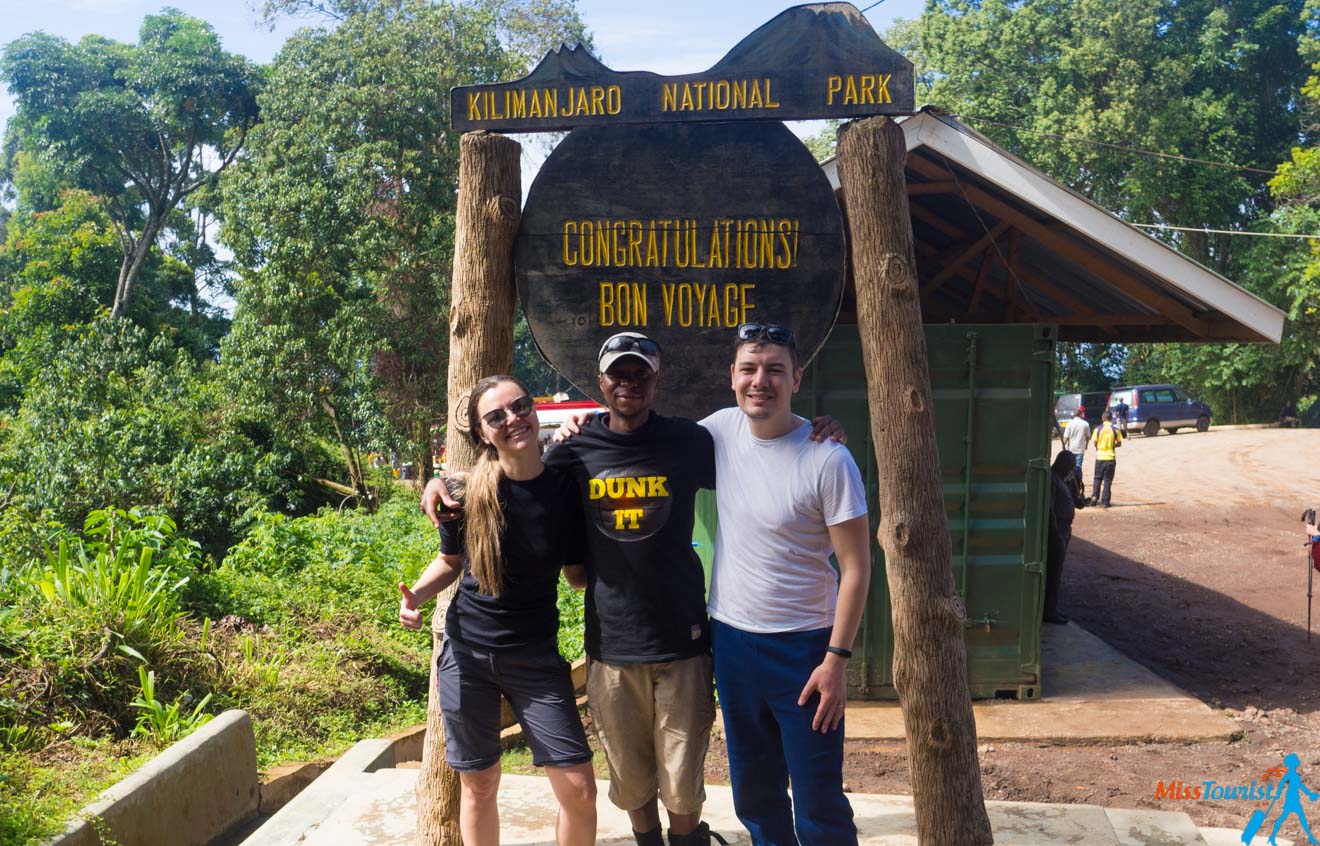
Take a photo with the gate and get yourself a bottle of Kilimanjaro beer, you deserve it!
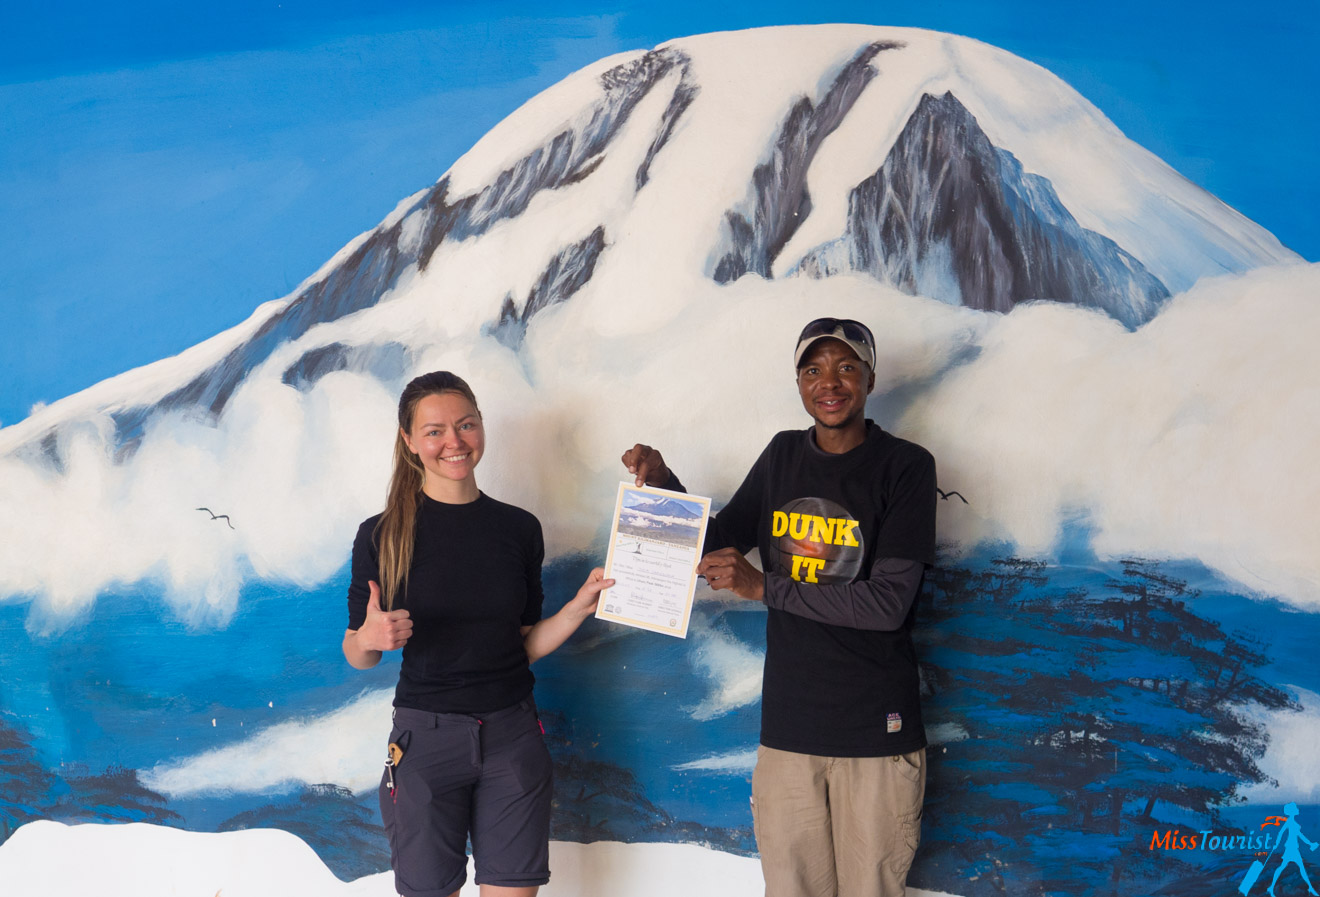
Hikers who reached Uhuru or Stella point will get a certificate stating which point they reached. While waiting for your certificate, you can check your email as there is free Wi-Fi available. Then you will get back to the hotel where you will take that long-awaited shower!
Congratulations, you made it to the highest peak in Africa and one of the 7 highest peaks in the world!
| 💪 Recommend training: | 2-4 months |
| 📍 Closest city: | Moshi |
| ☀️ Best month to climb: | January and February |
| 📅 How many days: | 6-7 |
| 🥾 Distance: | ~62 km (37 mi) |
Practical questions about the Machame Route (+ the Discount!)
Except for the day-by-day description of the hike, I thought it would be useful to add some more practical info about this particular trek. I remind you that you can find all the general information about everything that concerns climbing Kilimanjaro in this post.
How long is the Machame trek?
Machame can technically be done in 6 days/5 nights, but the more recommended option is 7 days/6 nights. Read why I recommend taking the longer route below.
Machame route 6 days vs 7 days – which one to choose?
I strongly advise against the 6-day tour and I am very happy I did not choose it myself. Why? Let’s look at the itinerary together.
The shorter trek does not cut corners, but instead combines 2 days into one – Day 4 and Day 5. Those 2 days are quite easy by themselves and it would make sense to combine them If not for one thing – Day 6 is the summit day. Which means this is not only the hardest day of them all, it also starts before midnight (so it starts on Day 5, actually).
That means instead of breaking it down and making sure you are not exhausted for your summit day, you would combine Day 4 and Day 5, start the summit without proper rest, go down to the basecamp AND continue walking to the next camp afterward. How crazy does that sound? You will be basically doing 3 days in 1 (one of them being damn hard) and your chances of succeeding this crazy race will be muuuuch lower.
MY STORY: A guy in our group wanted to do the short route – he went forward on Day 4 and we were supposed to meet again at the base camp on Day 5 – us before the summit, him after the summit. What do you think happened? He gave up halfway to the summit because he was too exhausted from all his previous efforts. We never met him because he went on to Mweka Camp before we arrived. This is such a pity because there was a lot of money and effort involved and I think he would have made it if he had taken the 7-day hike.
Again, I am not saying you won’t be able to do it, but it will be muuuuch harder and statistically, your chances of success will be twice as low. So why risk it?
Machame route success rate
85 % for 7 days and only 55% for 6 days.
But remember that the stats above are not very representative because choosing the right company plays a crucial factor in your success! It might be significantly higher or lower depending on the professionalism of the tour company you choose.
Kilimanjaro Machame Route prices
The price can slightly vary from company to company, but the average cost is US $2,000 per person for a 7-day Machame trek. This is more or less how much I paid for my route. The price includes all the park fees, guides, cooks, porters, tents, food, usually 1 night of accommodation before the hike and usually also an airport transfer. Visa costs, personal expenses, trekking clothes, and tips are not included.
UPDATE: I have negotiated with the owner of a tour company called Altezza and he agreed to give my readers a whopping 5% discount, that’s the all time maximum they would ever give to anyone! I can 100% vouch for them as I have seen the quality of their equipment, talked to their customers while on the mountain and I was a bit jealous about the level of organization they go there to be honest – it could not have been compared to what we got with the company we used.
The only thing you need to do is to write to them to this secret email – [email protected] and tell them about your dates and what you are interested to know (like you normally would). CLAIM YOUR DISCOUNT IN THE FIRST EMAIL and they will automatically subtract 5% from the total so you know how much you saved. Please note that if you first leave a message through the main site and then ask for the discount, it will not work – this deal is exclusive for Miss Tourist readers only!
This discount can save a loooooot of money especially if you go as a big group (literally, a couple of thousands if you go in a group of 10+ people)! You can see Altezza prices for Machame route here, it depends from the amount of people going – the guys are pretty transparent with pricing unlike many other companies who make it up on the spot. At the moment it is ~2100 pp USD if you are 2 people and 1750 USD if the group is 8+ people).
Other companies:
You can find some companies offering the same tour for US $1,800 (considering you go in 2) but I would carefully read all their reviews on the internet – there are not many costs to cut on, they will either be saving money on you or on their staff’s salary.
I strongly advise against any company that is cheaper than US $1,800; it might even be dangerous for your life. Chances are the guides will be unprofessional (don’t mind the licenses, things can still be bought in Tanzania), they could leave you in a dangerous situation, there might be a lack of communication because they might not speak good English, the food could be non-existent and tents and other equipment could be in horrible conditions.
The food on my Machame trek
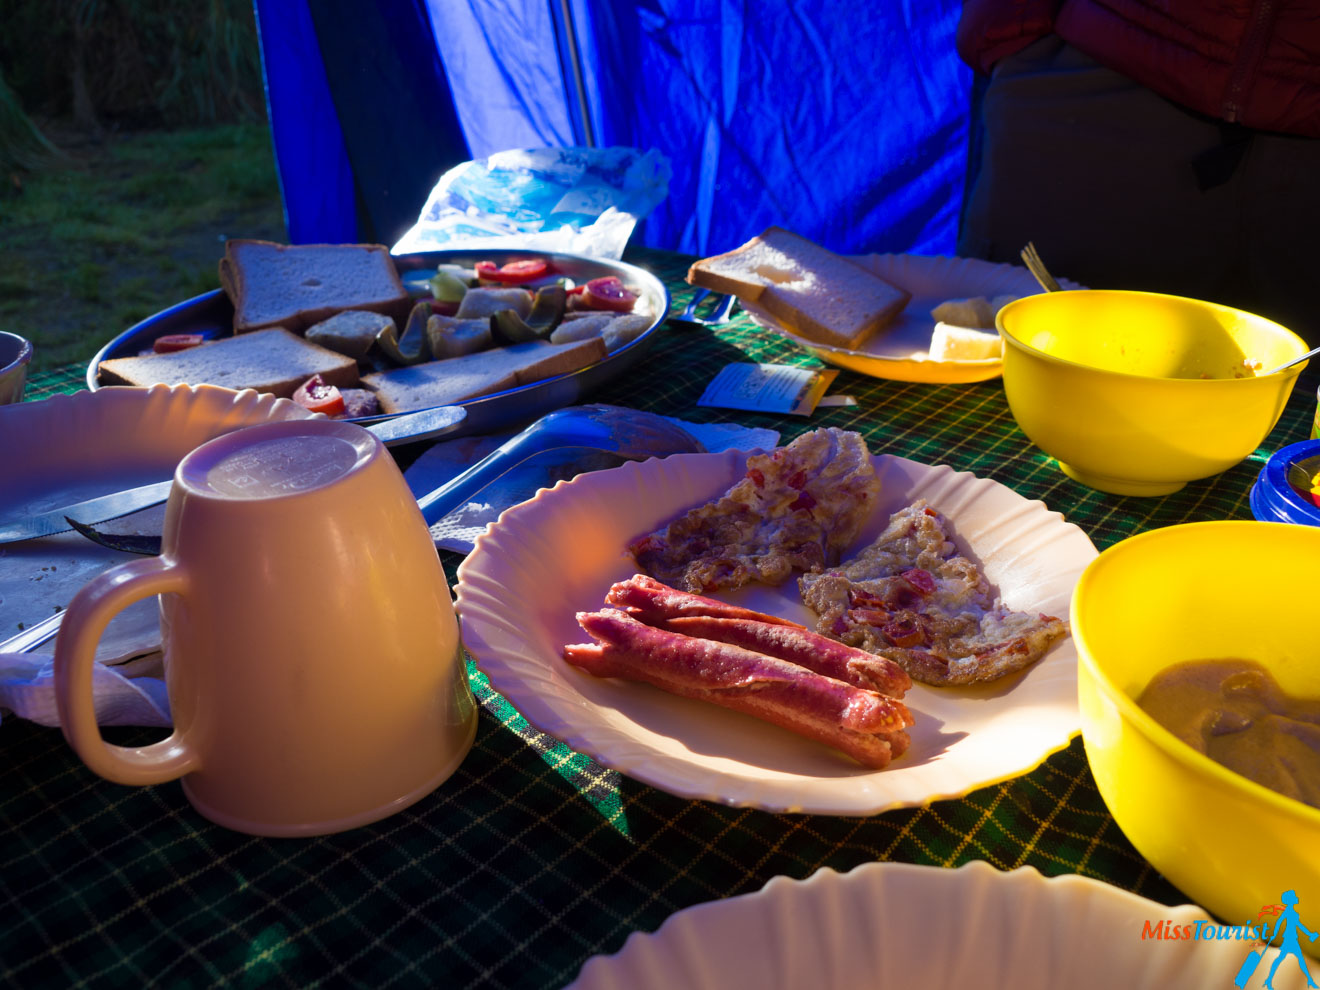
As I was told by my guide, the majority of Kili tour companies (excluding the super cheap ones) have an almost identical menu because it is proven to work.
The cooks are doing their best to give you high-energy food, along with many fruits and vegetables. We had fried eggs for breakfast, soups and some meat for lunch and soup and pasta for dinner. There are always plenty of hot drinks such as tea, coffee and powdered hot chocolate that you can have at any time when you are in the camp.
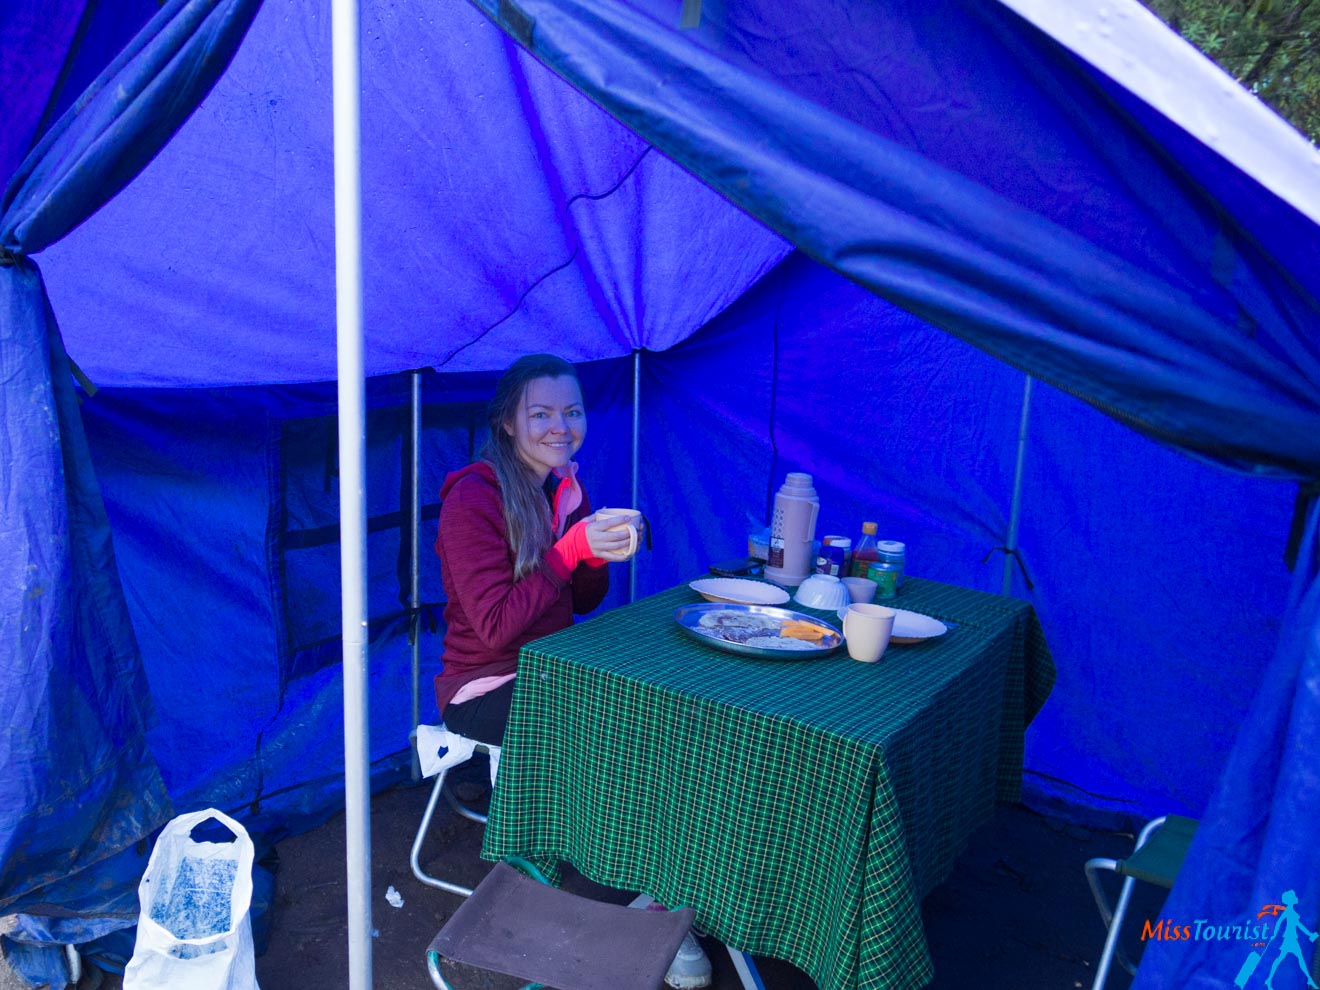
The food is served 3 times a day in a special dining tent (sometimes you will be given a lunch box for eating during the day) where you will be able to sit normally without bending over.
You certainly should not expect a high-end Michelin star restaurant, but given the fact you are going to be veeeery far from civilization, the cooks are doing an amazing job!
NOTE: Vegetarian, vegan and gluten-free options are usually available but make sure to double check this with your potential tour provider.
The company I chose – can I recommend it?
I think the staff of the tour company I chose did a great job! My guide was super professional; he’s been climbing Kili for 16 years now and he’s done it over 120 times. What is even more important, he was very supportive during the entire time and he really cared about our health and our success conquering the mountain. He was understanding and never rushed us. He carried 10 kg of oxygen masks and all the necessary pills with him at times, just in case. The cook did an amazing job, we had more than enough food and it varied all the time!
The only thing that is keeping me from recommending them to you guys is saving on equipment. For instance, a couple of zippers on my tent were broken – one would only close halfway and the second one would close only from the inside and only from one direction. You might think this is no big deal, but trust me – it is! The gear is extremely important on the mountain – when you are not properly rested or are cold because of improper gear, this diminishes your chances of success right away. All details really matter up there.
Even if the team did a great job fixing it for us, it was still not ideal, but they did what they could, considering we were already on the mountain. The same goes for the dining tent – it had a picky zipper, sometimes only closing halfway. This can become a little uncomfortable if it is windy outside. I also felt like the sleeping bags were a bit too light and they could have invested in a warmer ones.
All in all, I don’t want to give negative advertisement to them, so let me recommend you the company I can 100% vouch for – Altezza. I admit I was a bit sad I did not go with Altezza in the first place – they had everything organized, and you can spot their tents from far away – they are brand new like their whole equipment. I also spoke to some people doing the hike with them and I have to say I was a bit jealous – the level of the organization was top notch! I know they organize a lot of celebrity tours and they are used to taking care of the little things to satisfy their clients. If you think their price is higher, you are wrong, it is actually a bit cheaper. So, with that amazing discount that I negotiated for you they are the best option imho! 🙂
HOW TO GET YOUR DISCOUNT: Write them an email (not the official one on the site, this one specially created for my readers – [email protected]) and mention you want a discount – the manager will reply with the calculation subtracting 5% from the final sum, it’s super easy!
If they are not good fit for you for some reason/they are booked for your dates – here are the other companies you can rely on. They all have super professional, caring staff, new equipment, and the tourists were happy with them (I actually spoke to them for the purpose of being able to recommend some good companies for you):
- G Adventures
- Intrepid Travel
- TourRadar (kind of a market place where you can see many tours and their reviews)
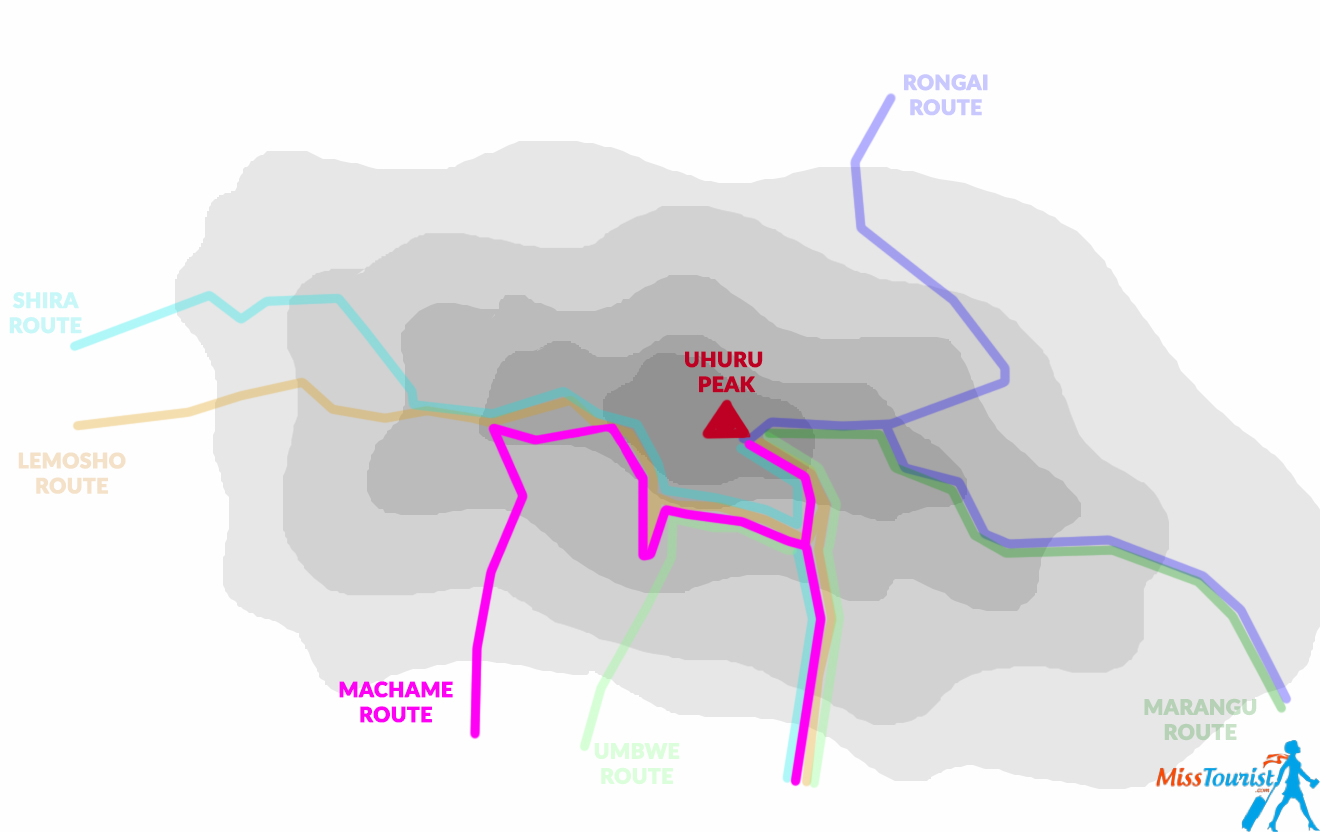
Machame vs Lemosho – which one to choose?
This is a good question which I also asked myself when I was making the decision about my Kilimanjaro route.
In short, Lemosho might be right for you if you know that you are prone to altitude sickness – this is the one that spares you the most. You will spend much more time on the mountain – 8 days/7 nights and there are other longer variations as well.
If you think everything will be fine, then Machame is a great option as it also allows enough time to acclimatize – I personally found it has the ideal combination of difficulty, time and views! I had no regrets about my choice!
What should you pack for Kilimanjaro?
I have an entire post with all the items you will need to conquer Kilimanjaro, click here to read it.
For instance, I forgot some pretty important things such as a towel and a thermos. Please go through my post in order to avoid my mistakes.
Insurance for Kilimanjaro
Whether you want it or not, climbing Kilimanjaro comes with some risks and it is VERY MUCH recommended you get insurance in advance. Most of the tour companies do not cover any costs if you feel bad on the mountain; you will have to pay for any incurred expenses out of your own pocket. In case something goes wrong, your insurance company will cover all costs including the transportation costs (the helicopter from the mountain to the hospital alone is US $2,000).
If you are not sure which company to use, I can wholeheartedly recommend World Nomads. You can calculate the trekking insurance here (the coverage they provide is for hiking to up to 6,000 m, which is just perfect for what we need!).
Is there internet connection on Kilimanjaro?
You will be surprised! There is actually a 3G connection in some points (not everywhere, though).
If you really want to check your email and post some pictures on Instagram, just follow the porters, they usually hang out in the place with reception, they know the spots. 🙂
I remember one of the days they were all watching a football match and the connection was enough to even transmit a video! I didn’t buy a local SIM card on purpose because I wanted to completely disconnect from the online world for a week. If you wish to stay connected, you can either buy a SIM card or use the roaming plan provided by your home country.
But I, of course, would recommend completely unplugging for these days and enjoy nature, that is what I did and it was awesome!
Charging your electronic devices while trekking on Kilimanjaro
In my packing list for Kilimanjaro I, of course, mention taking a portable battery with you – this way you can recharge your phone and your camera.
If you forgot it or if this is still not enough, you can charge your electronic devices for an extra price in some of the camps at the hut where they check you in. Keep in mind that sometimes this option might not be available as they run on solar energy and there are days with not that much sun.
As for me, we had a portable battery and 2 batteries for my camera and that was enough for 2 people taking quite a few pictures.
PRO TIP: Sleep with the batteries inside your sleeping bag – this way they won’t die during the cold nights. Also, keep them close to your body during the day if possible (especially during the summit day!).
Other things to do in Tanzania
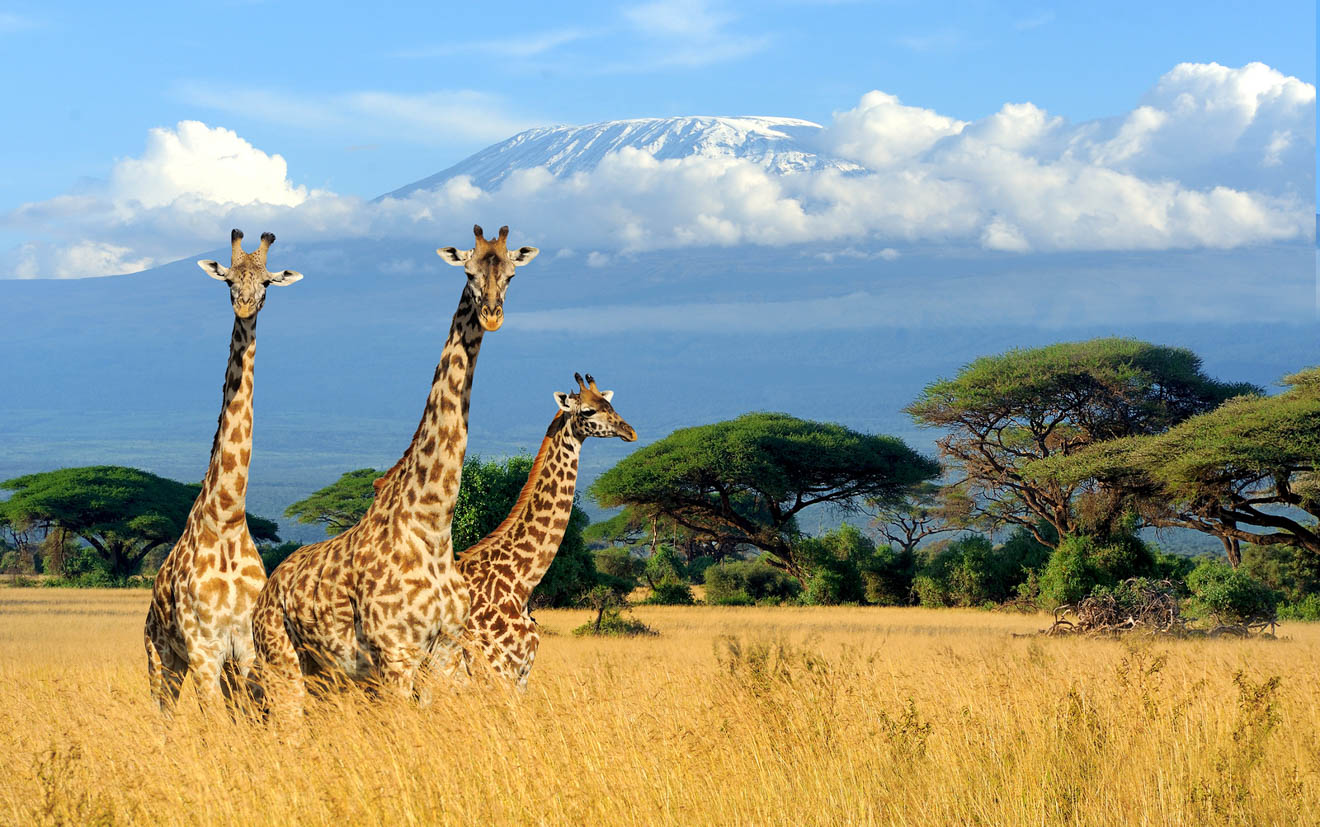
Oh, there are so many to choose from! How about a safari? Or maybe a trip to the exotic archipelago of Zanzibar? I included all of these in my Tanzanian adventure and it ended up being one of the most ideal itineraries I have ever planned! Here is my 14 days epic itinerary in Tanzania.
Conclusion
I am glad you are interested in climbing Kilimanjaro and taking the Machame Route in particular, as this route is one of the most popular for good reason! I hope that after I gave you a pretty detailed description of what you are going to be doing day by day (and sometimes even by hours), you now have a clearer understanding if this is something you would like to try as well.
As for Kilimanjaro in general, it really was a life-changing trip for me – I fell in love with the wildlife, landscape, and the people. Trust me, you will feel like you can conquer anything after Kilimanjaro!
Do you have any more questions?
Ask away, I am happy to help!
Yulia
Pin it for later!
Pin it for later!
Hello Yulia
We are thinking to go in August. When did you climb Kilimanjaro?
I climbed in January
Congrats on such a wonderful post I have just come across your blog today and tadaaaa found a story of my beautiful country ,I love the way you write and especially the way you wrote about Kilimanjaro and stunned with the beautiful pictures too ,I promise to be following and reading your traveling stories!
Thank you for such kind words!
Nice blog!!! Thanks so much for your efforts, it will definitely help us so much in planning our safari adventure in Tanzania, we are going to visit with 2 kids. So so excited, thanks again! 🙂
Thank you for your nice words, Shera, have an amazing holiday! 🙂
All these pics are enough to compel a nature lover to engage in with the traveling activities.
Thanks for sharing.
Thank you, glad you enjoyed it!